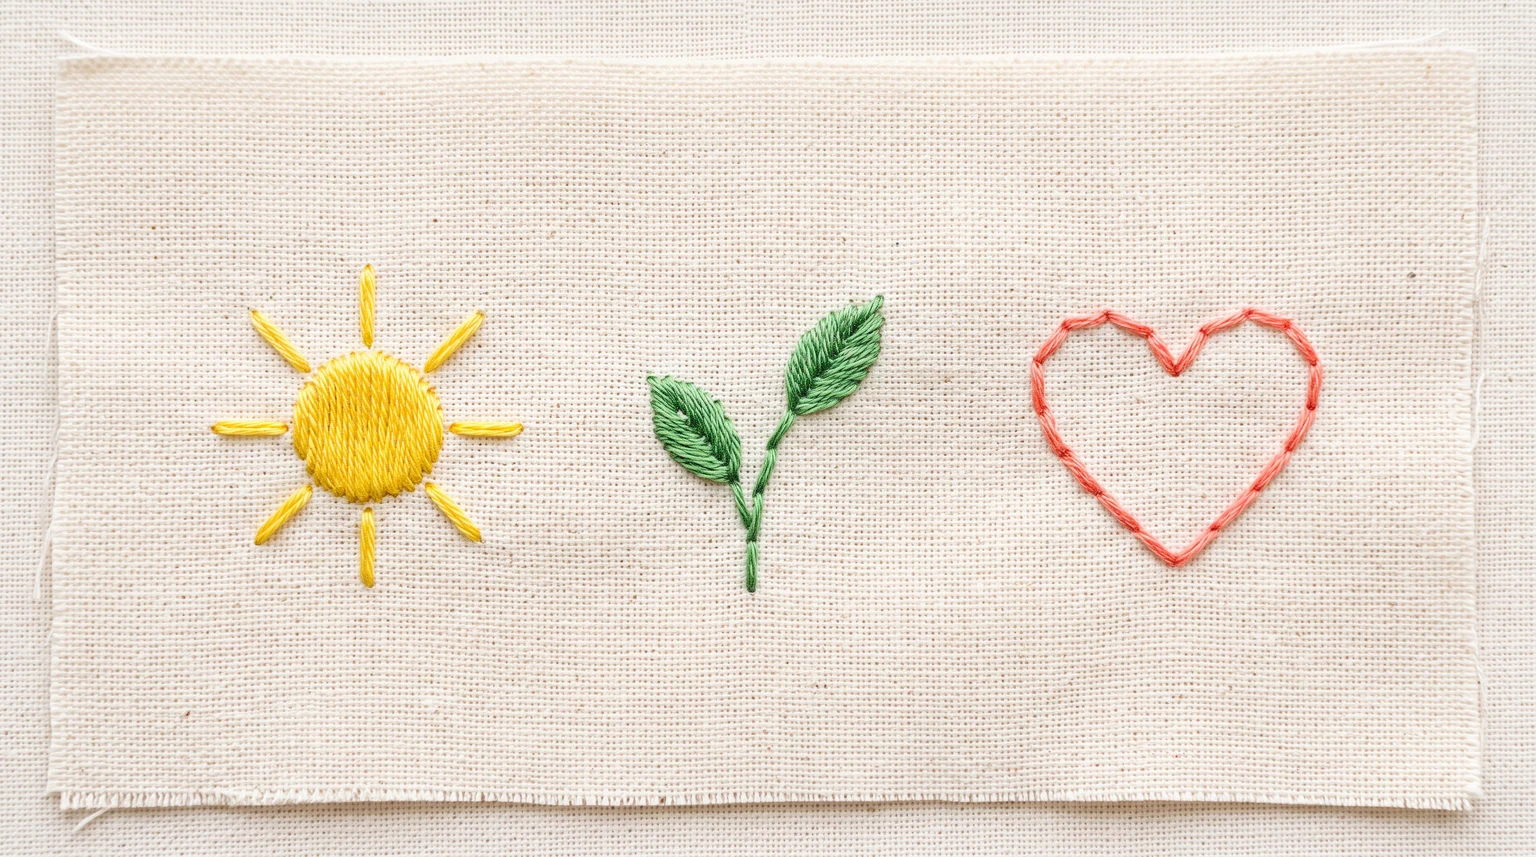
Embroidery gets easier when each design decision has a job. Instead of collecting techniques at random, use the subject, scale, fabric and final look to decide what belongs in the hoop. This guide focuses on the parts that most directly affect a clean, stitchable result.
What matters most
Project ideas that stay interesting without requiring dense shading or dozens of thread colors. The goal is not to force every possible technique into one project. A stronger result usually comes from a small number of deliberate choices that are consistent from the first transferred line to the final stitch.
- Single-motif hoops. Keep it proportional to the final hoop size and the amount of detail you can stitch cleanly.
- Tiny botanicals. Keep it proportional to the final hoop size and the amount of detail you can stitch cleanly.
- Simple celestial designs. Keep it proportional to the final hoop size and the amount of detail you can stitch cleanly.
- Minimal Halloween icons. Keep it proportional to the final hoop size and the amount of detail you can stitch cleanly.
- Short words with small floral accents. Keep it proportional to the final hoop size and the amount of detail you can stitch cleanly.

A practical workflow
- Choose one main motif that fits comfortably in the hoop.
- Use one line stitch for the structure and one accent stitch for texture.
- Keep the palette compact so setup and finishing stay quick.
- Leave a generous margin around the design.
- Finish the project in the hoop to avoid adding a separate framing task.
Work in short sections and check the design from normal viewing distance, not only from a few inches away. If an area becomes crowded, simplifying one line or leaving a little more fabric visible often improves the whole composition.

Common mistakes to avoid
- Turning an easy project into a sampler of every stitch you know.
- Choosing extremely small lettering.
- Expanding the design after stitching has already begun.
These problems are easier to prevent than to repair after an area is densely stitched. A quick sample on scrap fabric can answer questions about strand count, stitch length and color contrast before you commit to the final piece.
Pattern examples to explore
Use finished pattern pages as visual references, then follow the linked technique guides for the parts you want to practice.
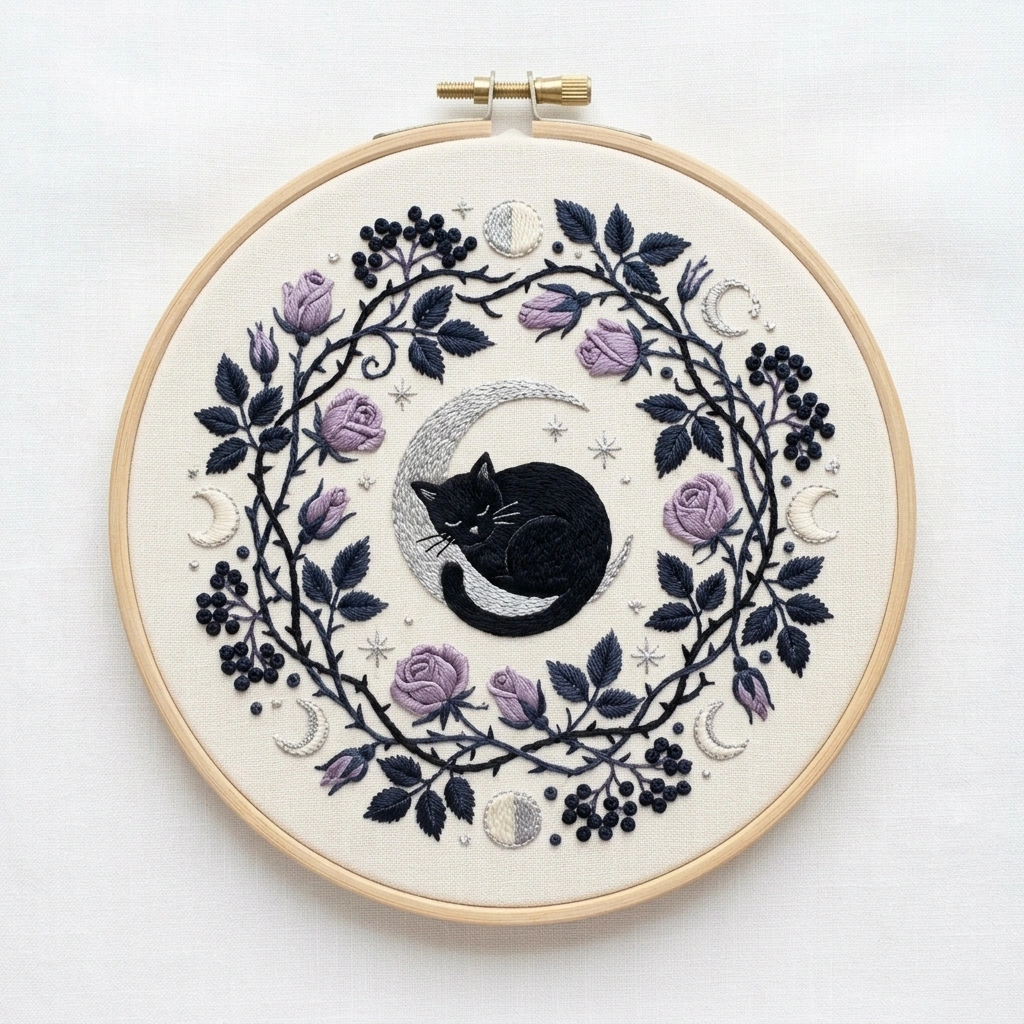
Black Cat Silver Crescent Lavender Wreath
View & download →
Haunted Crystal Ball Pumpkin Moon Wreath
View & download →
Herbal Apothecary Bottles Moon Phases Botanical Wreath
View & download →Frequently asked questions
Can an easy project still look detailed?
Yes. A clear composition, thoughtful color and a few well-placed textured stitches can create visual interest without dense technical work.
How many colors should an easy project use?
Three to six colors is a practical range for many small projects, though a monochrome design can be even simpler.