01
Learn Embroidery
Start with tools, fabric, floss, transferring a design, and finishing a hoop.
Enter topic →Stitchoice connects practical tutorials to the motifs and pattern styles that use them. Start with the basics, build a stitch vocabulary, then move into flowers, dark seasonal work and project ideas.
Start with tools, fabric, floss, transferring a design, and finishing a hoop.
Enter topic →Build a reliable stitch vocabulary and learn when each stitch works best.
Enter topic →Use stitch choice, spacing and color planning to build flowers, leaves and botanical motifs.
Enter topic →Plan Halloween, autumn, gothic and witchy embroidery without losing stitchability.
Enter topic →Choose manageable projects and turn inspiration into clear hand-embroidery designs.
Enter topic →Start with tools, fabric, floss, transferring a design, and finishing a hoop.
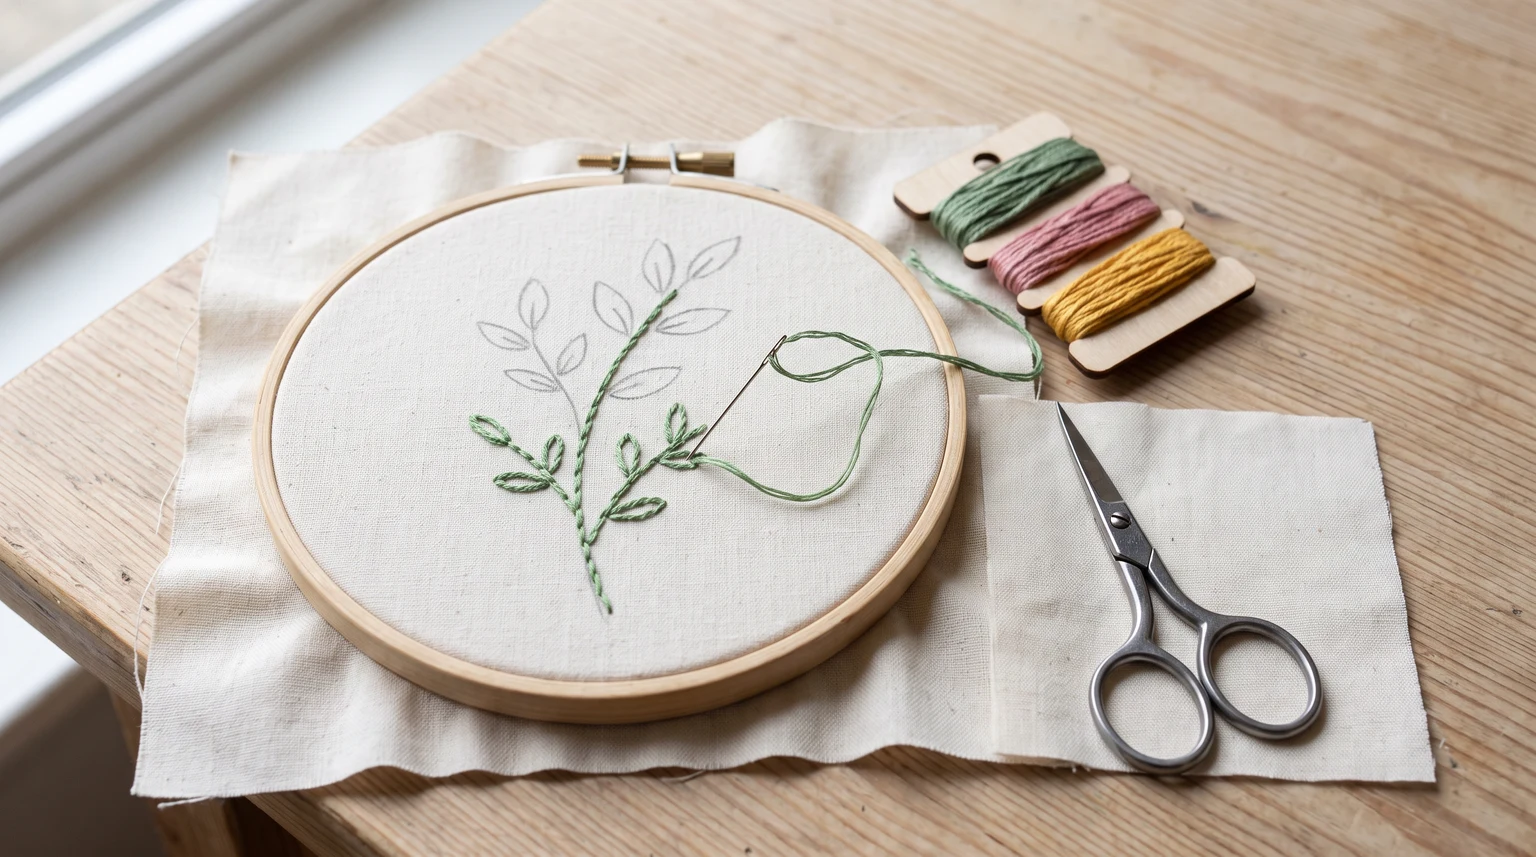
A clear route from choosing your first supplies to stitching and finishing a complete hoop.
Read guide →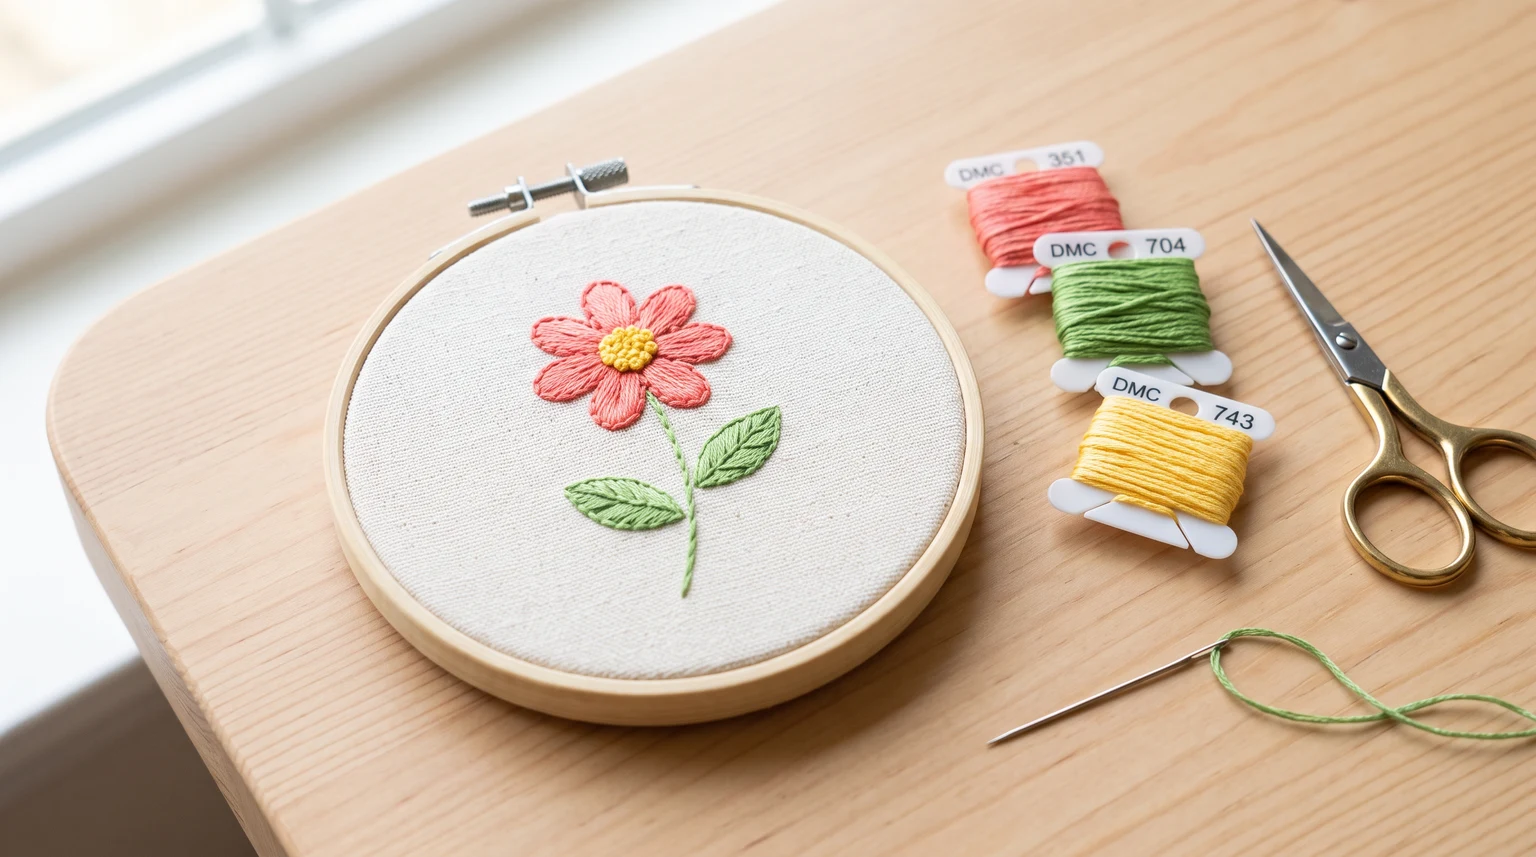
Start beginner embroidery with a small flower project. Gather supplies, transfer the design, practise three stitches and finish a simple hand-stitched hoop.
Read guide →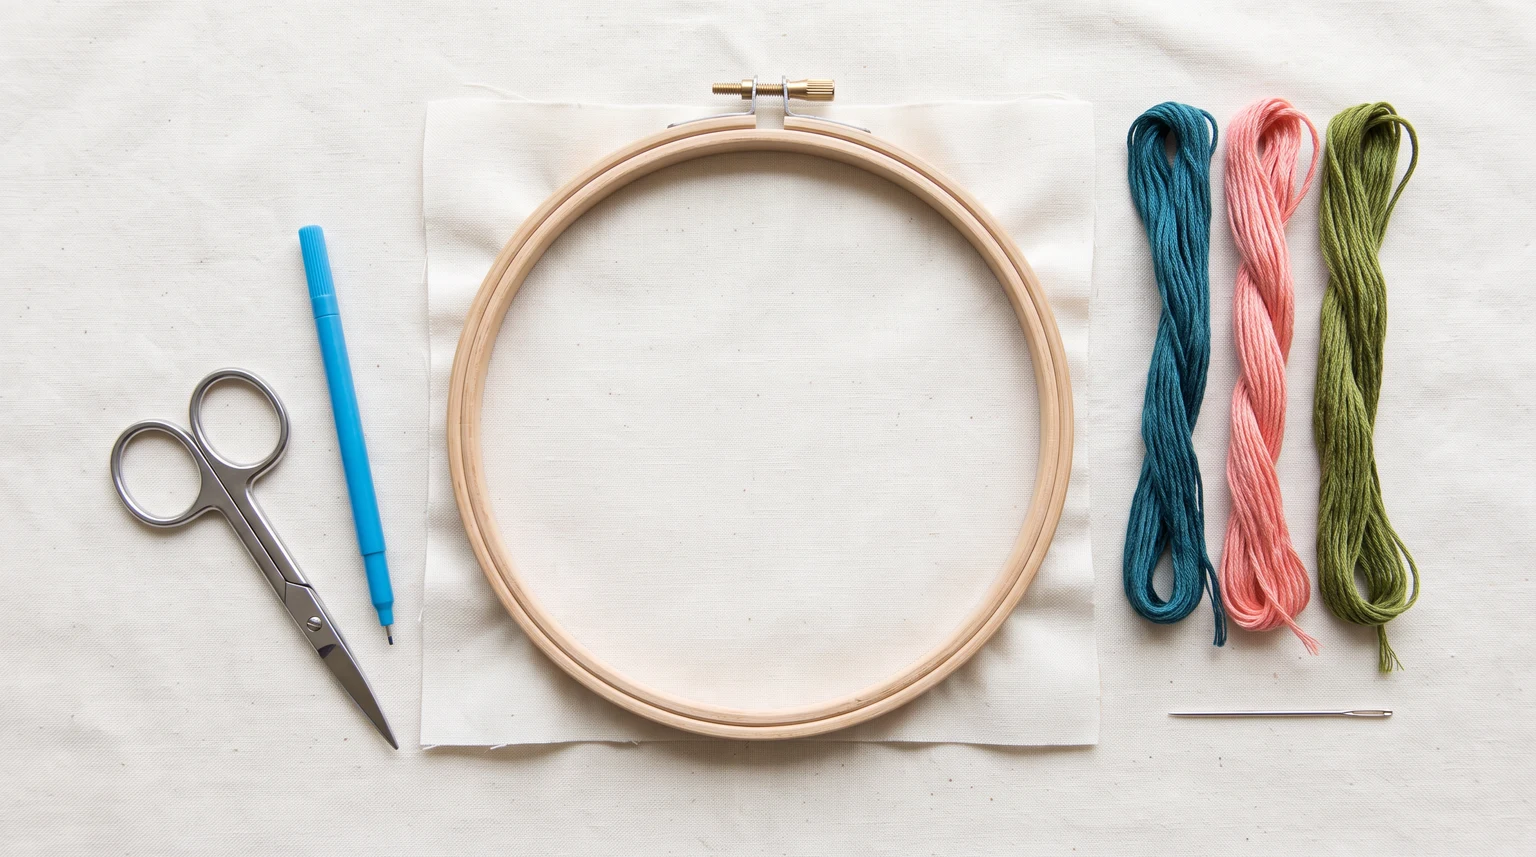
A no-clutter supply list covering hoops, needles, floss, fabric, scissors and transfer tools.
Read guide →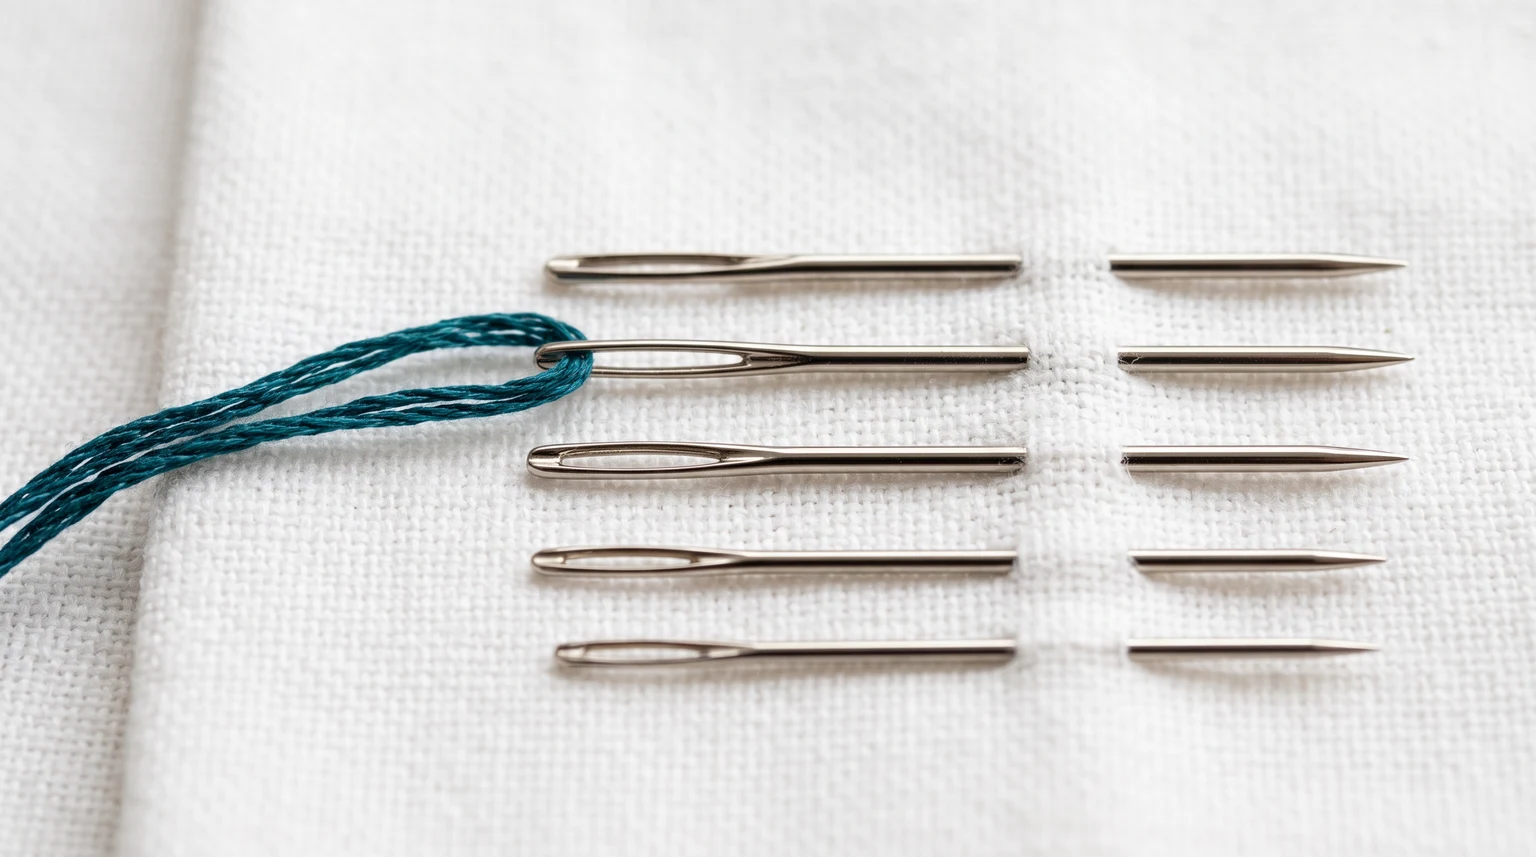
Choose an embroidery needle for your fabric and floss. Learn how needle types, eye size and thickness affect threading, knots and smooth stitches.
Read guide →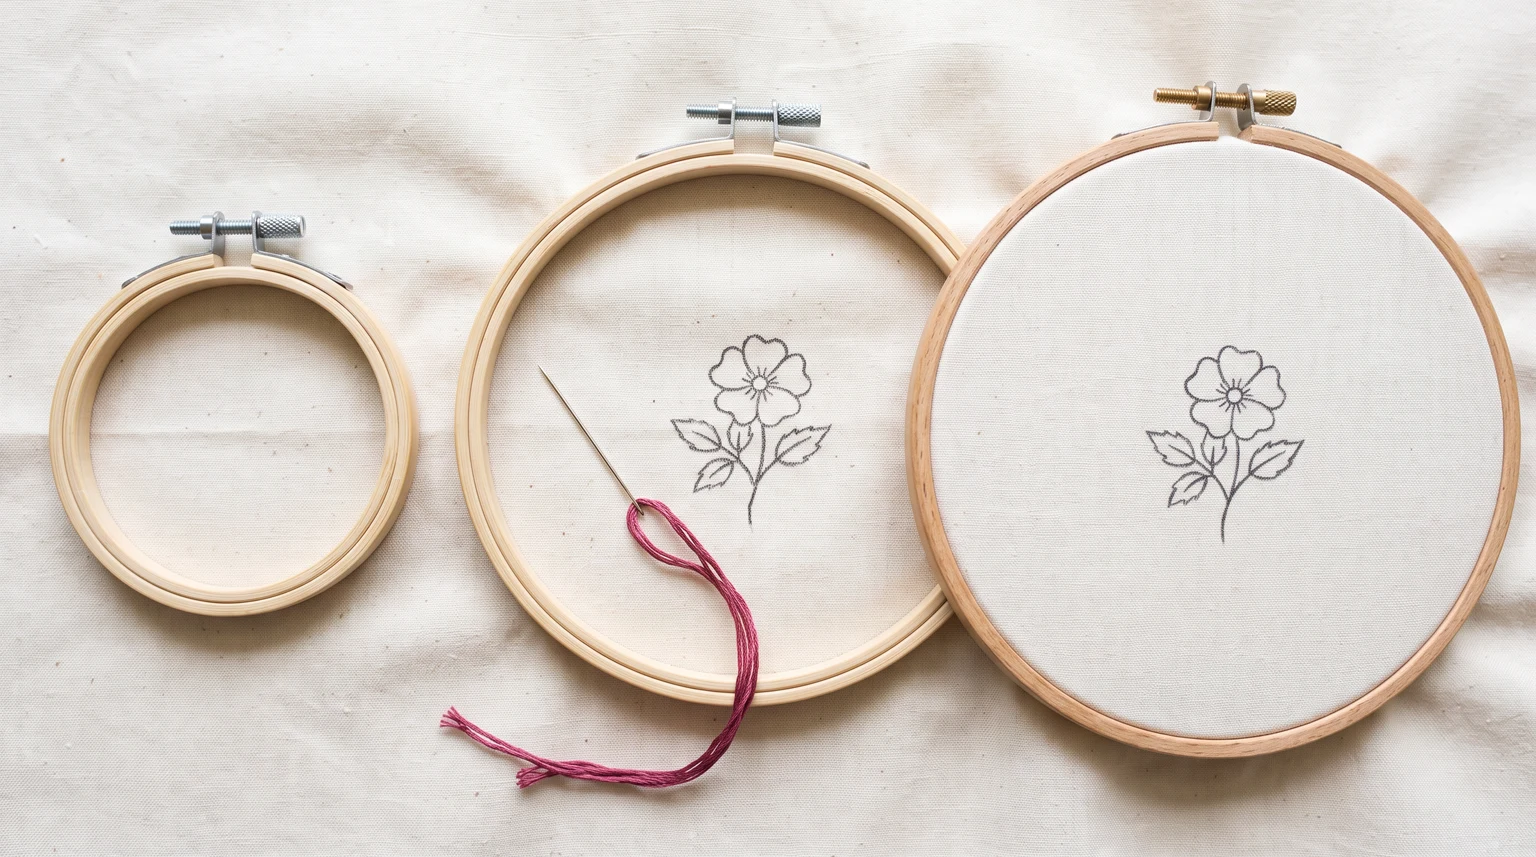
Choose an embroidery hoop, fit your fabric, adjust tension and prevent slipping or hoop marks with this practical guide for hand embroidery.
Read guide →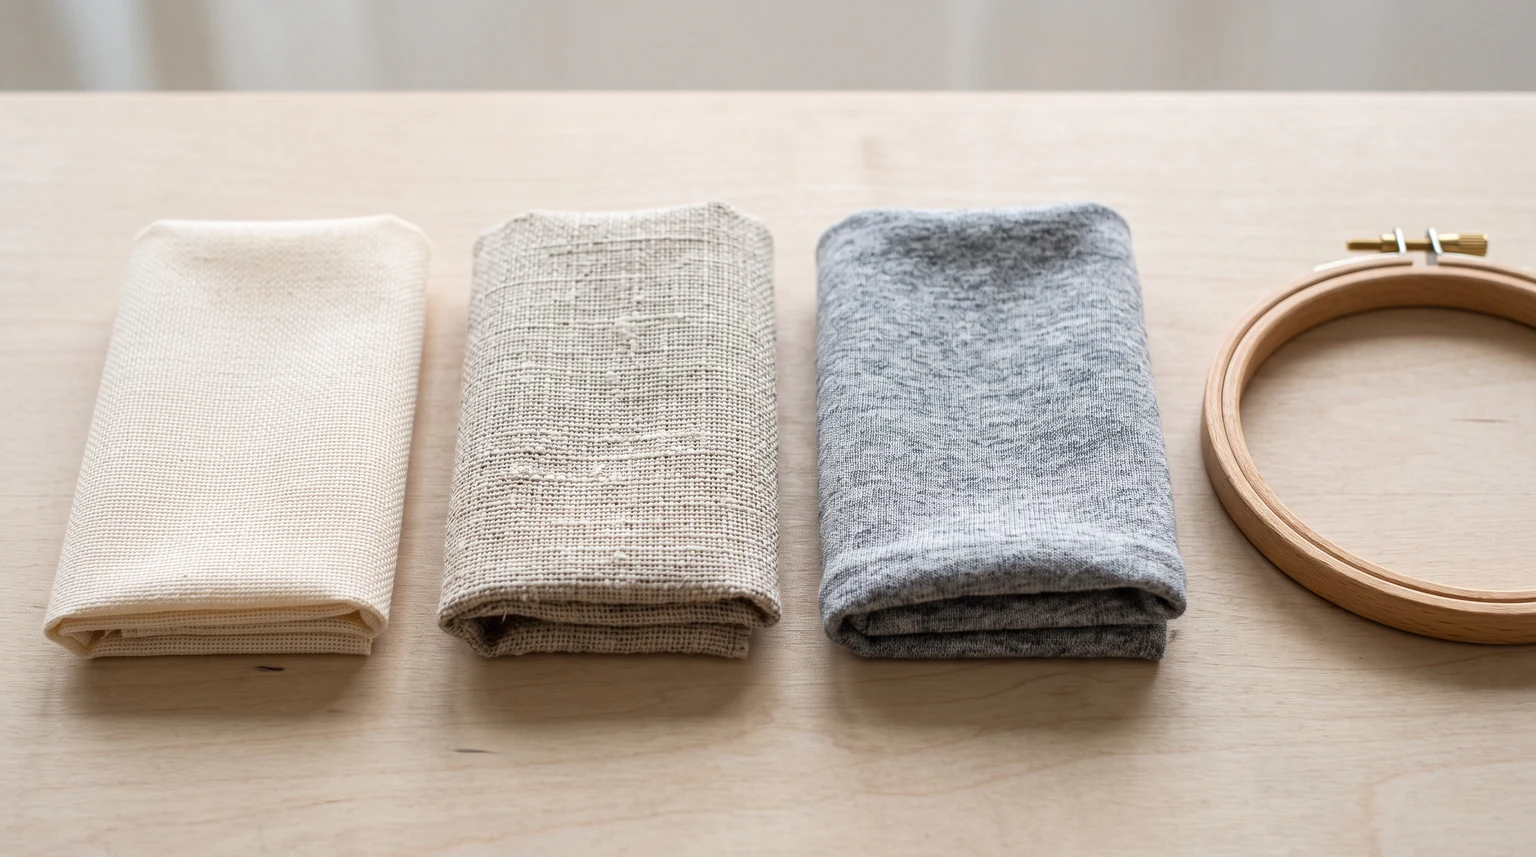
Choose fabric for hand embroidery by weave, stretch and weight. Compare cotton and linen, prepare your cloth and avoid puckering on a first project.
Read guide →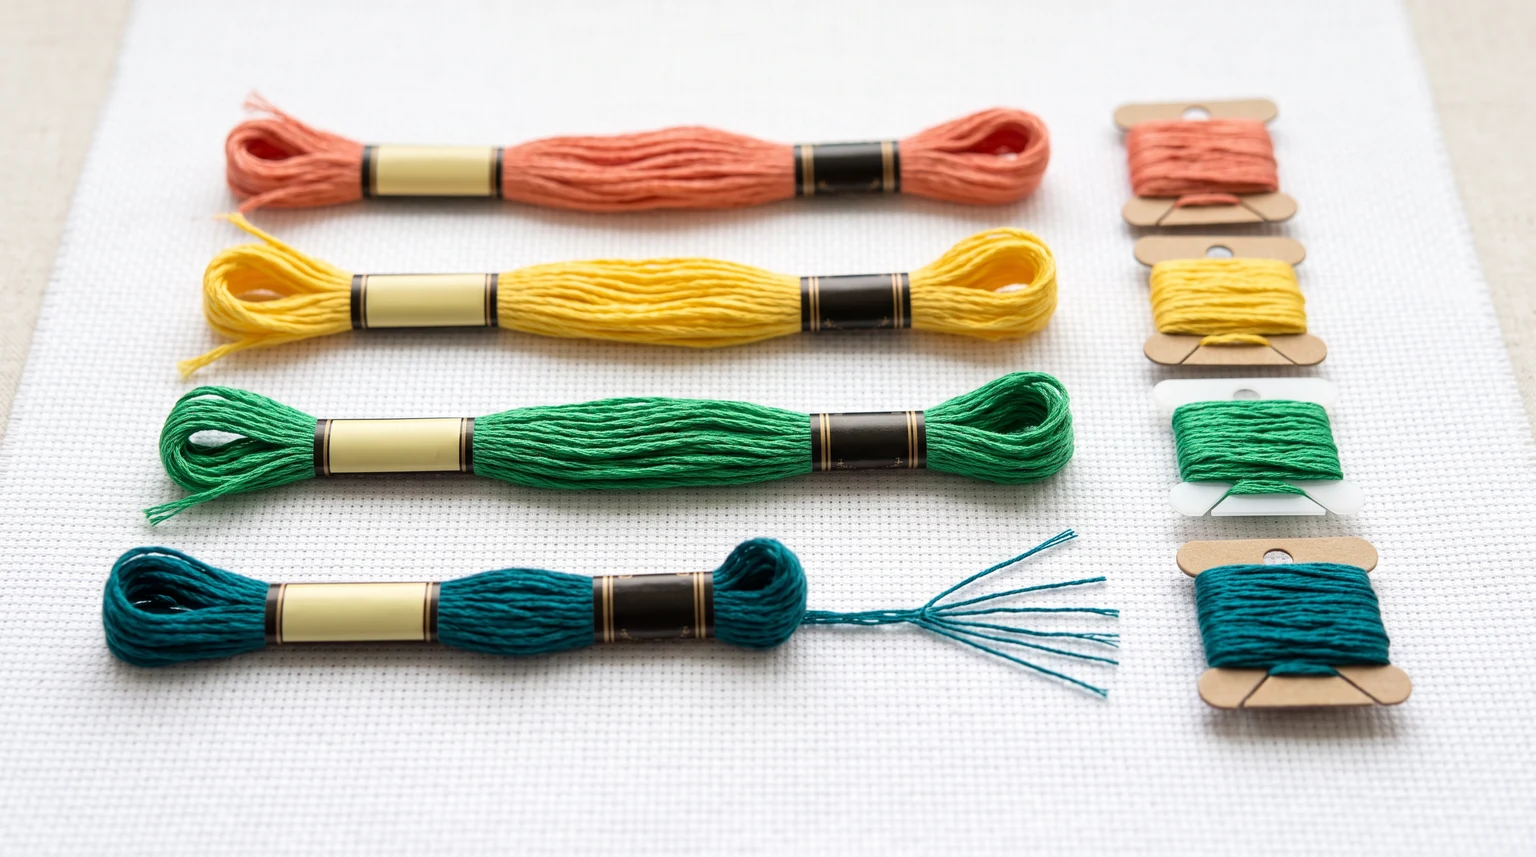
Learn how to separate embroidery floss, choose strand counts, plan a small color palette and prevent tangles while stitching your next project.
Read guide →
Transfer an embroidery pattern to fabric using tracing, transfer paper or soluble stabilizer. Choose a method, test the marks and avoid distorted designs.
Read guide →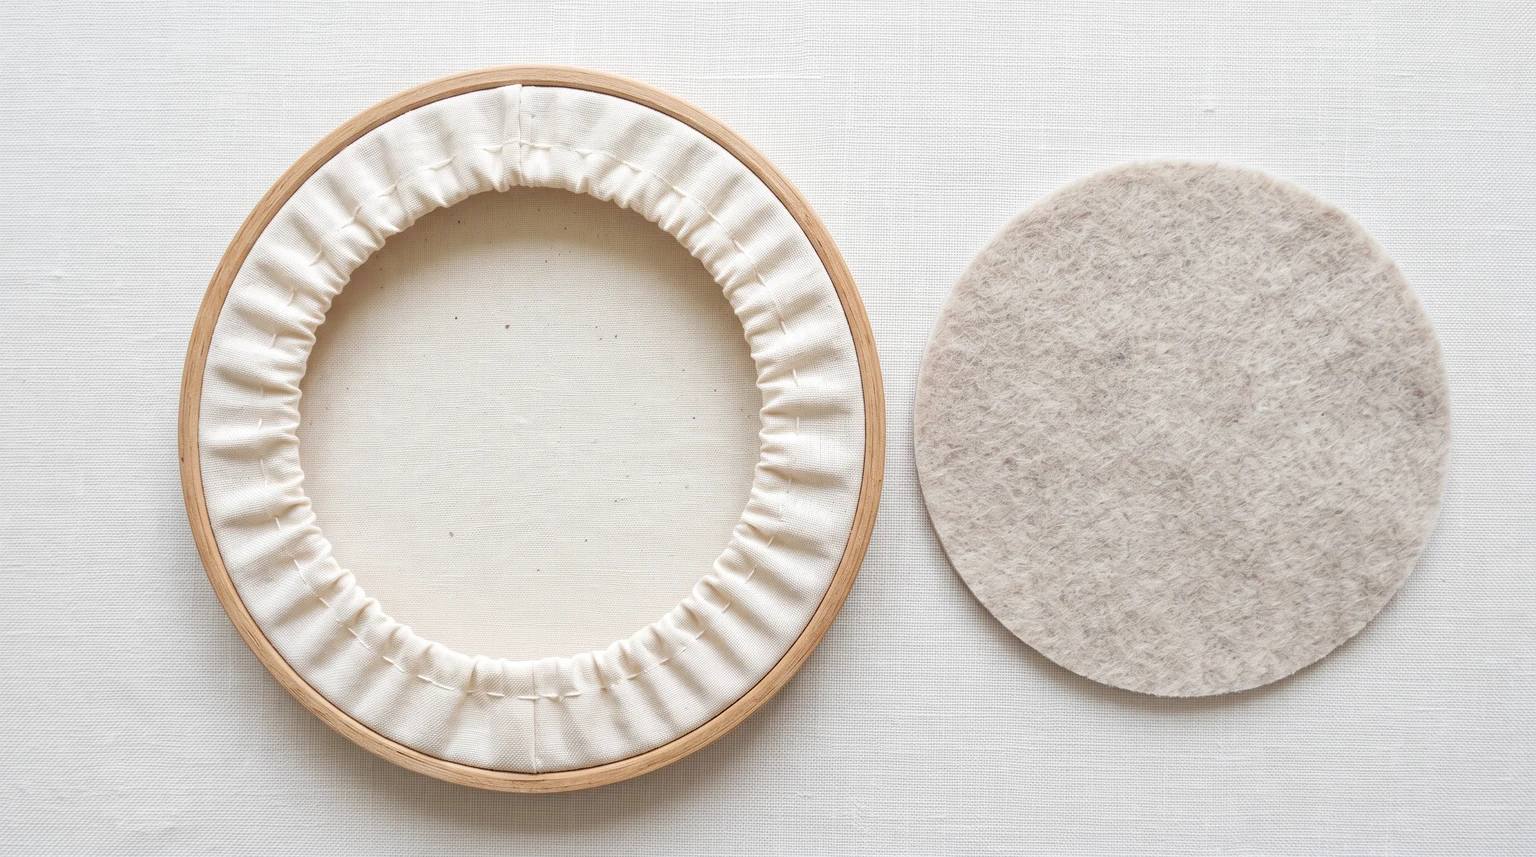
Clean, center and secure a finished design so the front stays smooth and the back looks intentional.
Read guide →Build a reliable stitch vocabulary and learn when each stitch works best.
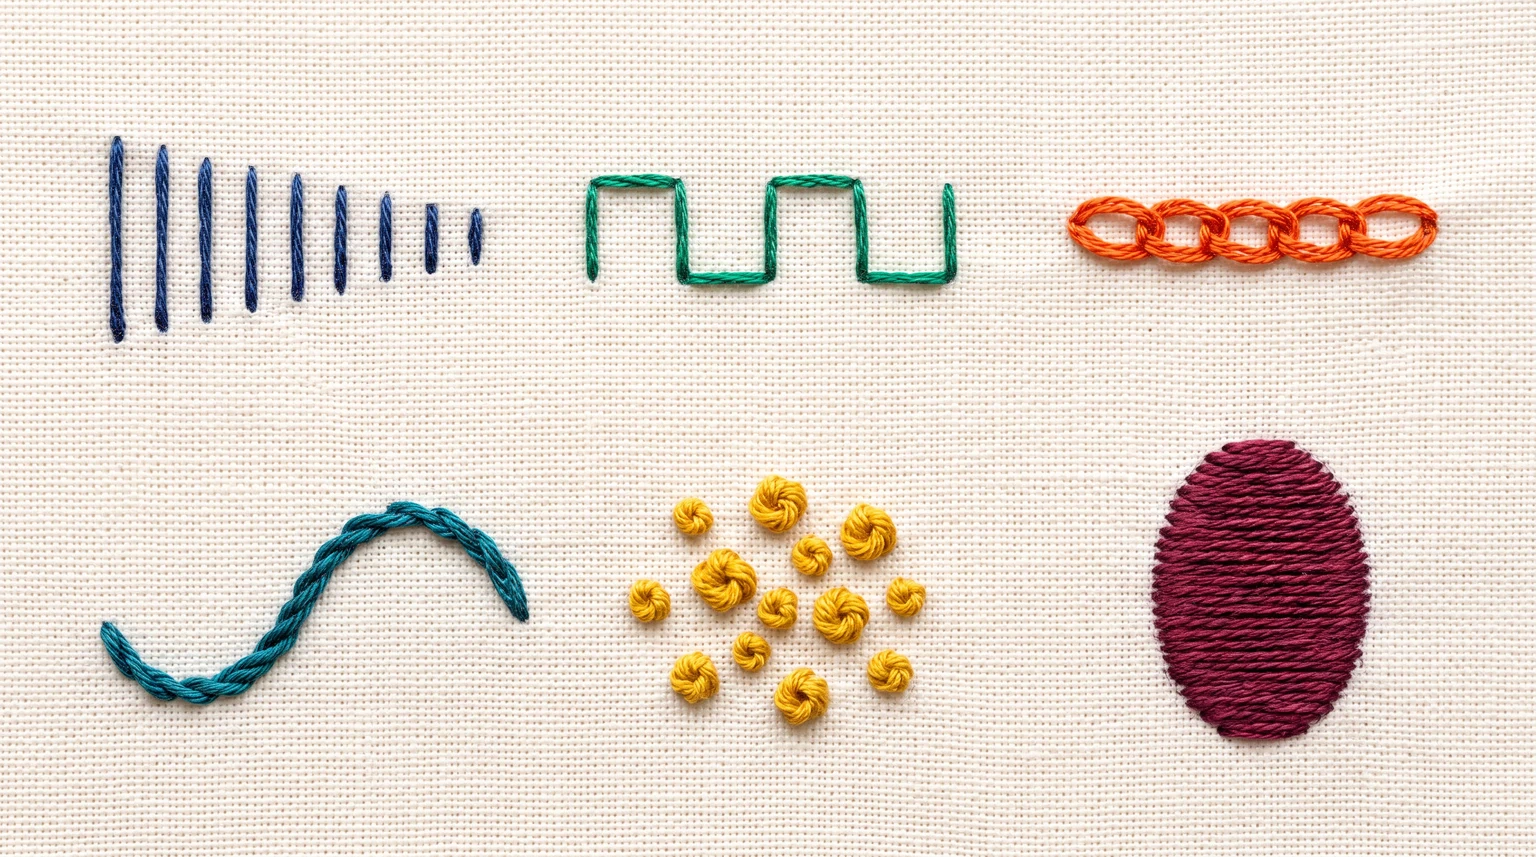
Learn a small group of stitches that cover outlines, fills, texture, dots and decorative lines.
Read guide →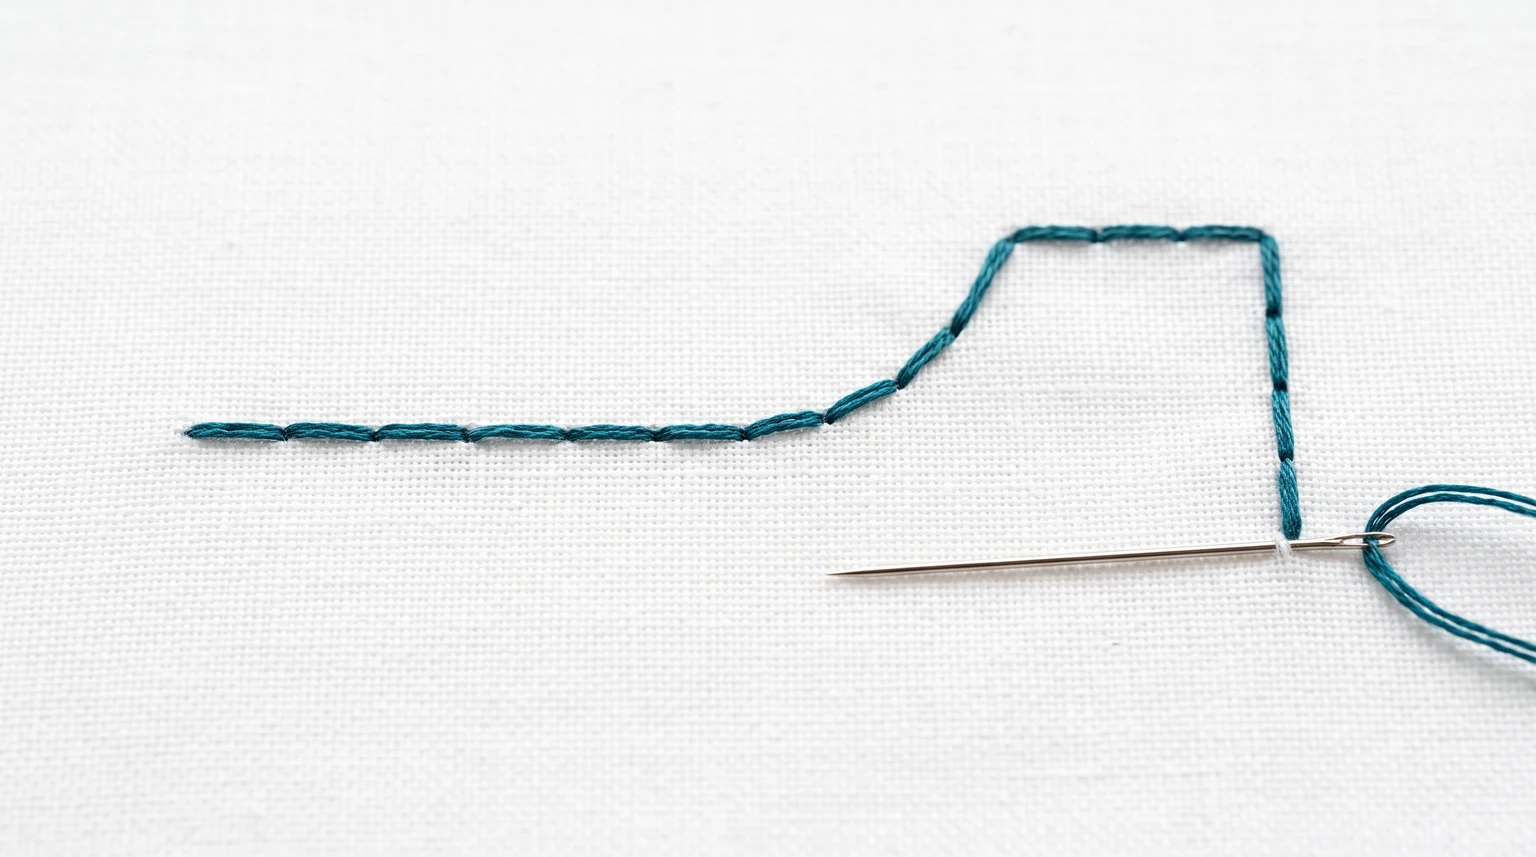
Learn backstitch for embroidery outlines, curves and lettering. Follow clear steps, choose stitch length and fix gaps, uneven lines or puckering.
Read guide →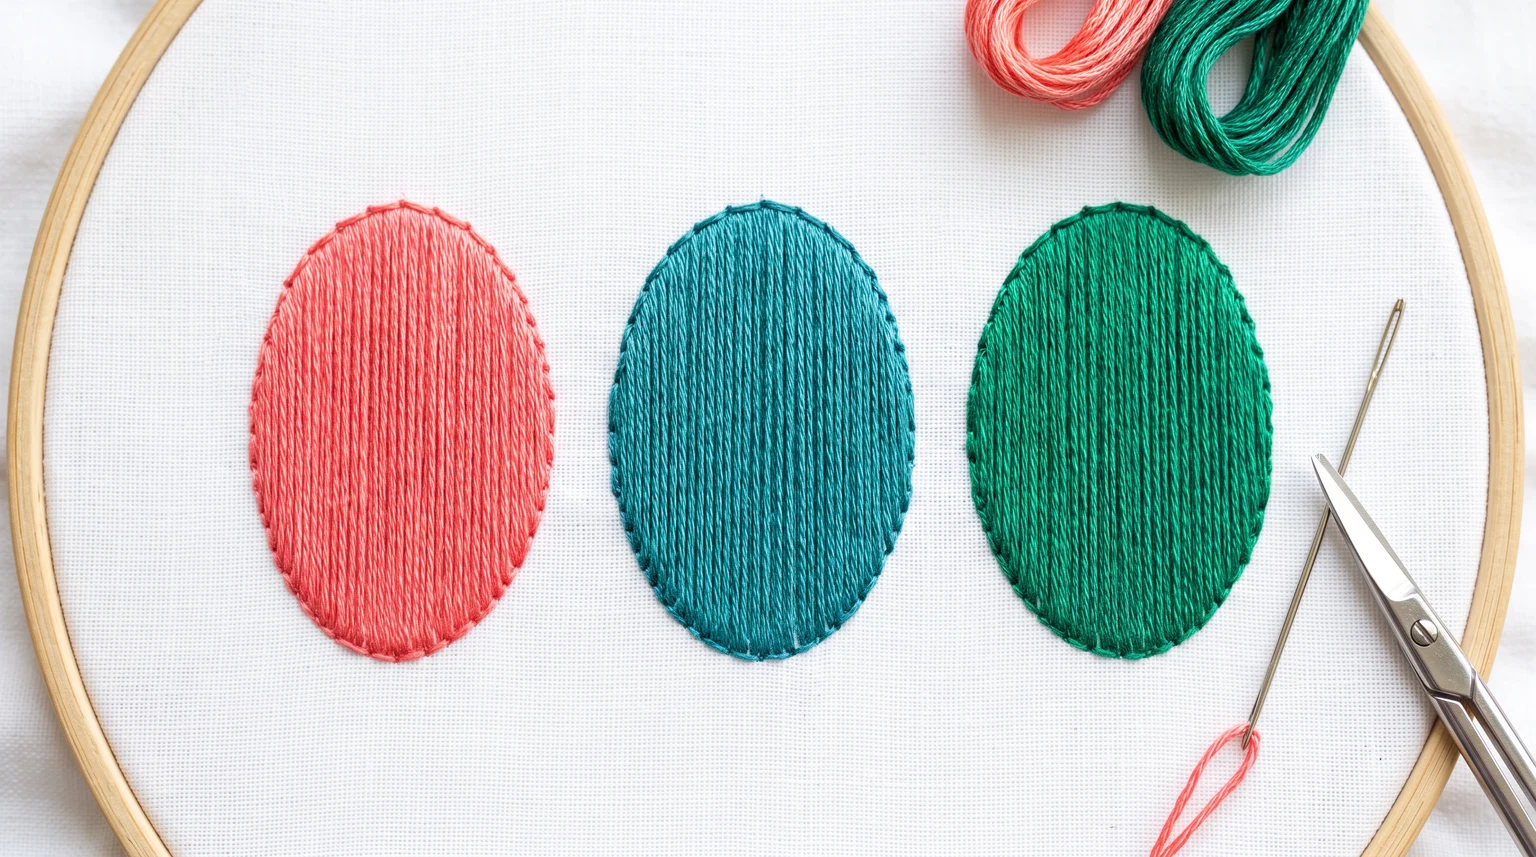
Make smooth satin stitch petals and leaves. Learn stitch direction, edge placement and thread tension, with fixes for gaps, loose fills and puckering.
Read guide →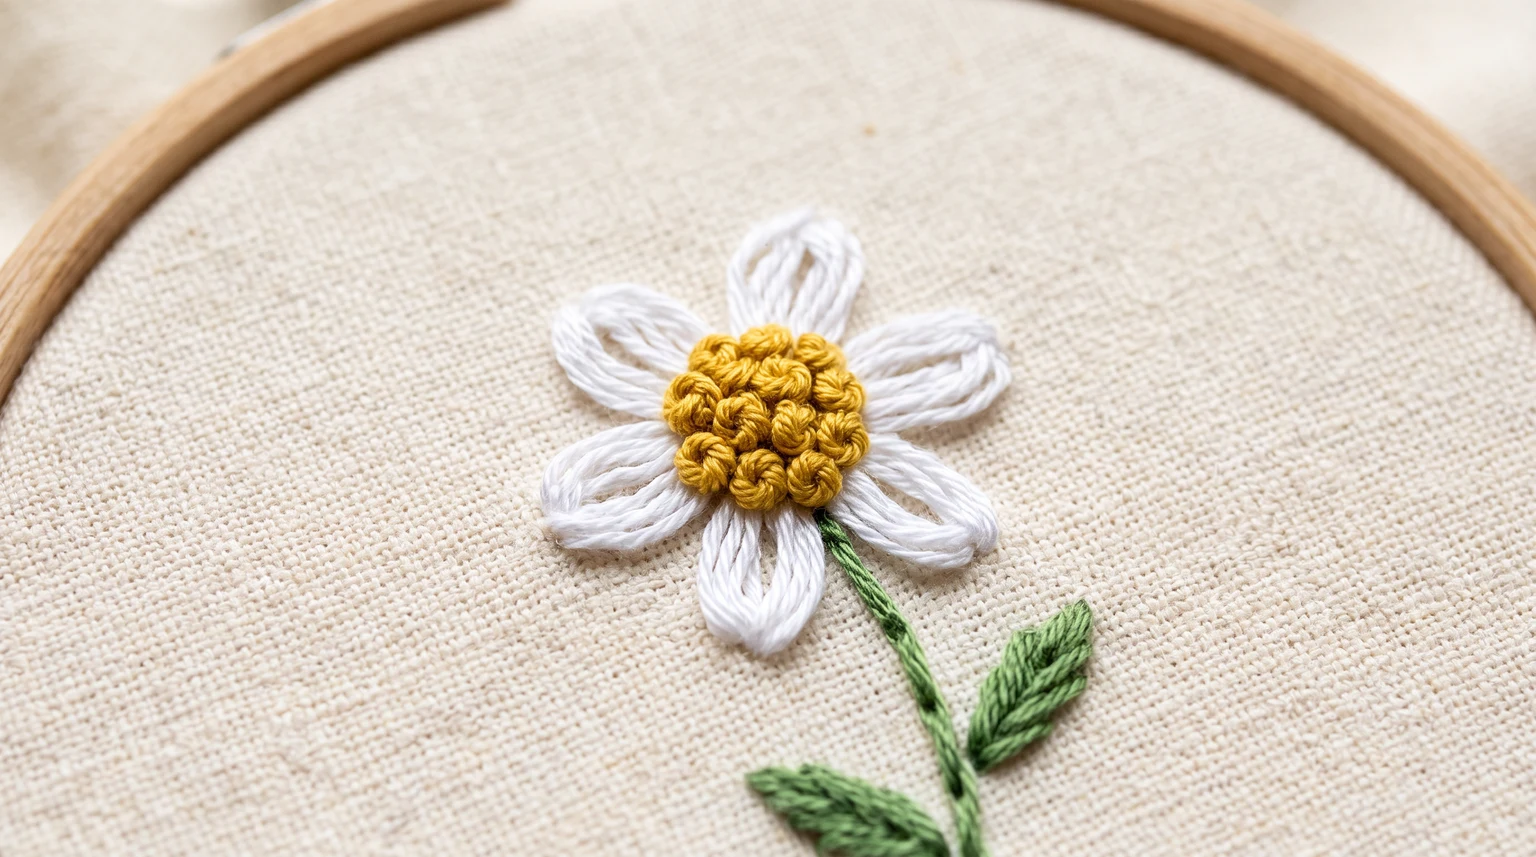
Learn to make a French knot with controlled wraps and tension. Fix disappearing knots, loose loops and uneven dots for flower centers and small details.
Read guide →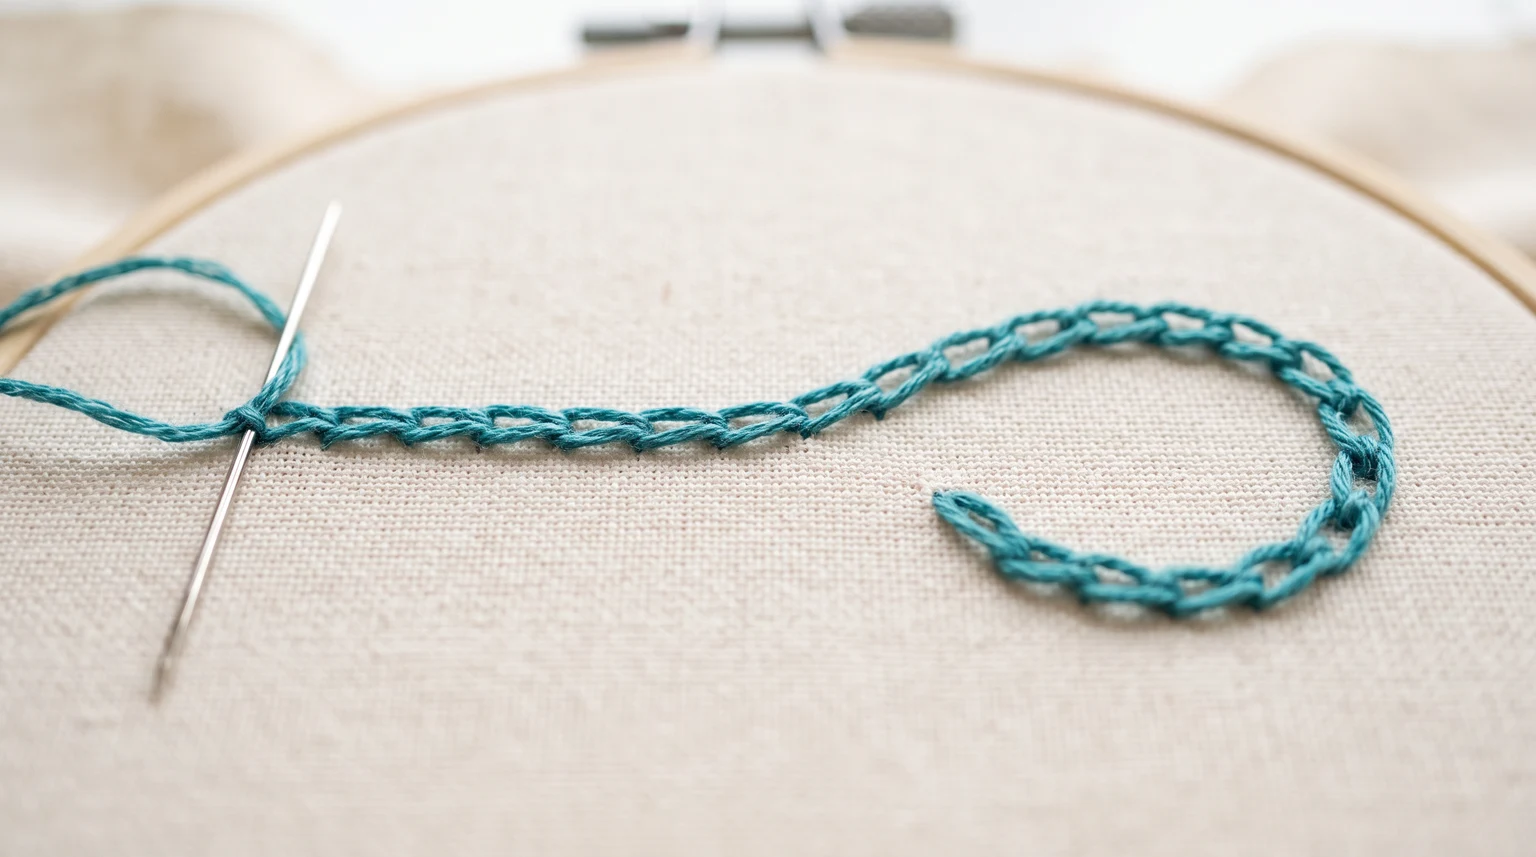
Create linked loops for bold outlines, borders, vines and decorative fills.
Read guide →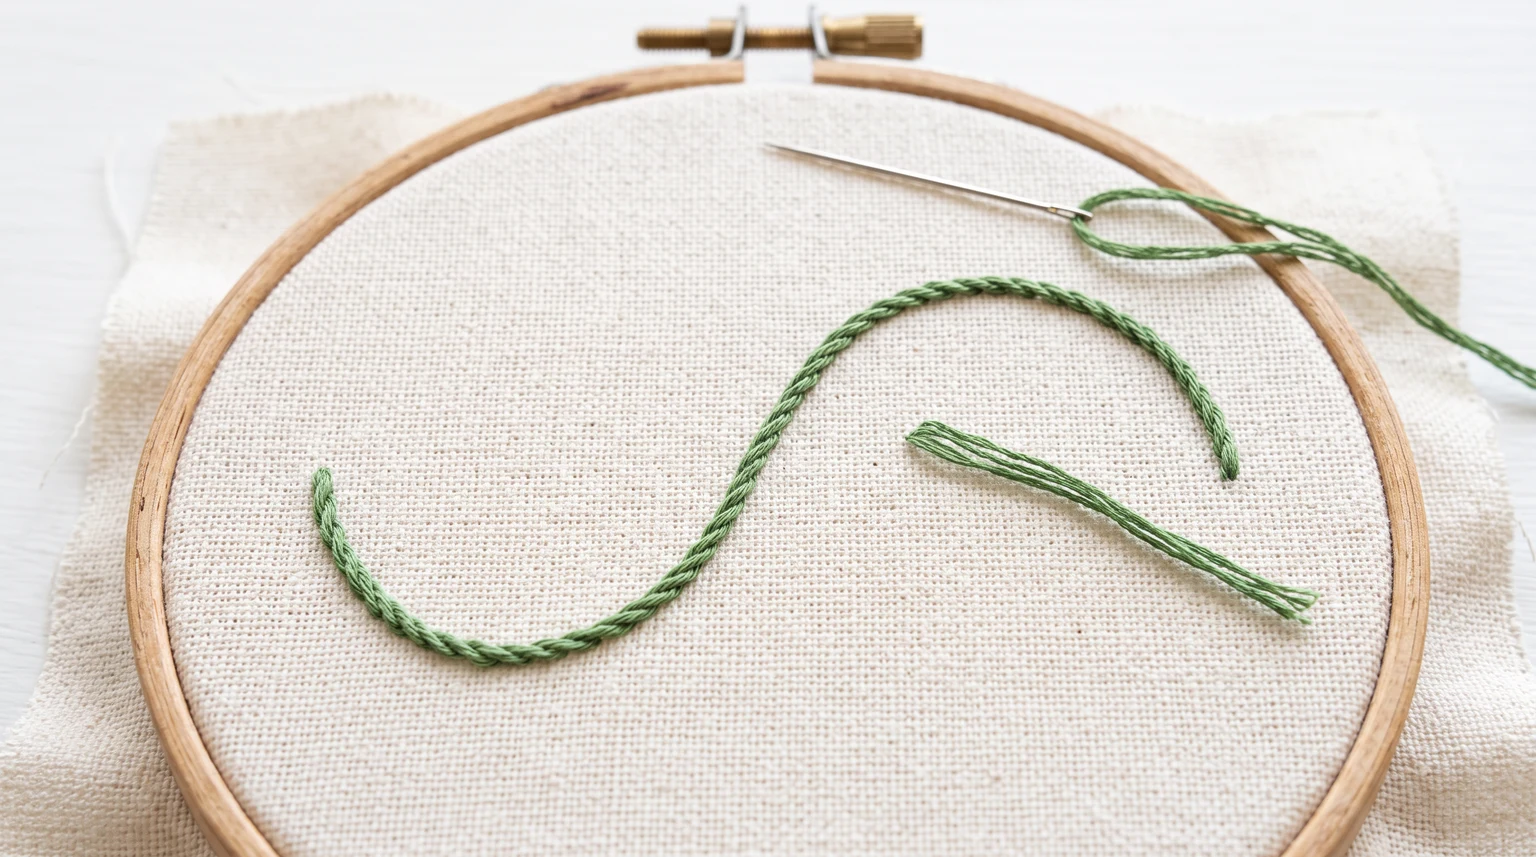
Use overlapping slanted stitches to create flexible stems, curves and graceful outlines.
Read guide →Use stitch choice, spacing and color planning to build flowers, leaves and botanical motifs.
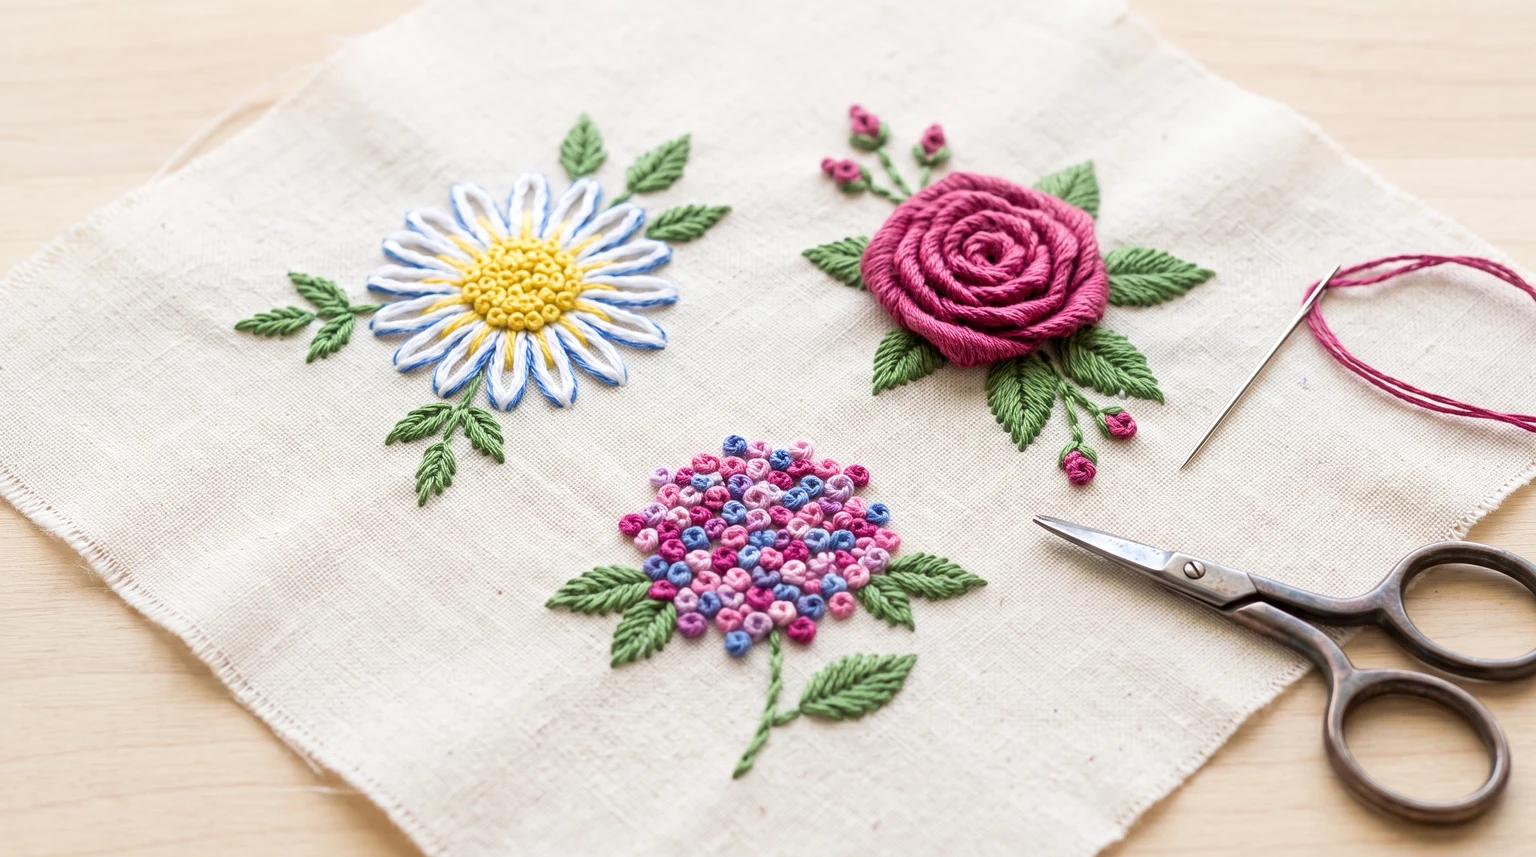
Plan floral motifs by separating outlines, petals, centers, leaves and stems into stitchable jobs.
Read guide →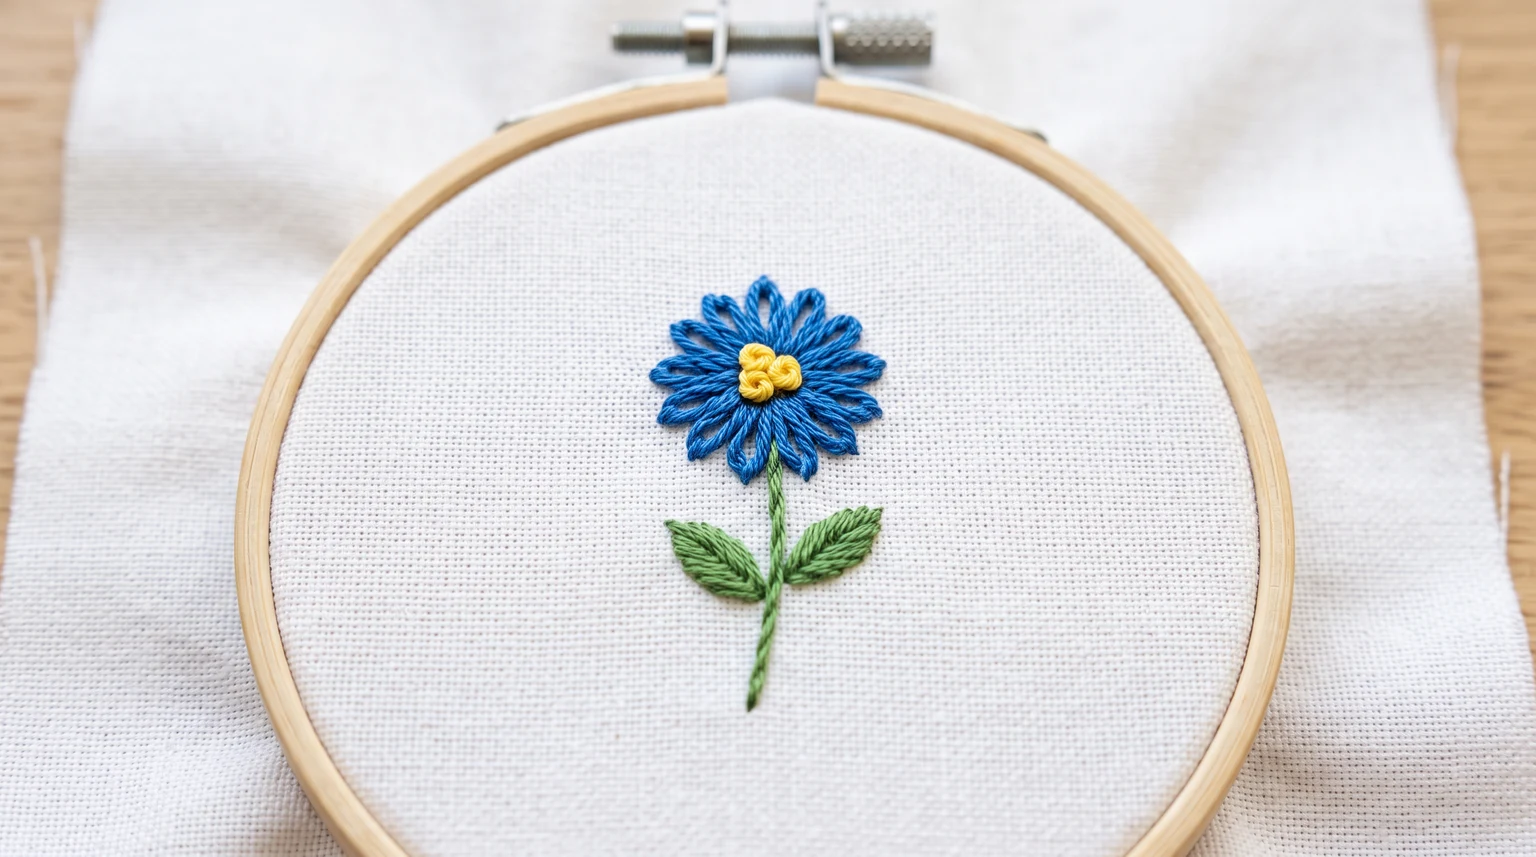
Turn simple flower drawings into stitch plans using clear petals, centers, stems and leaves.
Read guide →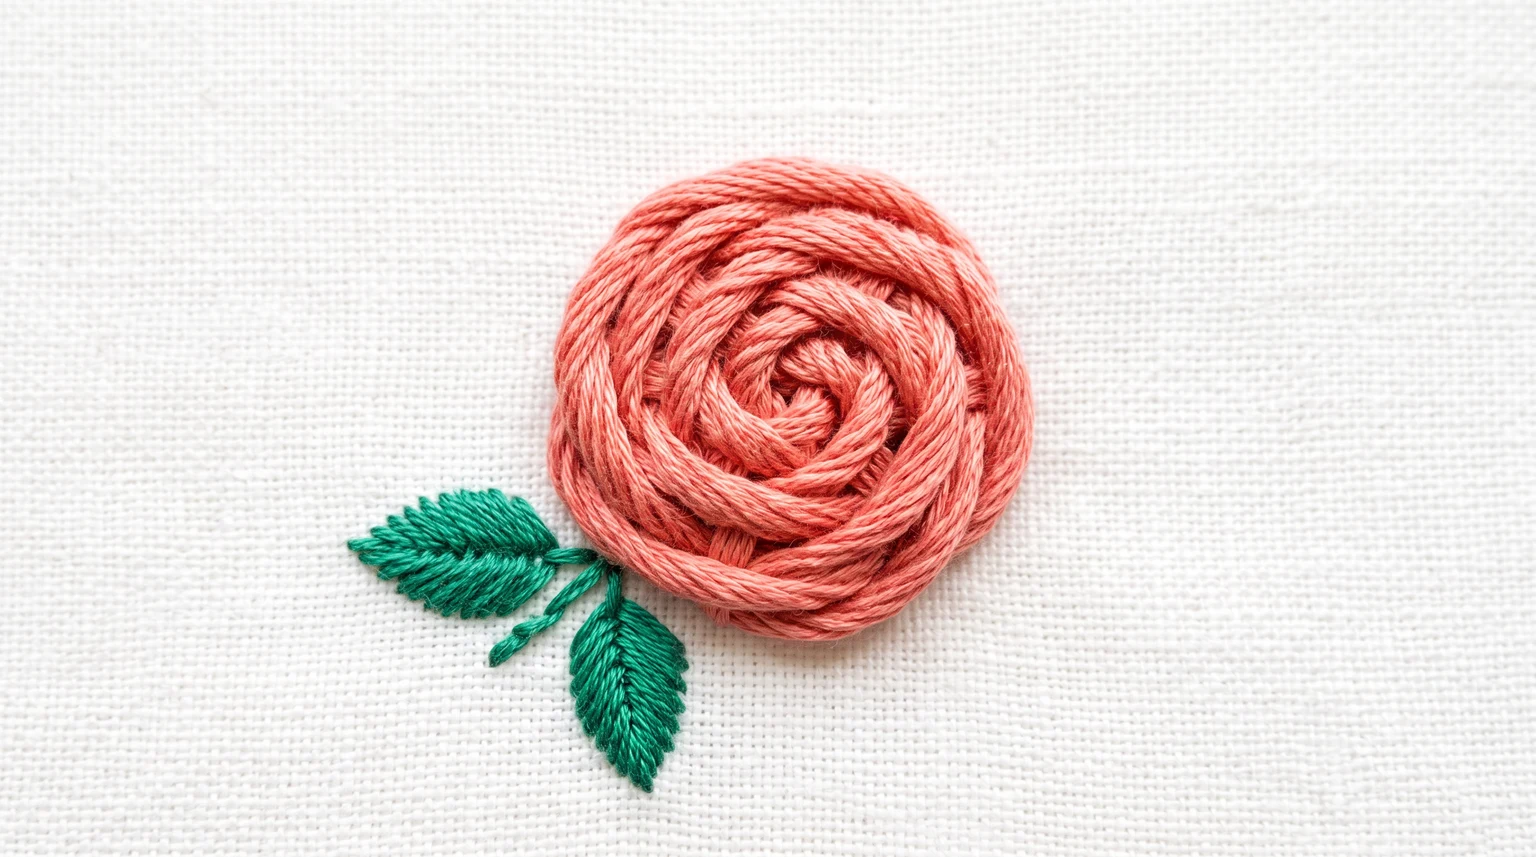
Make a woven rose embroidery flower with five spokes and simple over-under weaving. Learn supplies, leaf stitches and fixes for uneven or flat roses.
Read guide →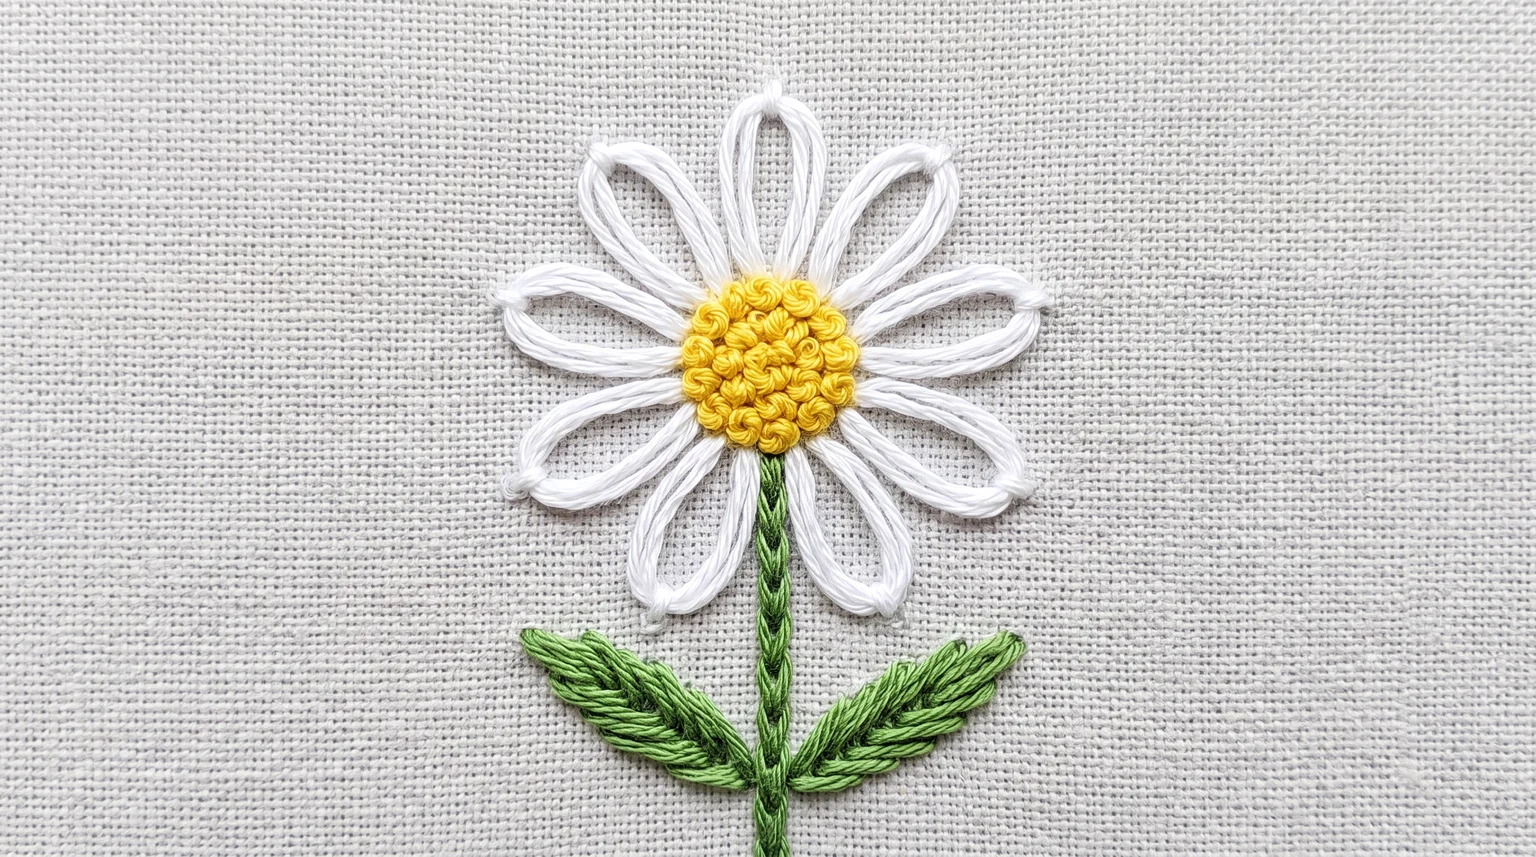
Stitch a daisy embroidery flower with detached-chain petals and a French knot center. Learn spacing, thread choices and fixes for uneven petals.
Read guide →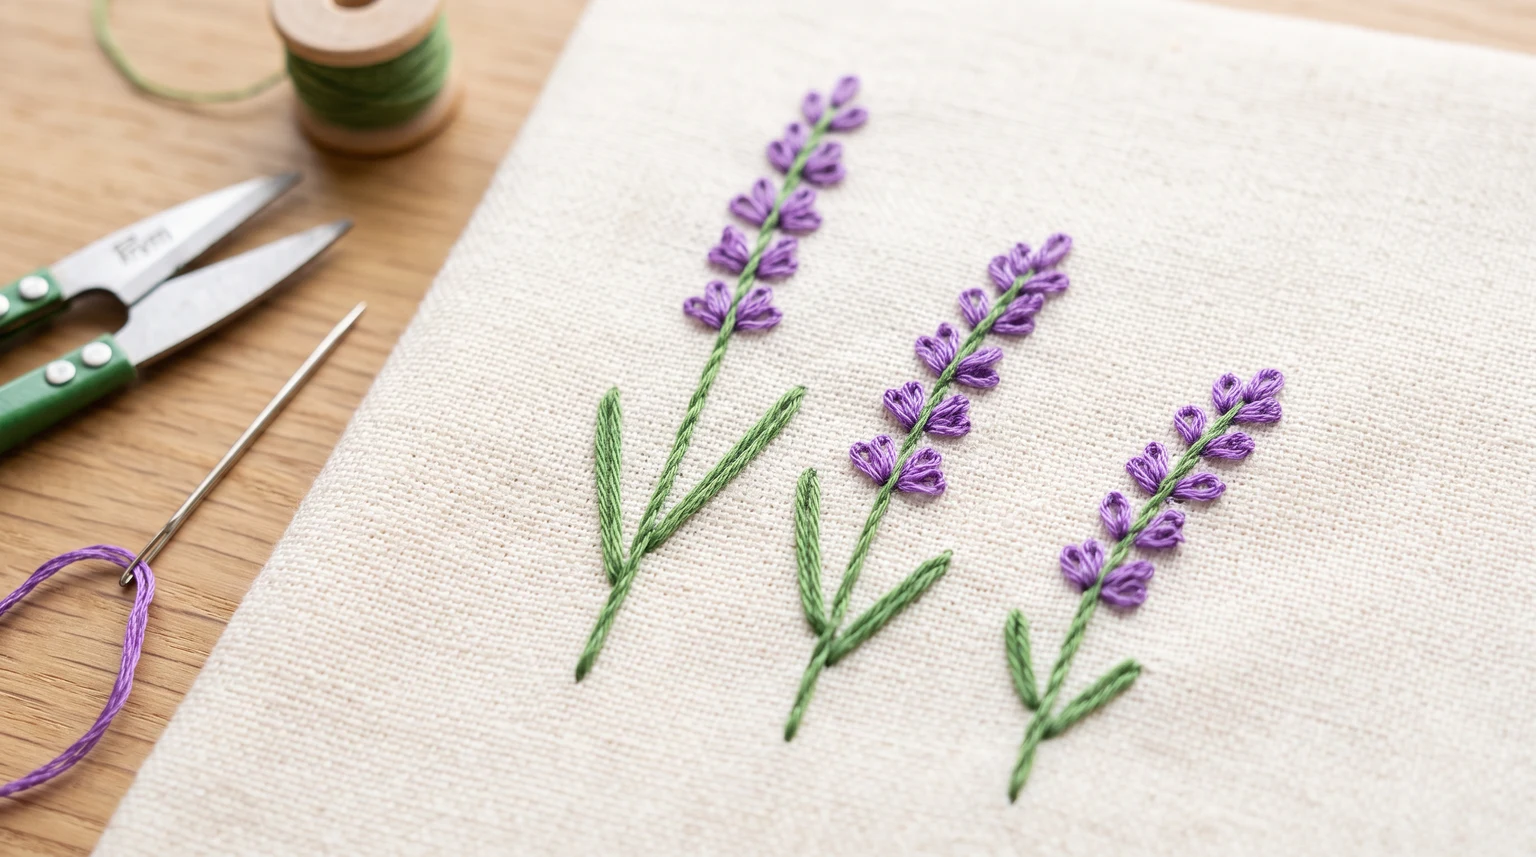
Use rhythm and repeated small stitches to suggest lavender without drawing every blossom.
Read guide →
Combine several simple flower types while keeping scale, spacing and stitch density under control.
Read guide →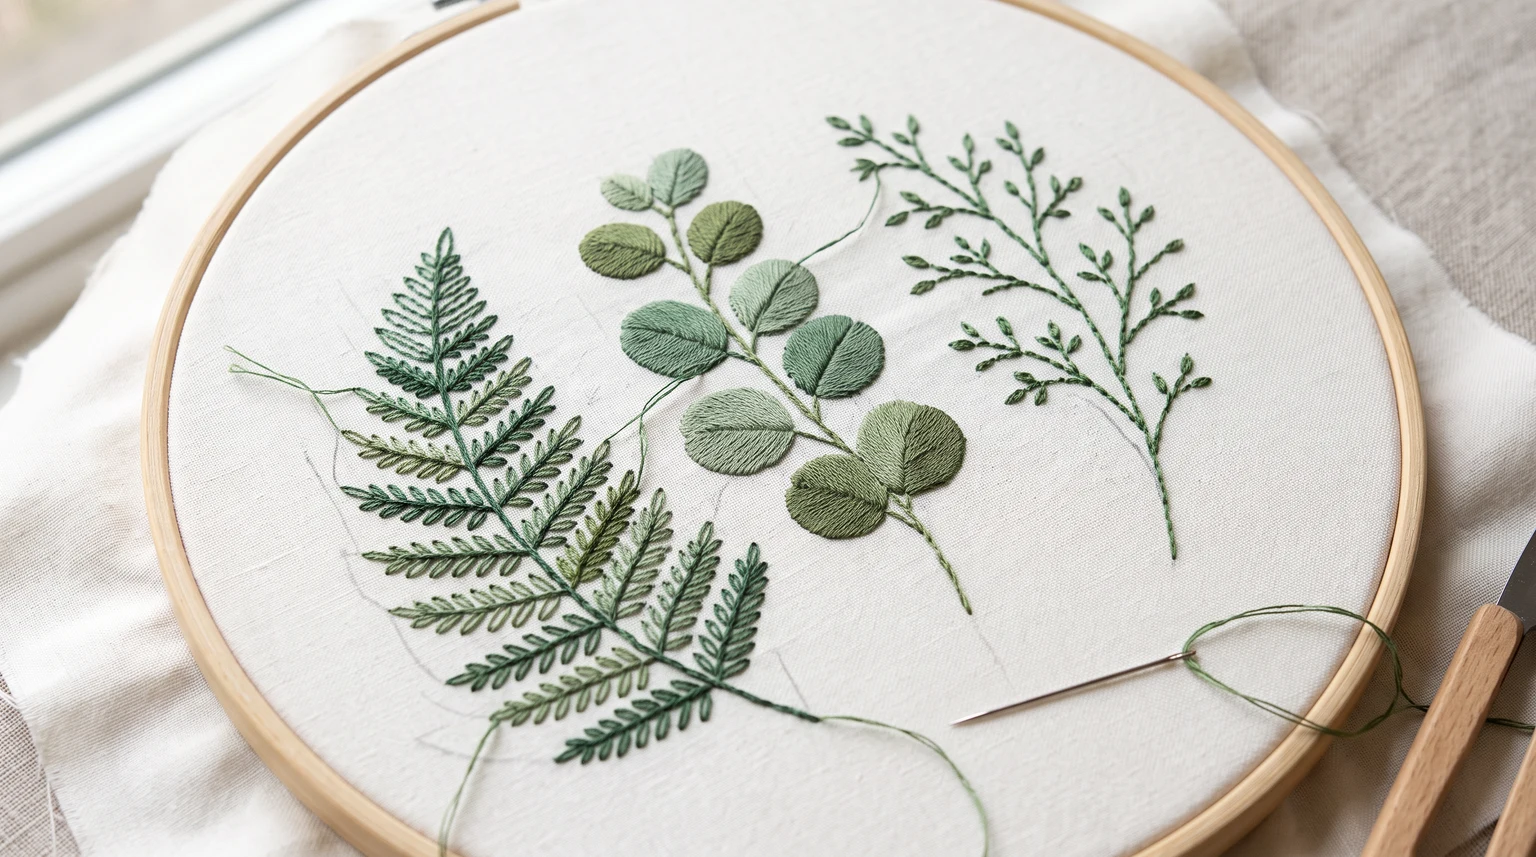
Simplify real plant forms into stitchable stems, leaves, berries and repeated botanical shapes.
Read guide →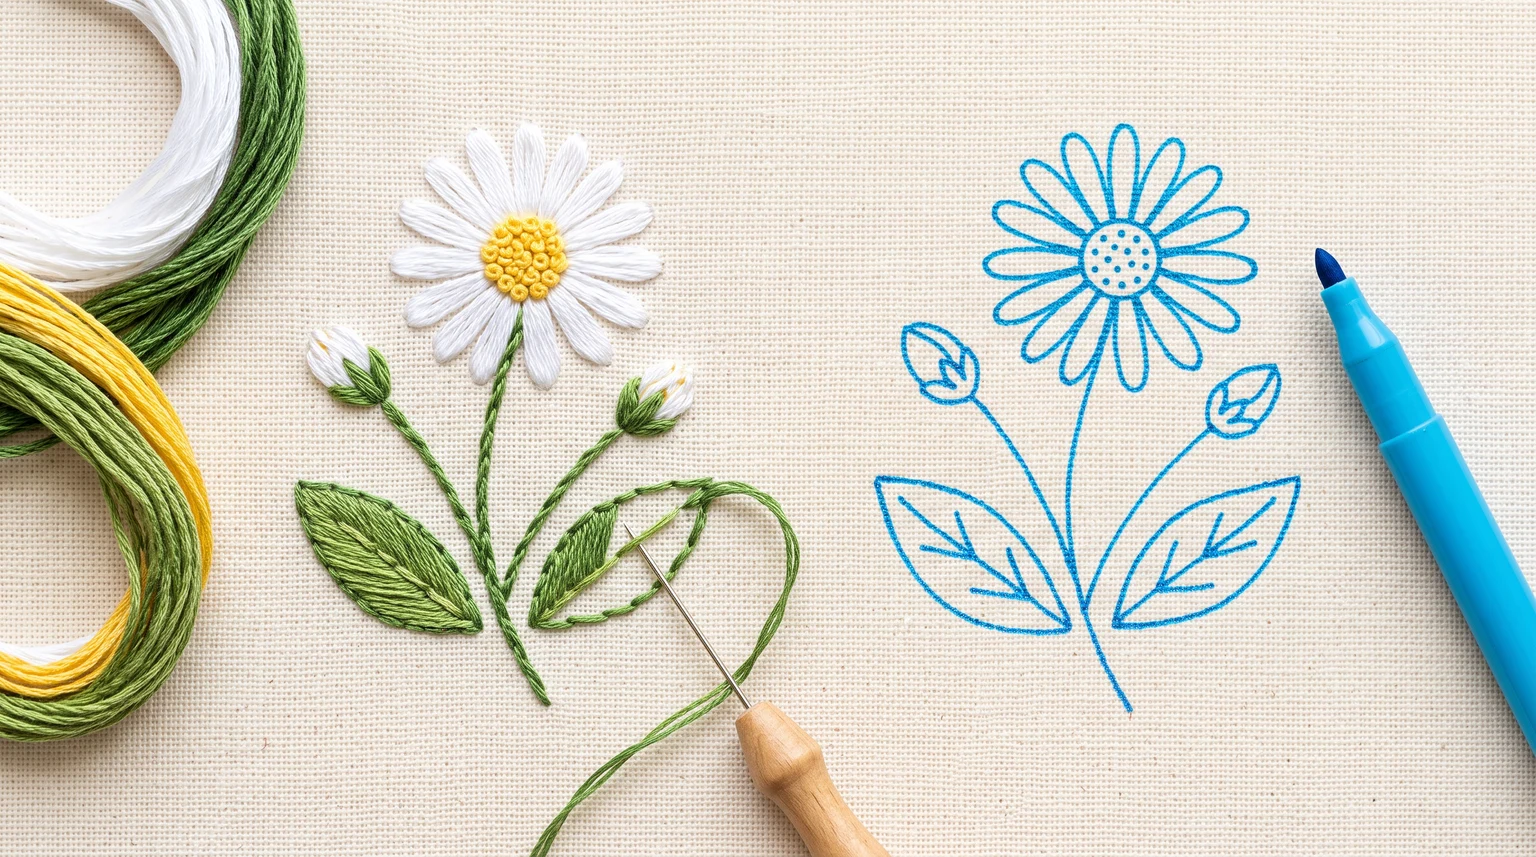
Compare floral layouts by complexity, petal size, line density and the stitch techniques they require.
Read guide →Plan Halloween, autumn, gothic and witchy embroidery without losing stitchability.

Plan seasonal pattern groups around motifs, palettes and project difficulty rather than repeating the same design.
Read guide →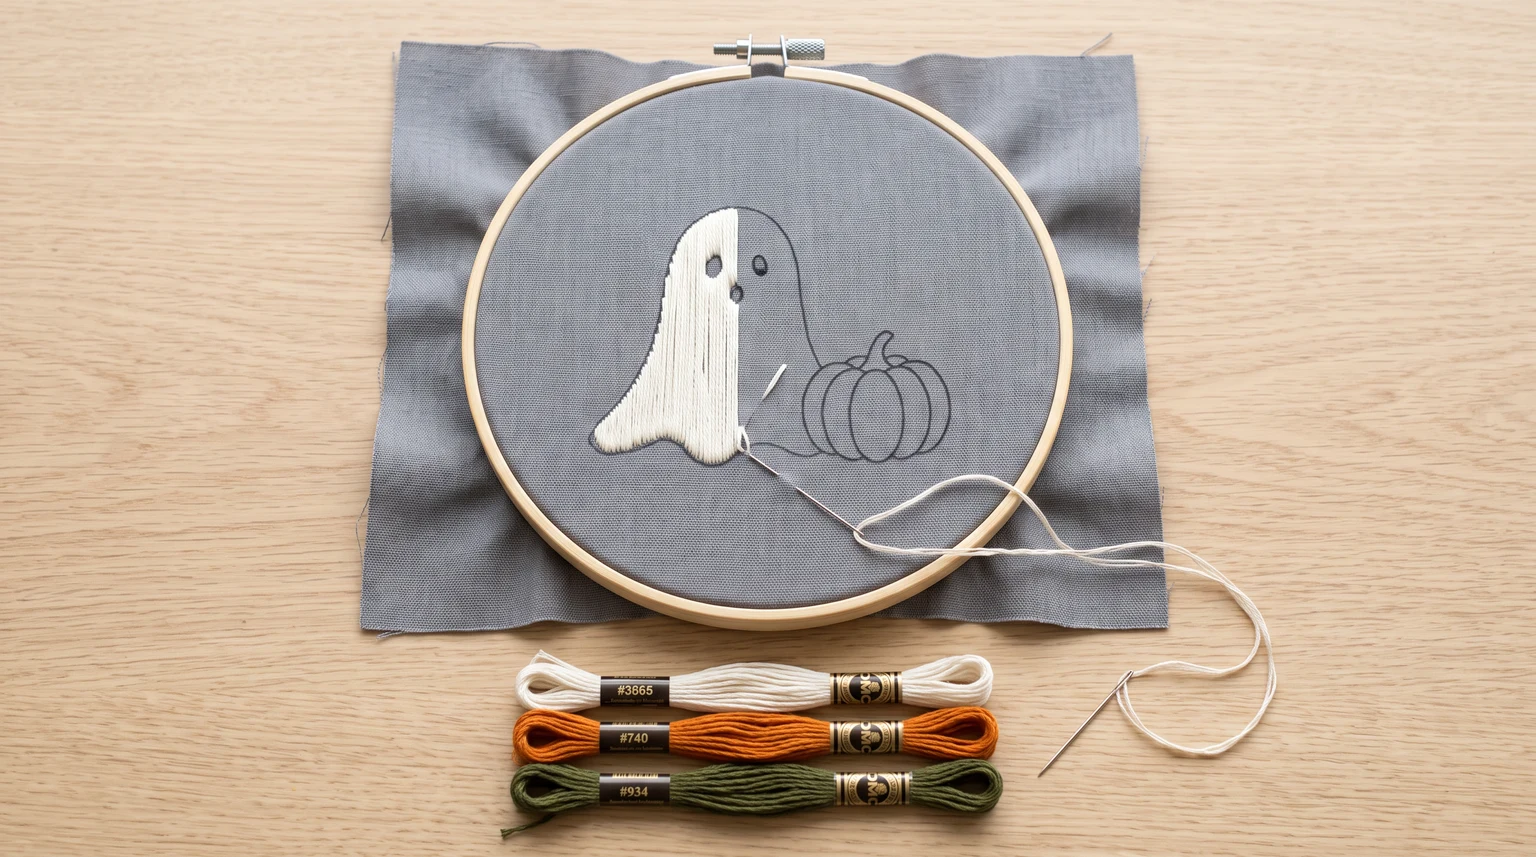
Turn bats, ghosts, pumpkins, webs and moons into stitchable Halloween compositions.
Read guide →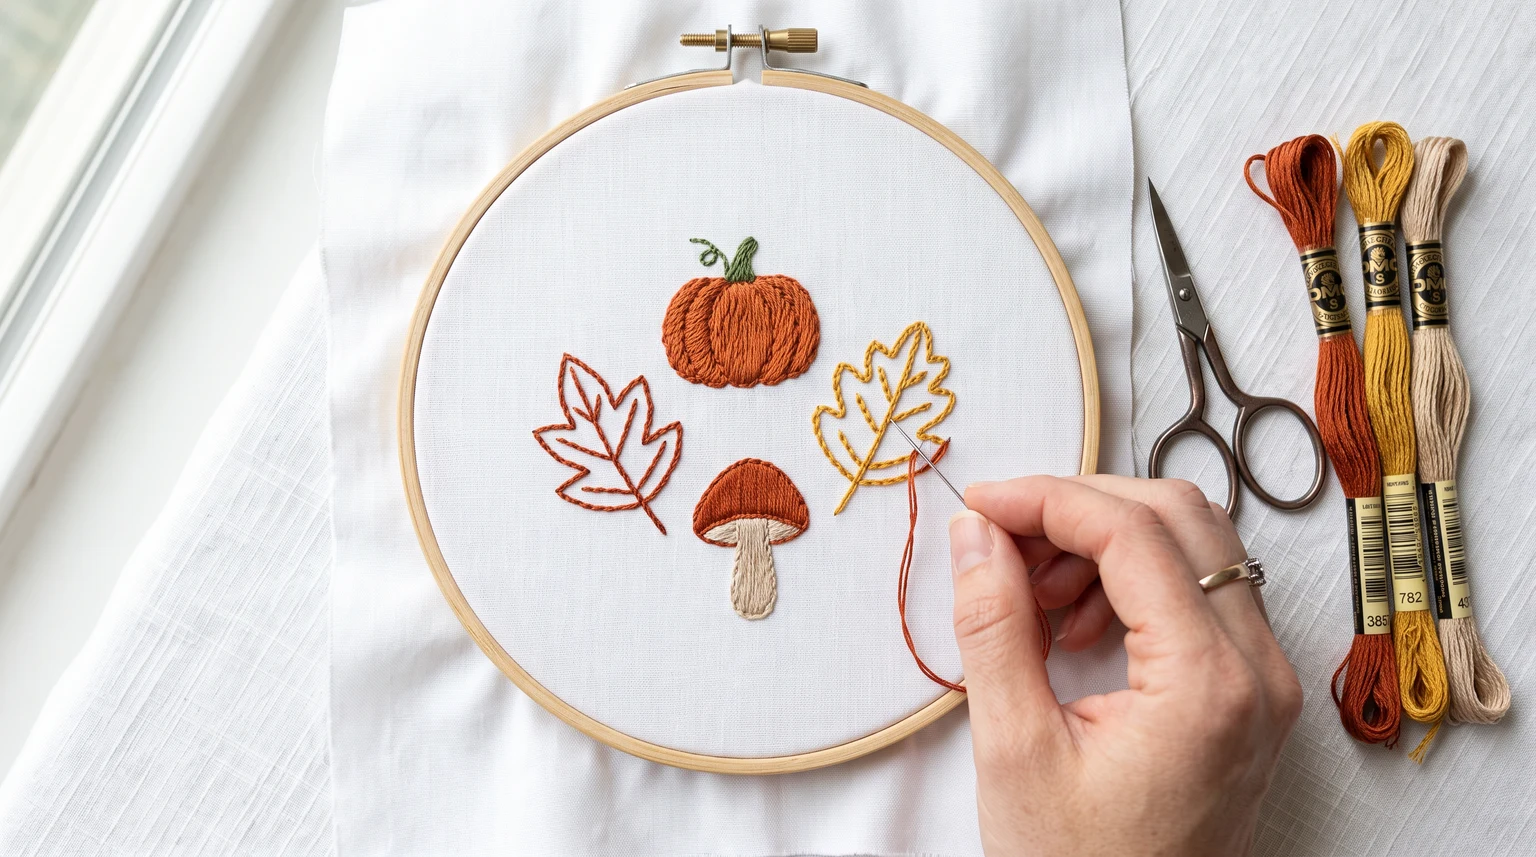
Build autumn designs with restrained warm palettes and varied organic shapes.
Read guide →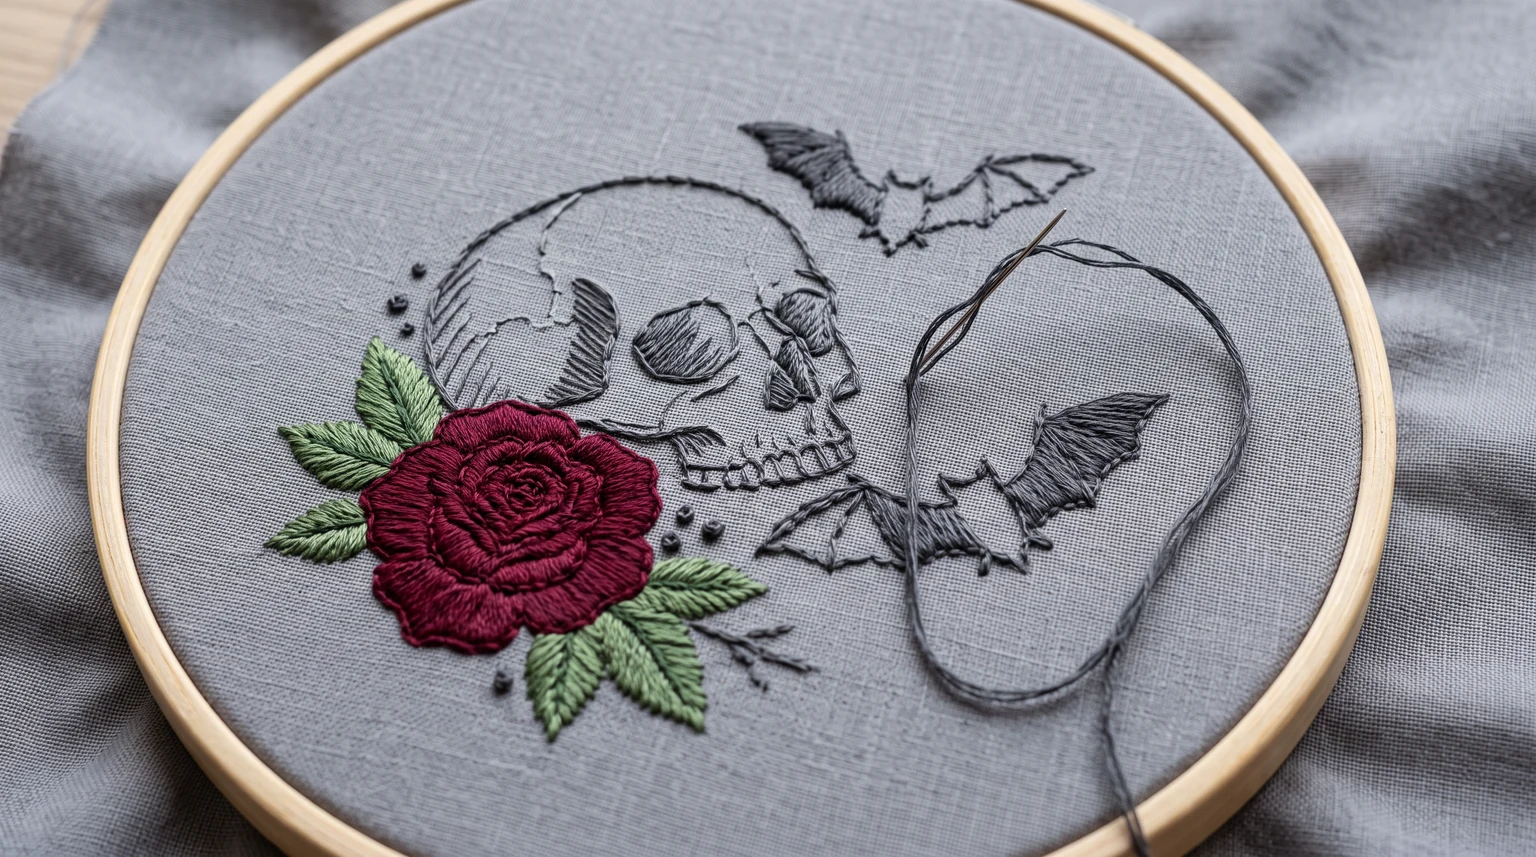
Translate skulls, ravens, gates, thorns and relics into clean embroidery lines with controlled detail.
Read guide →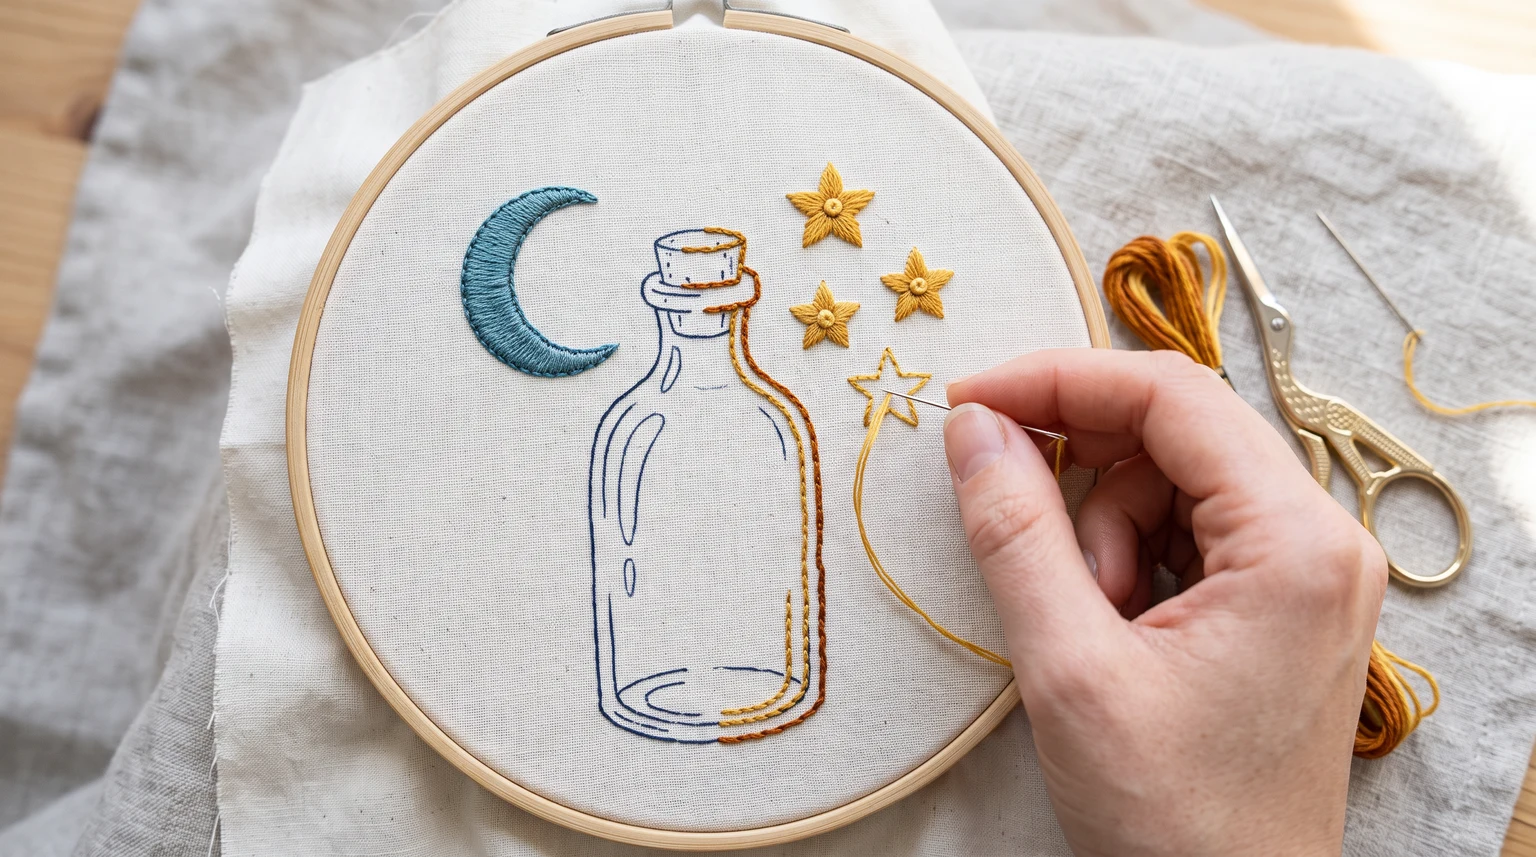
Design witchy embroidery around clear symbols, readable line art and restrained celestial detail.
Read guide →Choose manageable projects and turn inspiration into clear hand-embroidery designs.
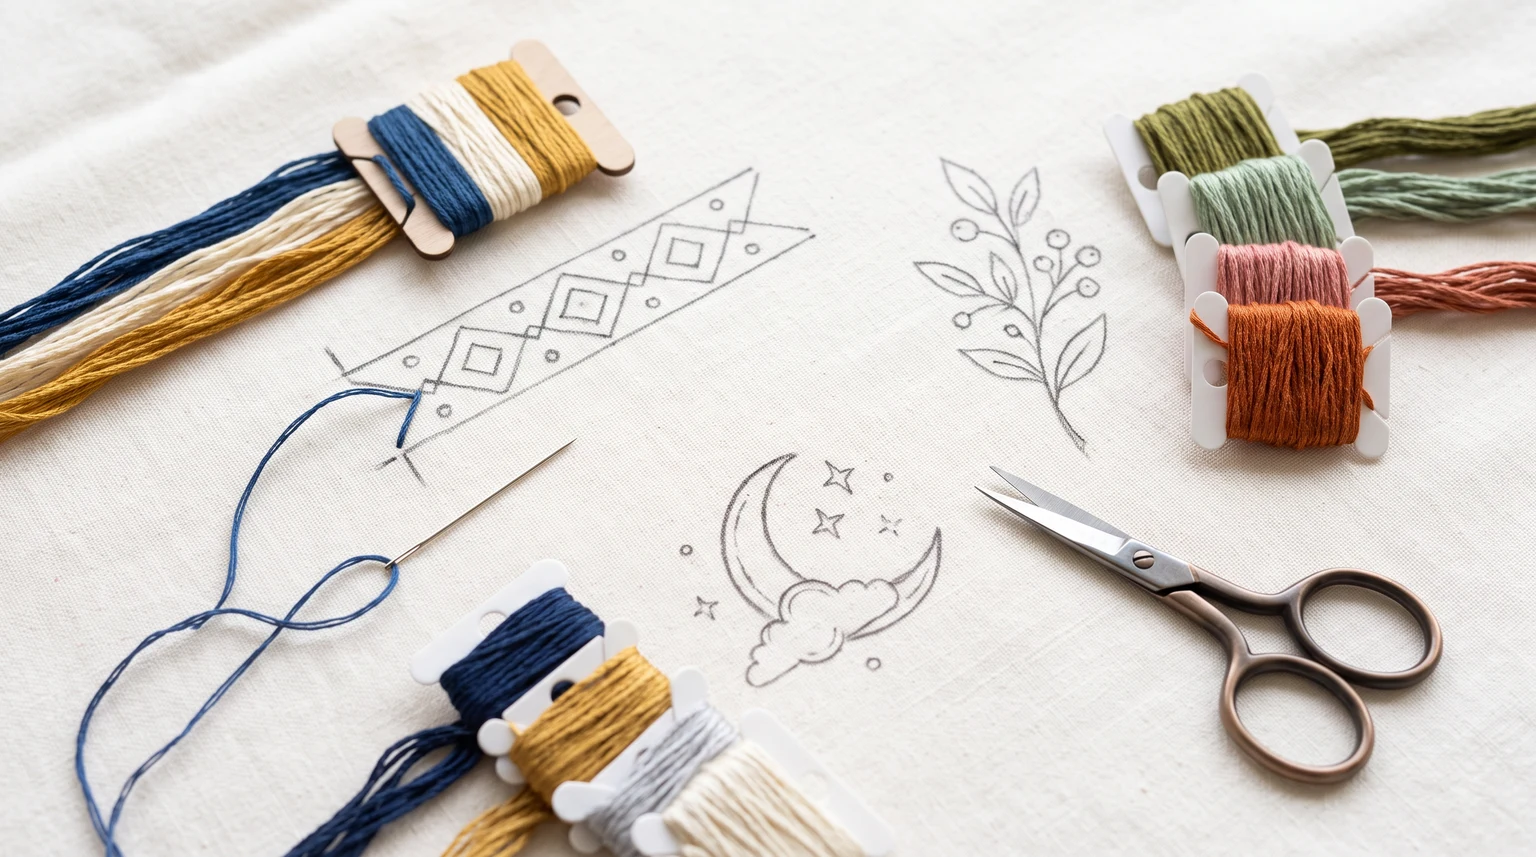
A practical way to evaluate ideas by stitch count, scale, color, detail and the time you want to spend.
Read guide →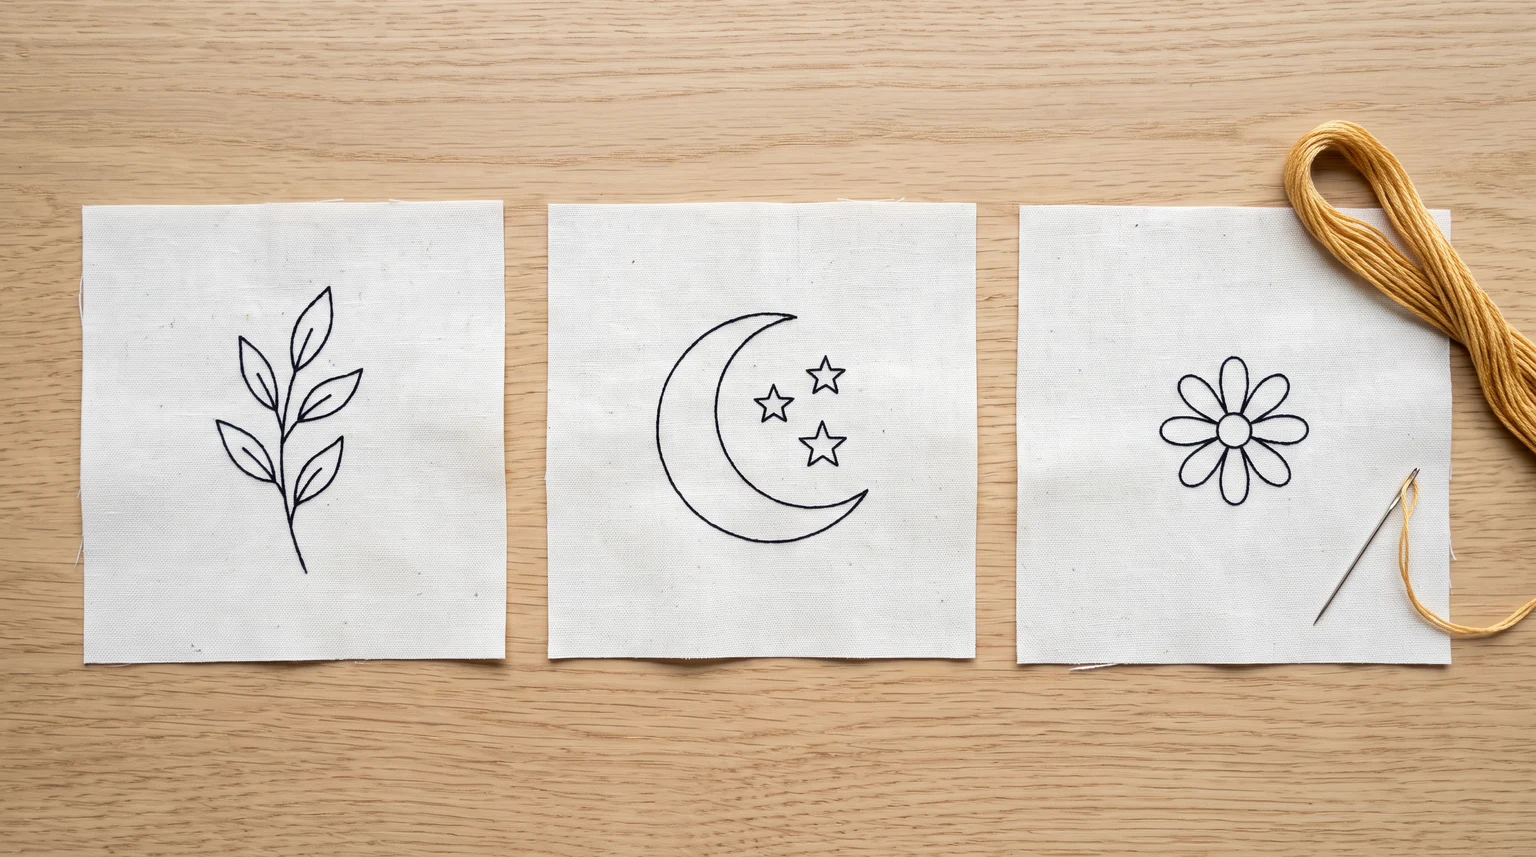
Choose patterns with clear outlines, moderate stitch length and a limited number of techniques.
Read guide →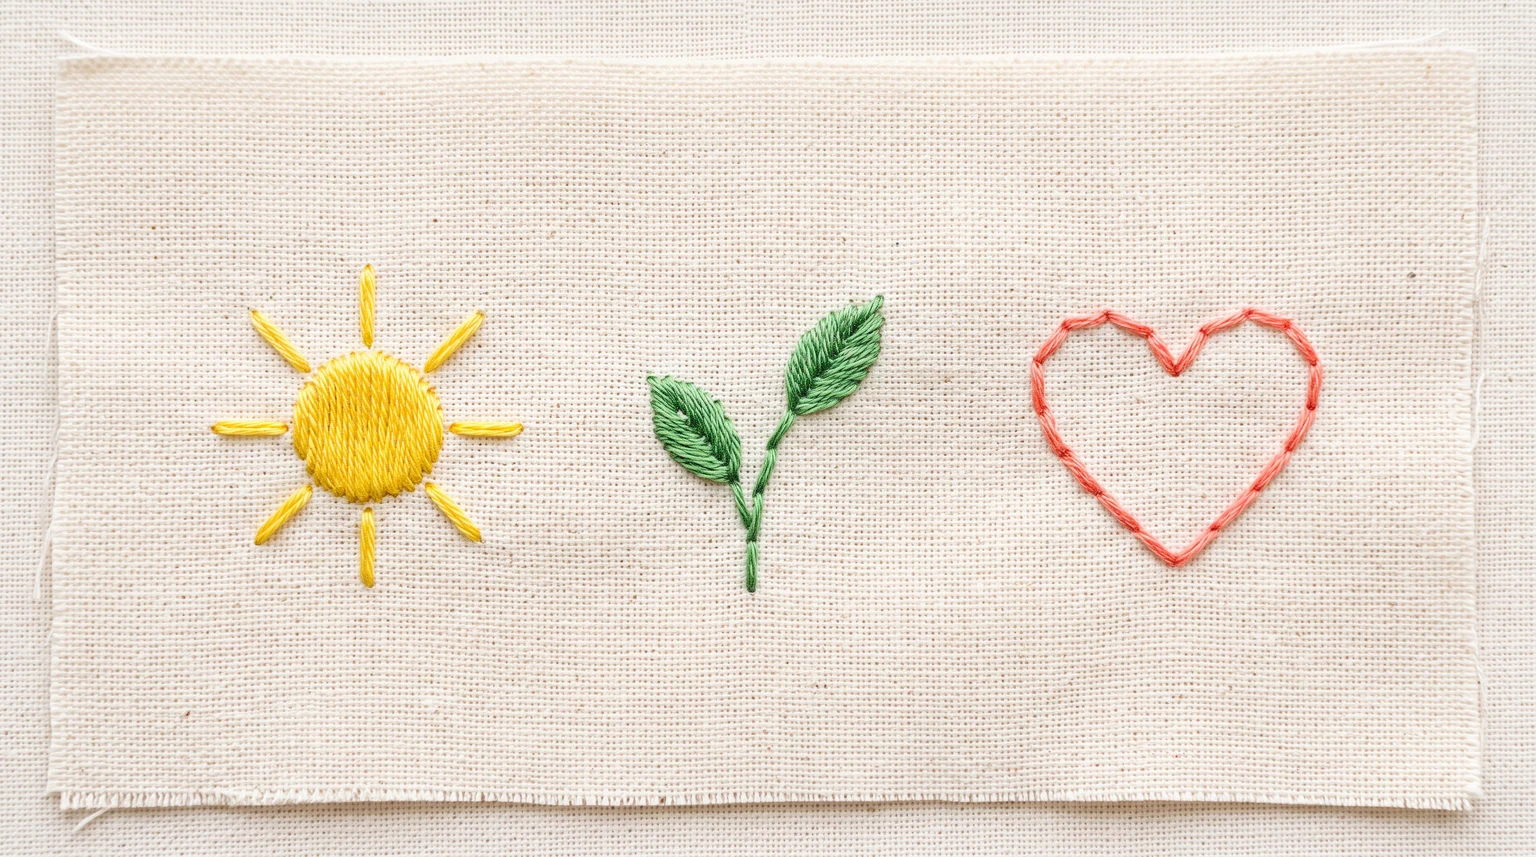
Project ideas that stay interesting without requiring dense shading or dozens of thread colors.
Read guide →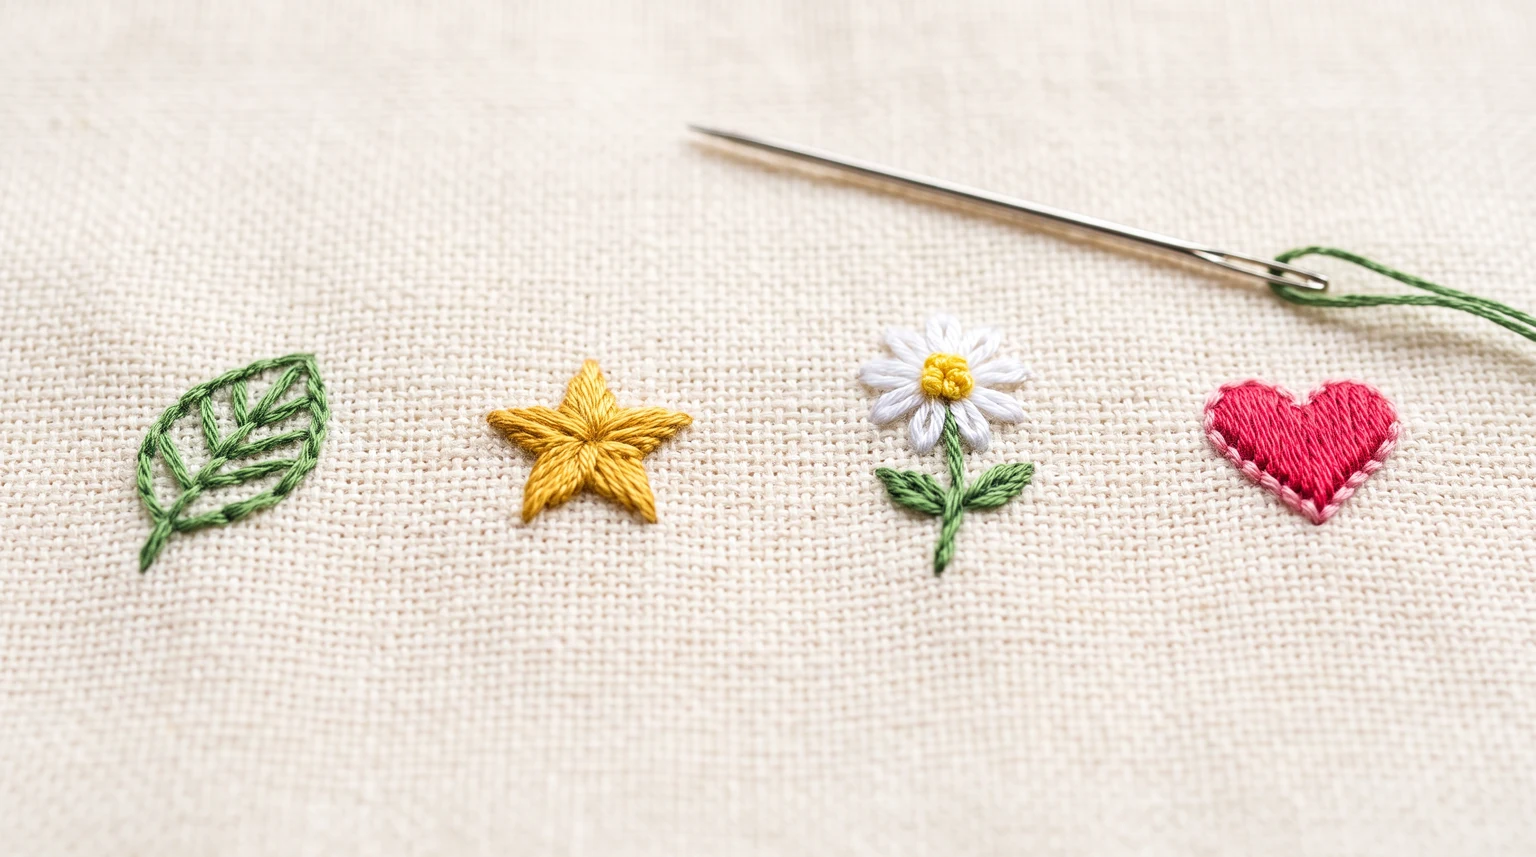
Keep small hoops readable by simplifying line count, stitch length and color changes.
Read guide →Hand Embroidery Guide: supplies, preparation, stitches and finishing
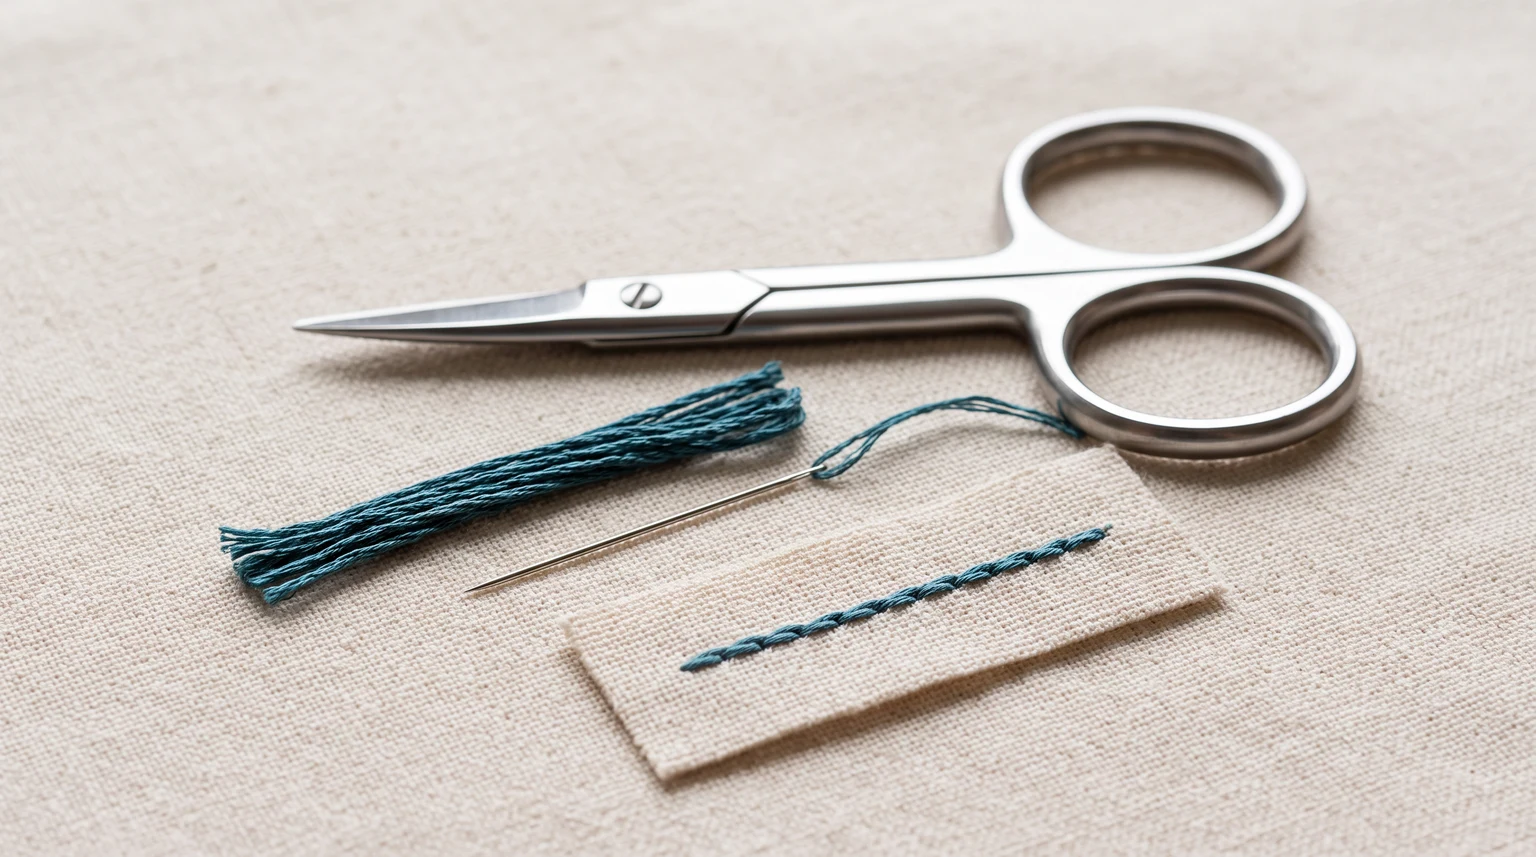
Choose embroidery scissors for clean thread cuts, easier needle threading and careful finishing. Learn when to use small scissors and larger fabric shears.
Read guide
Use water-soluble stabilizer to transfer an embroidery pattern. Learn how to test printing, stitch through the layer and remove it without leaving residue.
Read guide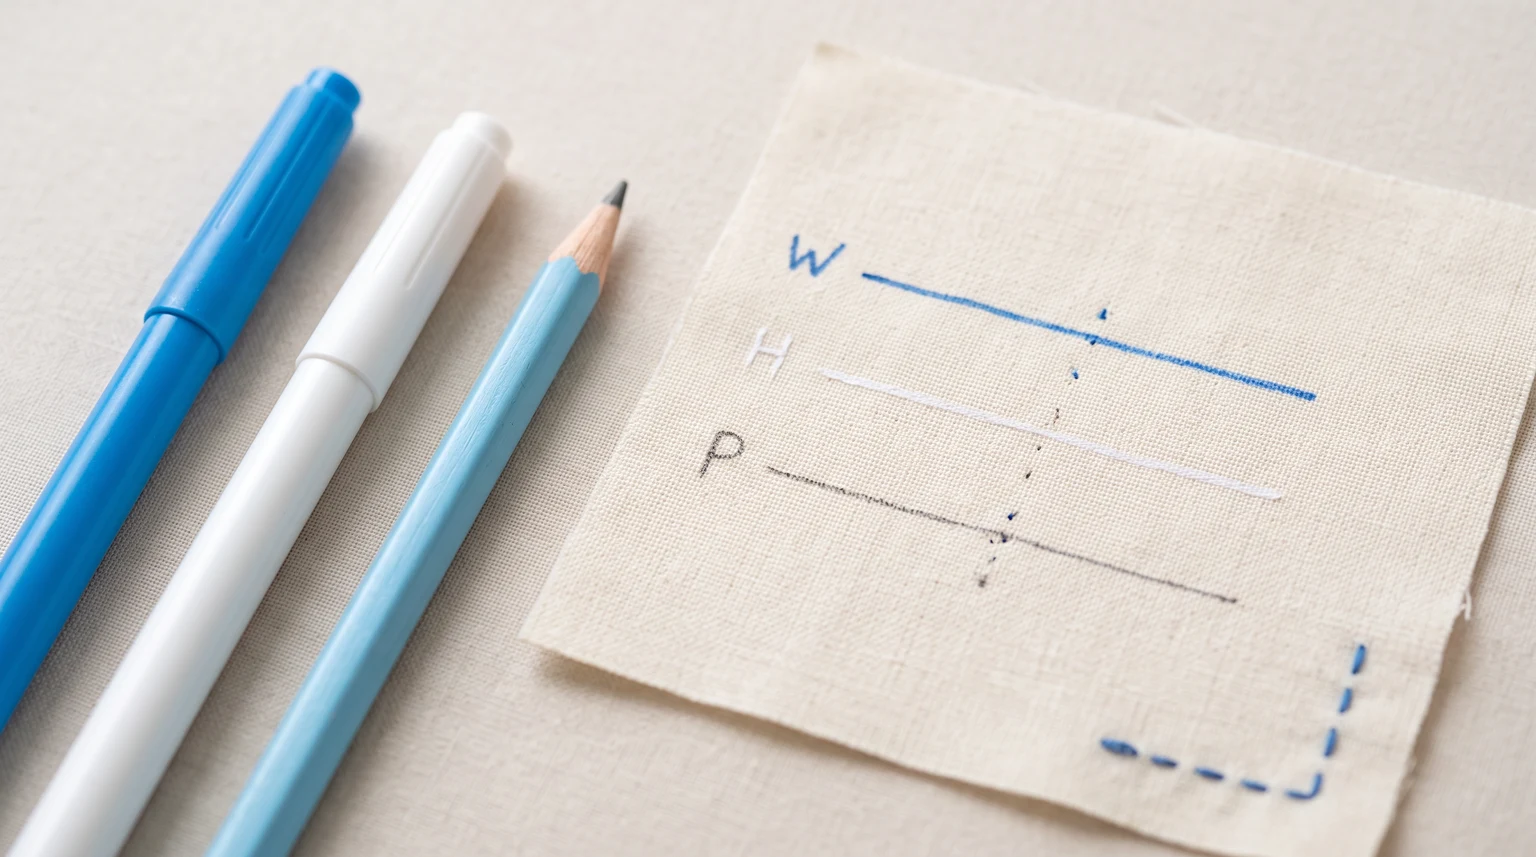
Compare fabric pencils, water-soluble pens and heat-erasable pens for embroidery. Test visibility and removal before marking your final fabric.
Read guide
Trace an embroidery pattern with a window or light box. Keep paper and fabric aligned, draw clean lines and check the design before fitting the hoop.
Read guide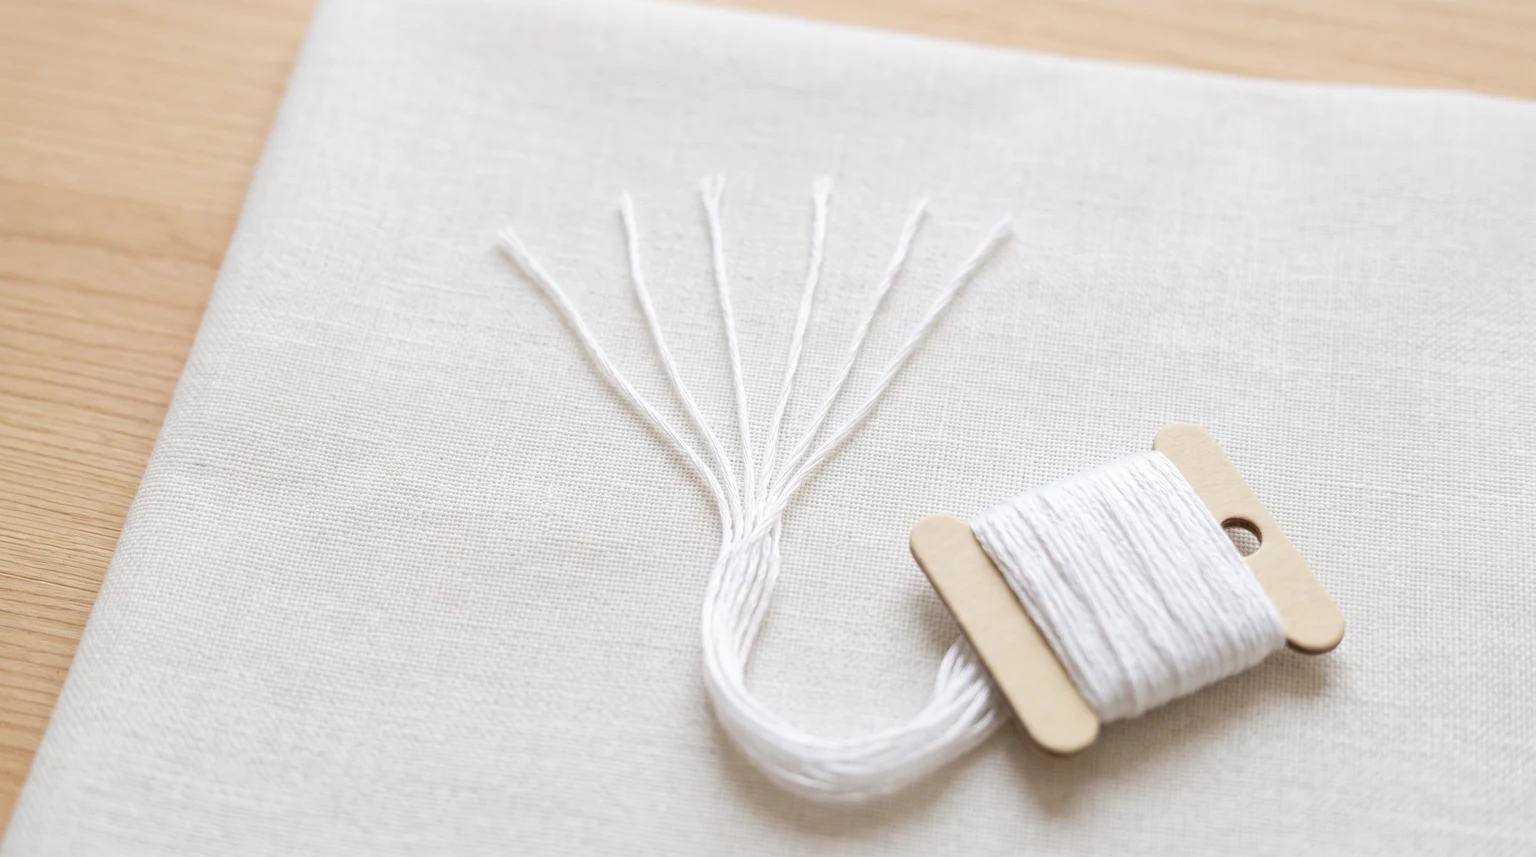
Separate the strands of cotton embroidery floss, choose a manageable thread length and recombine the strand count needed for your embroidery pattern.
Read guide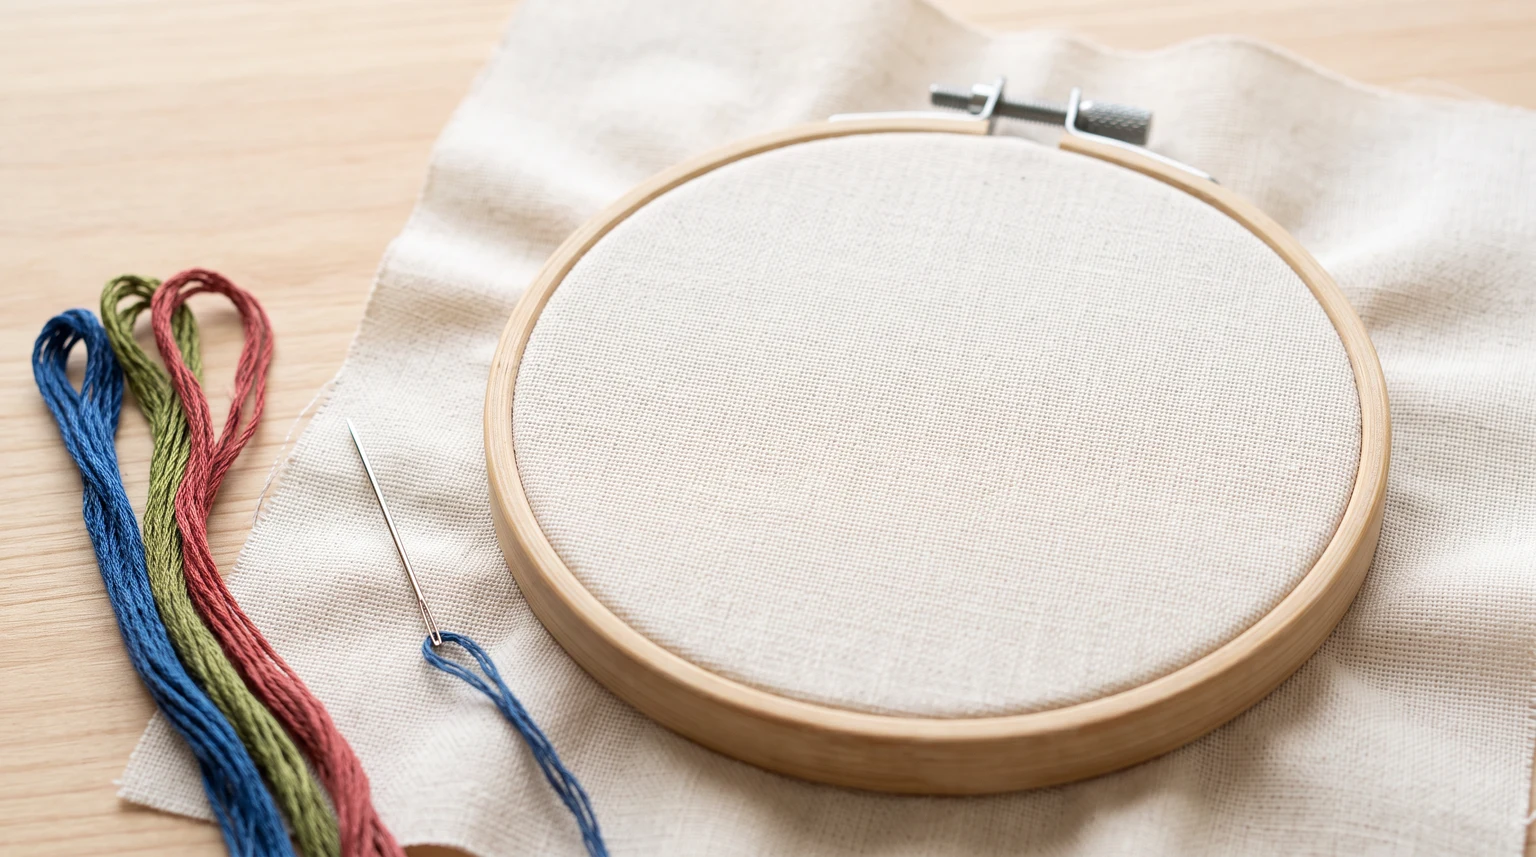
Assemble an embroidery hoop, center the cloth and adjust fabric tension evenly. Avoid stretched patterns, slipping fabric and wrinkles while stitching.
Read guide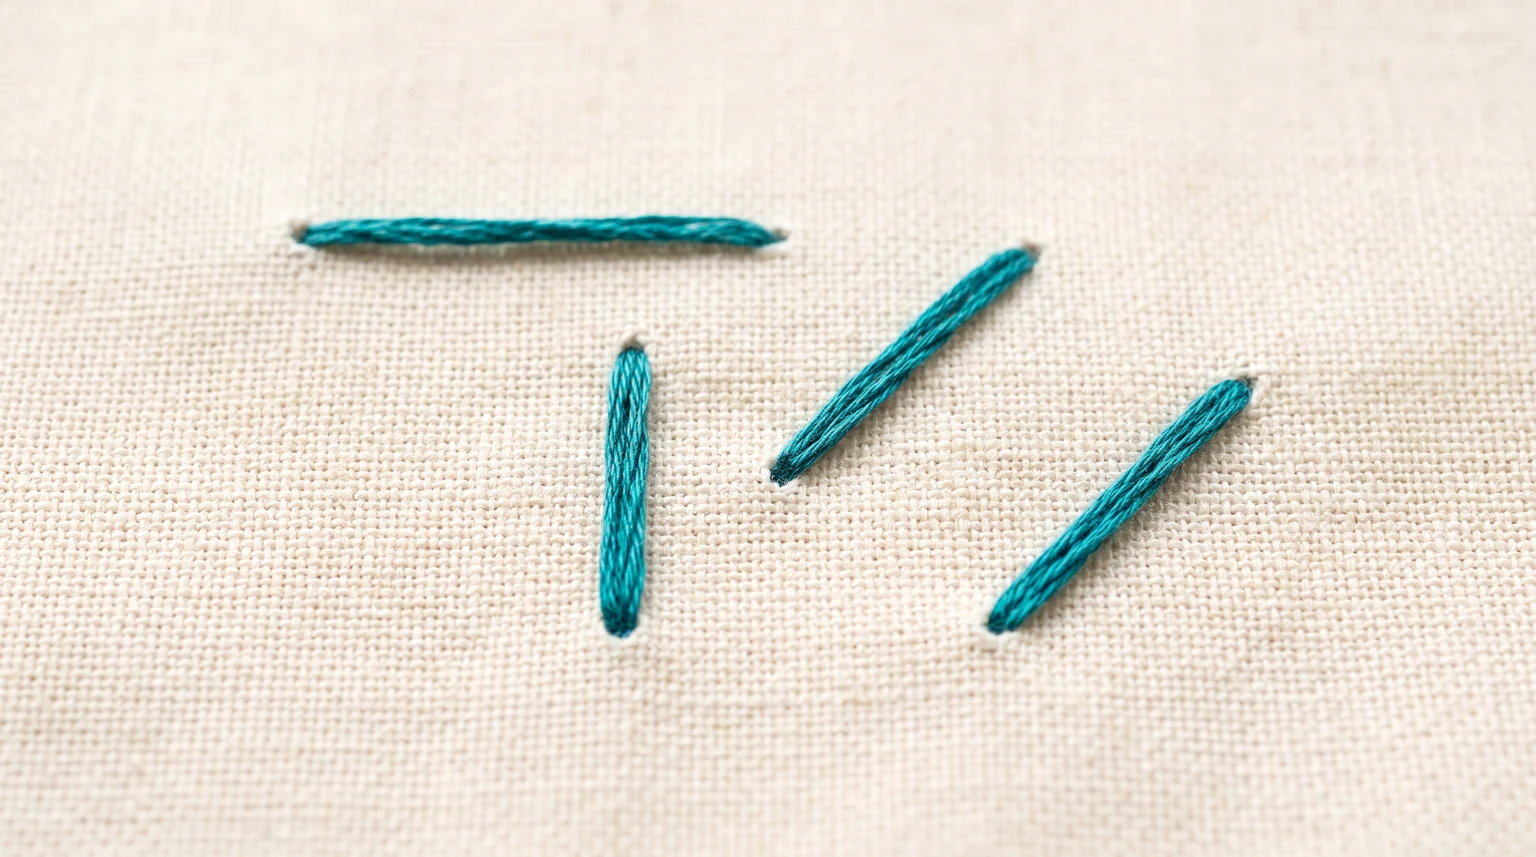
Learn straight stitch embroidery for small marks, petals and details. Control stitch length, thread thickness and tension before building a simple motif.
Read guide
Make small embroidery flowers from straight stitches. Mark petal directions, balance the spacing and choose an easy center for a clear floral motif.
Read guide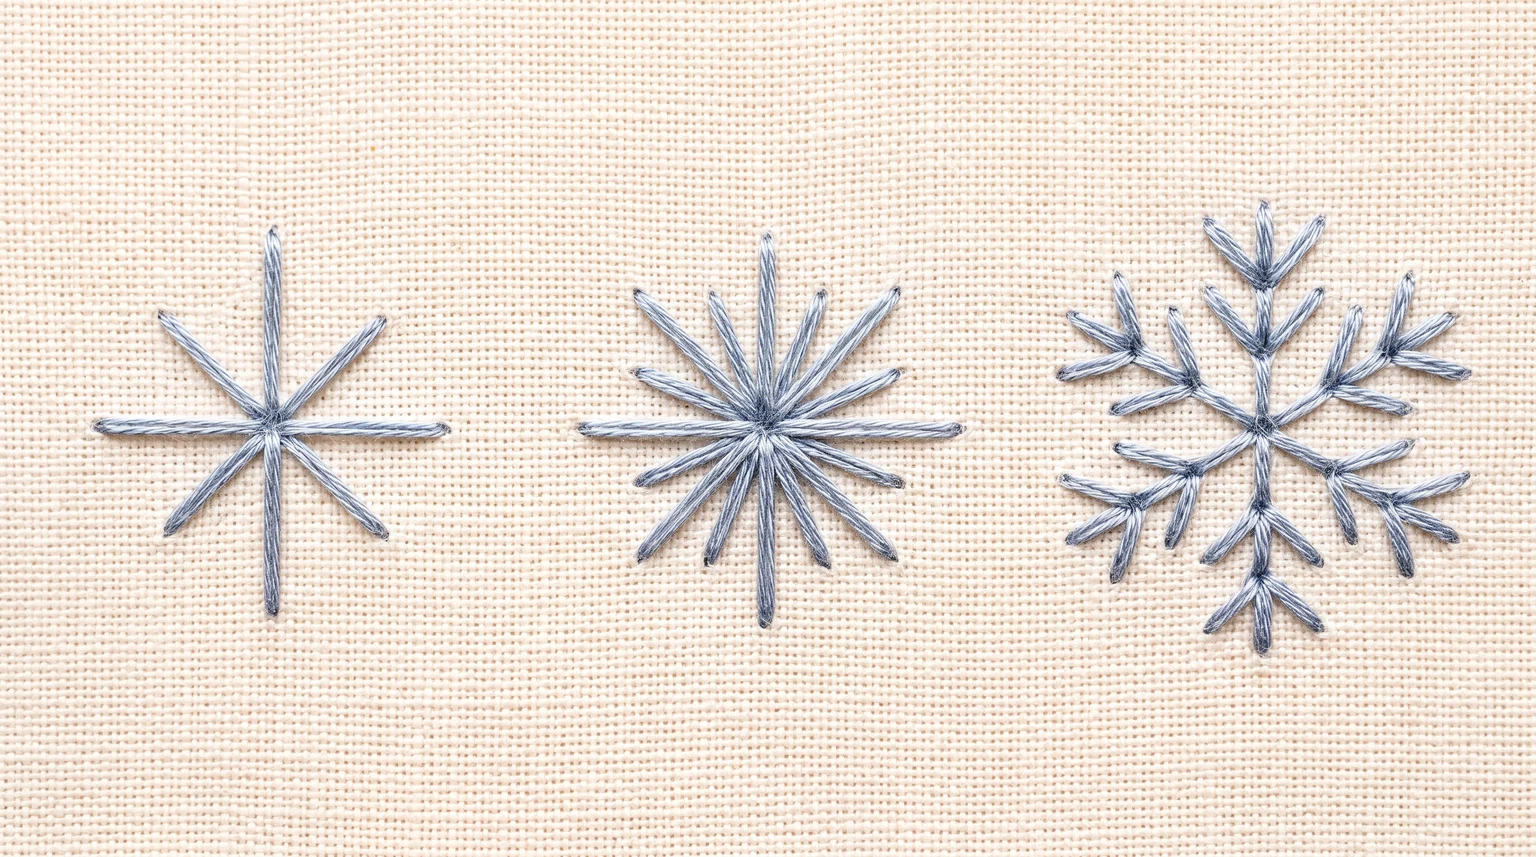
Add small embroidered sparkles and snowflakes using crossed straight stitches. Plan arm lengths, prevent crowded centers and keep background details balanced.
Read guide
Build decorative texture with layered straight stitches. Plan direction, overlap and nearby shades while keeping loose raised thread suitable for display pieces.
Read guide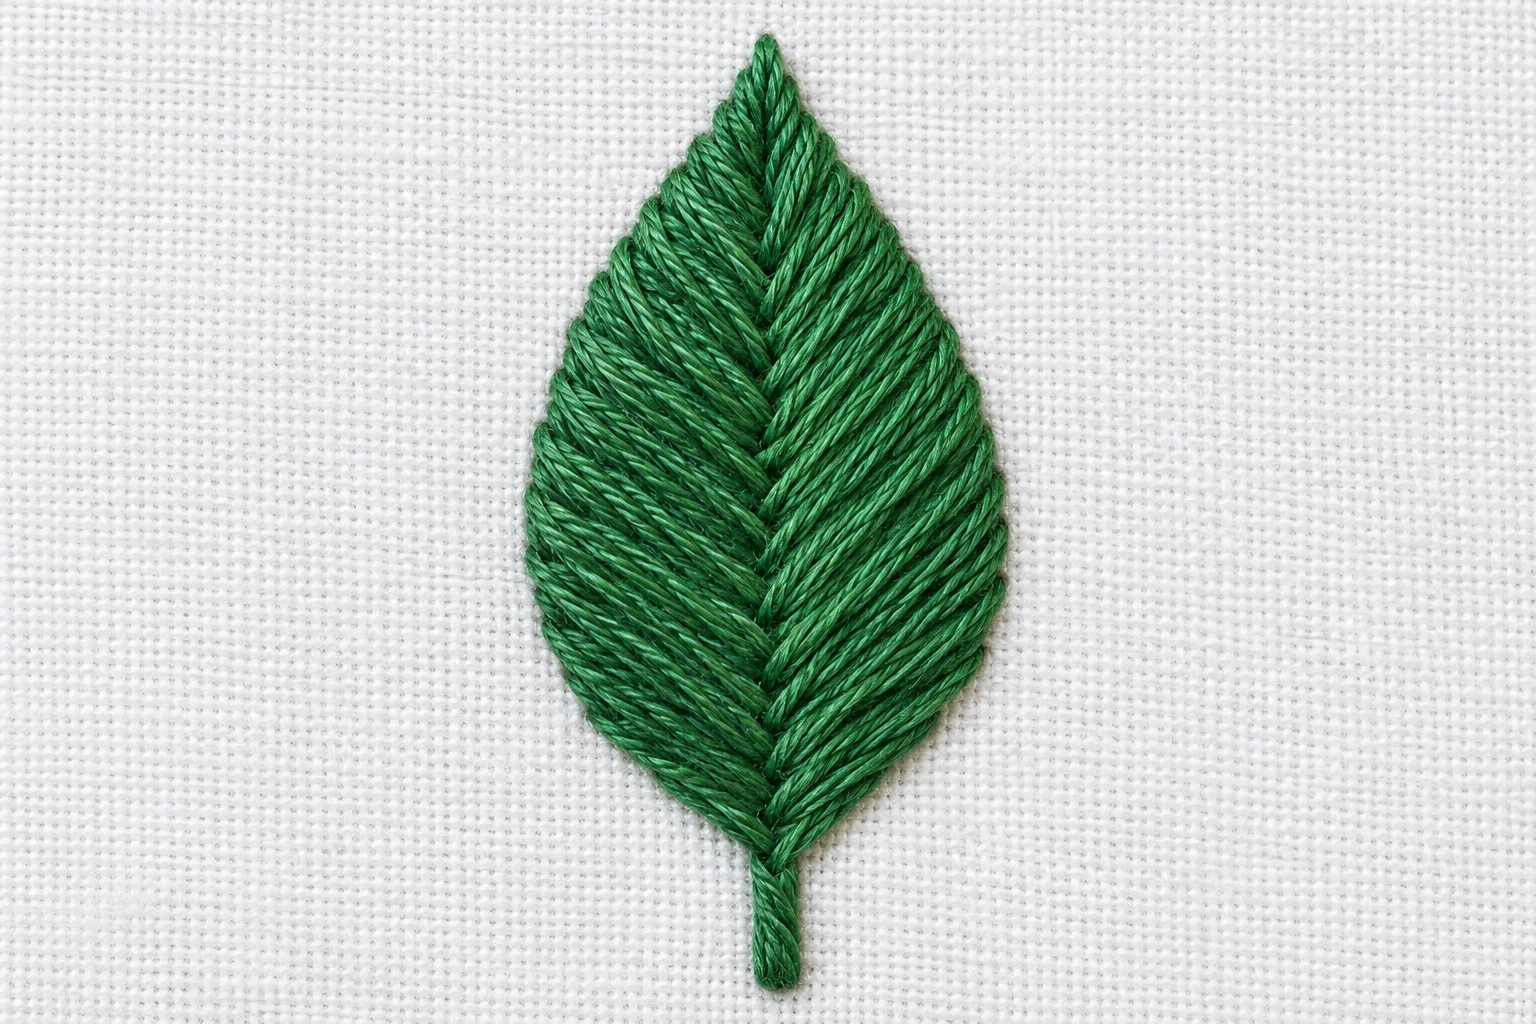
Learn fishbone stitch for embroidered leaves and feather shapes. Alternate angled stitches across a center line and fix gaps or an uneven central ridge.
Read guide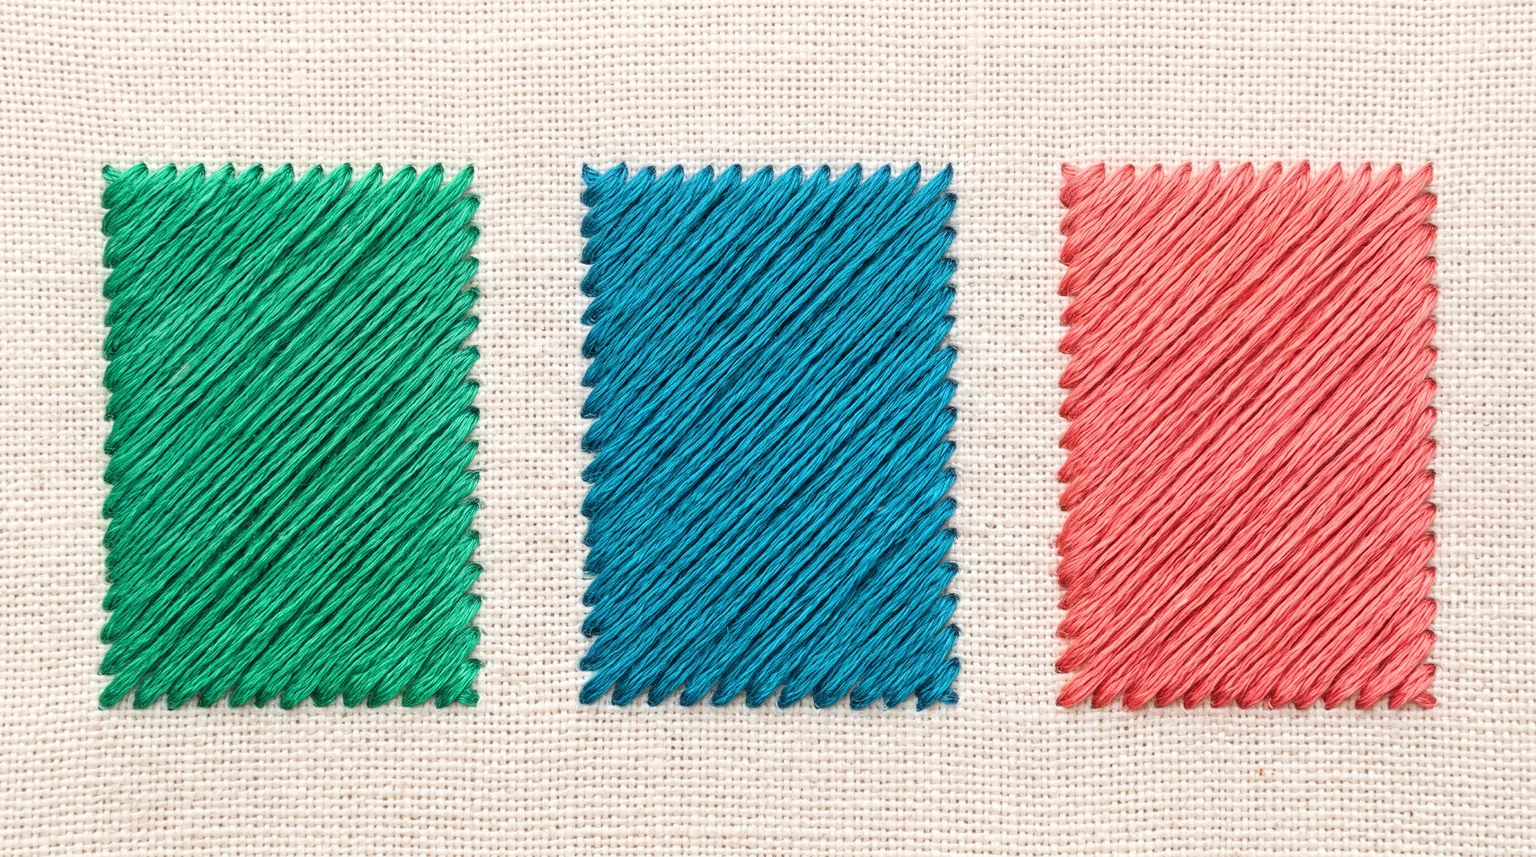
Work angled satin stitch with parallel slanted threads. Plan direction lines, keep the edge neat and understand how it differs from fishbone stitching.
Read guide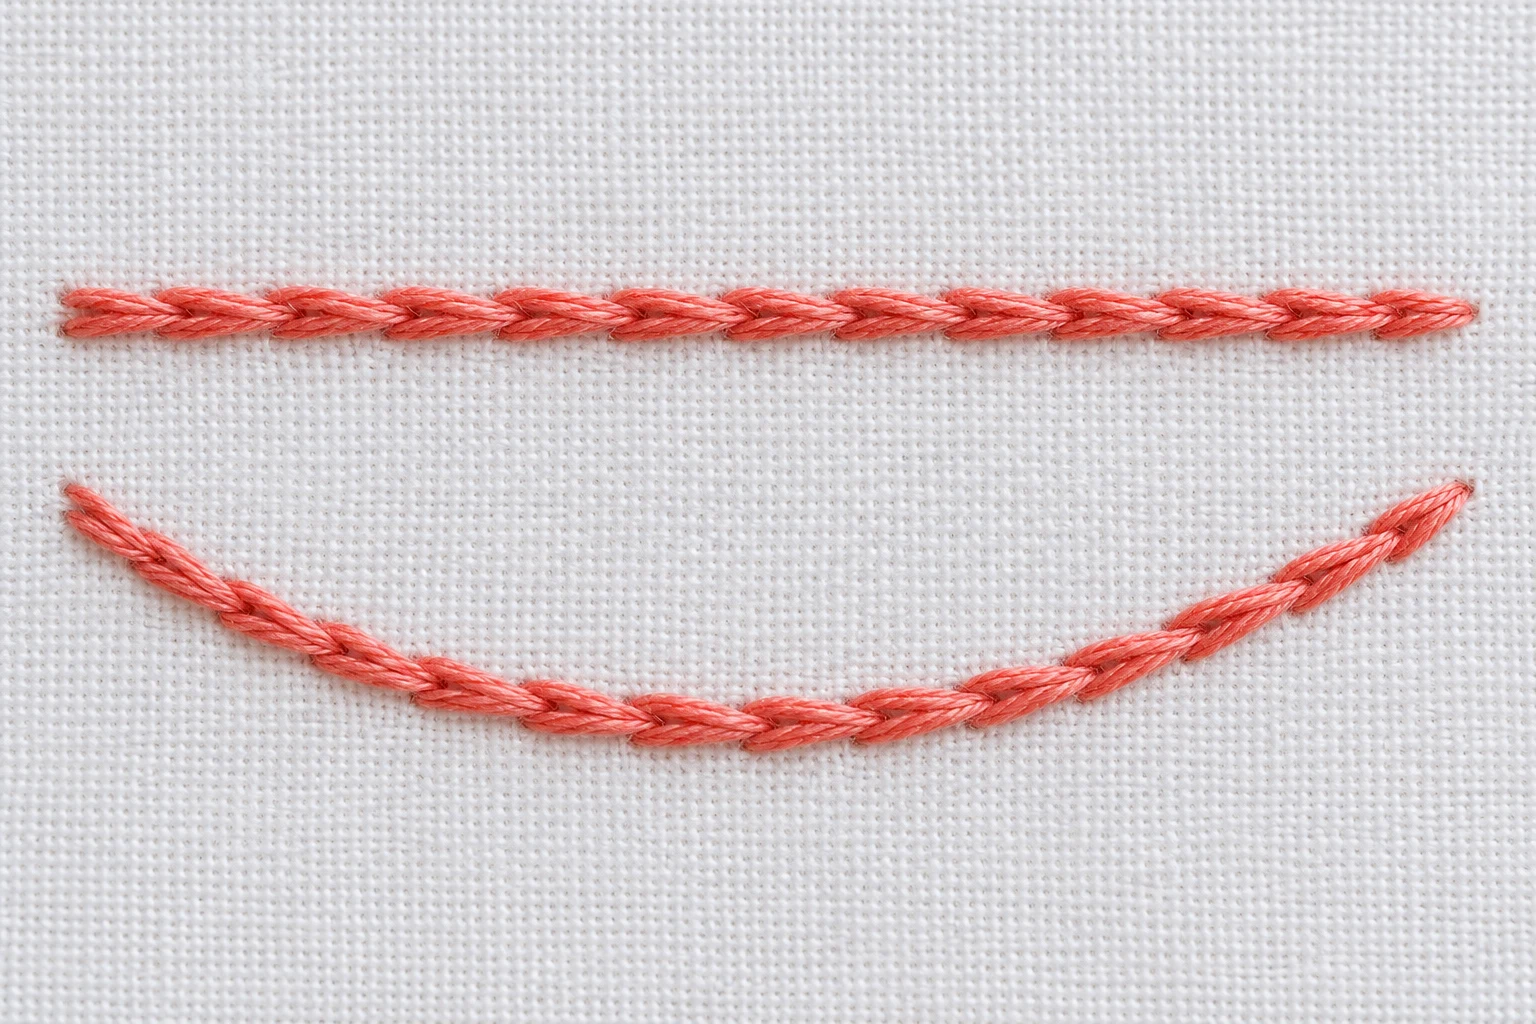
Learn split stitch by bringing the needle through the previous stitch. Make controlled lines and curves, choose thread thickness and avoid ragged splitting.
Read guide
Build a basket-like embroidery fill with straight foundation stitches and over-under weaving. Keep rows aligned and avoid tightening the base out of shape.
Read guide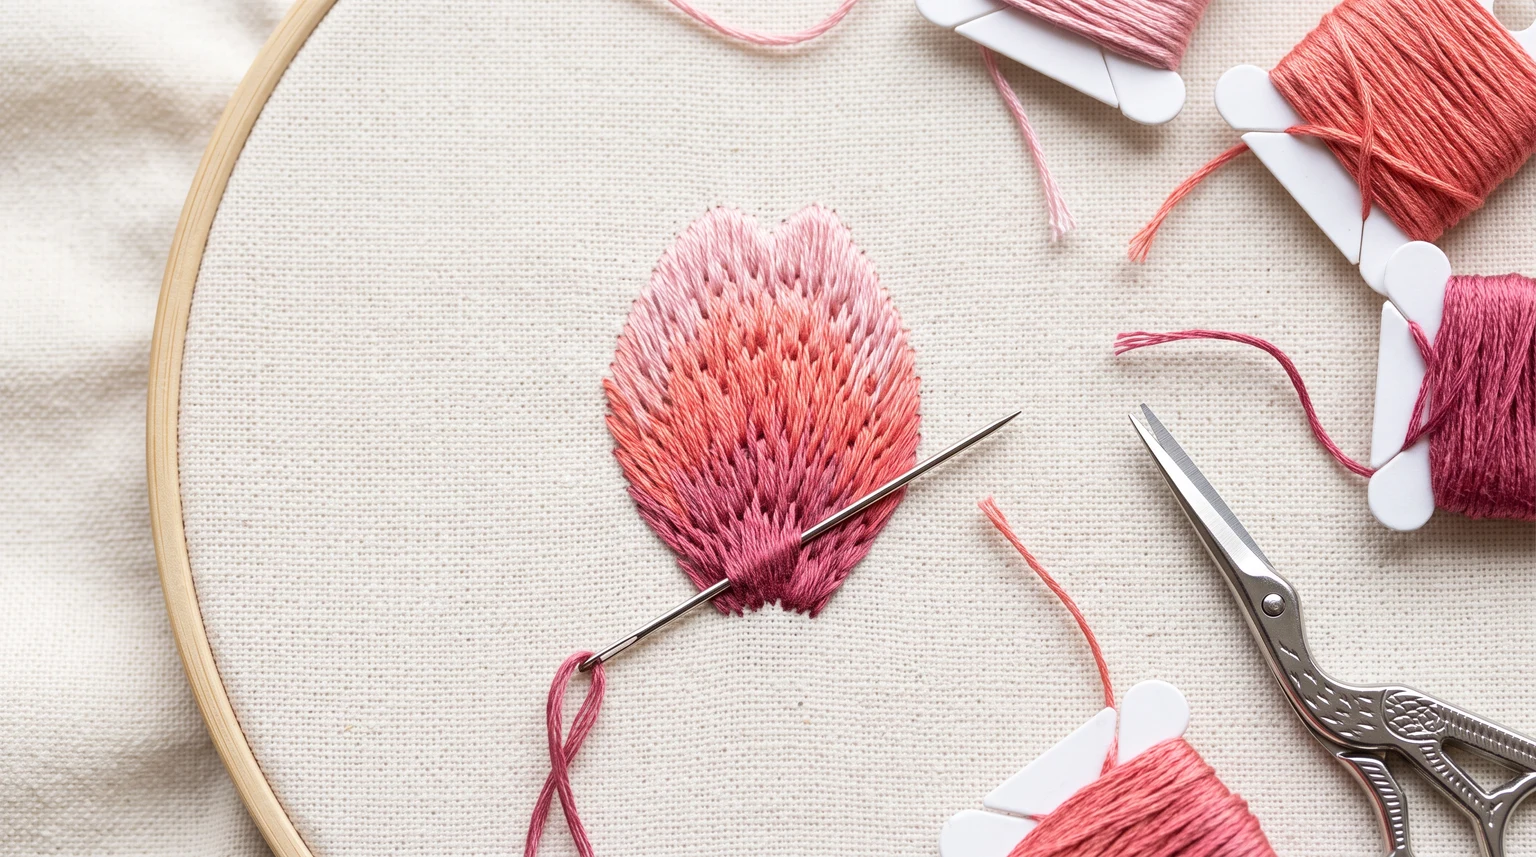
Learn long and short stitch for blended embroidery shading. Stagger row ends, follow the shape's direction and overlap nearby colors without visible stripes.
Read guide
Make whipped backstitch by wrapping a second thread around a stitched foundation. Keep the direction consistent and add texture or contrast without piercing the base.
Read guide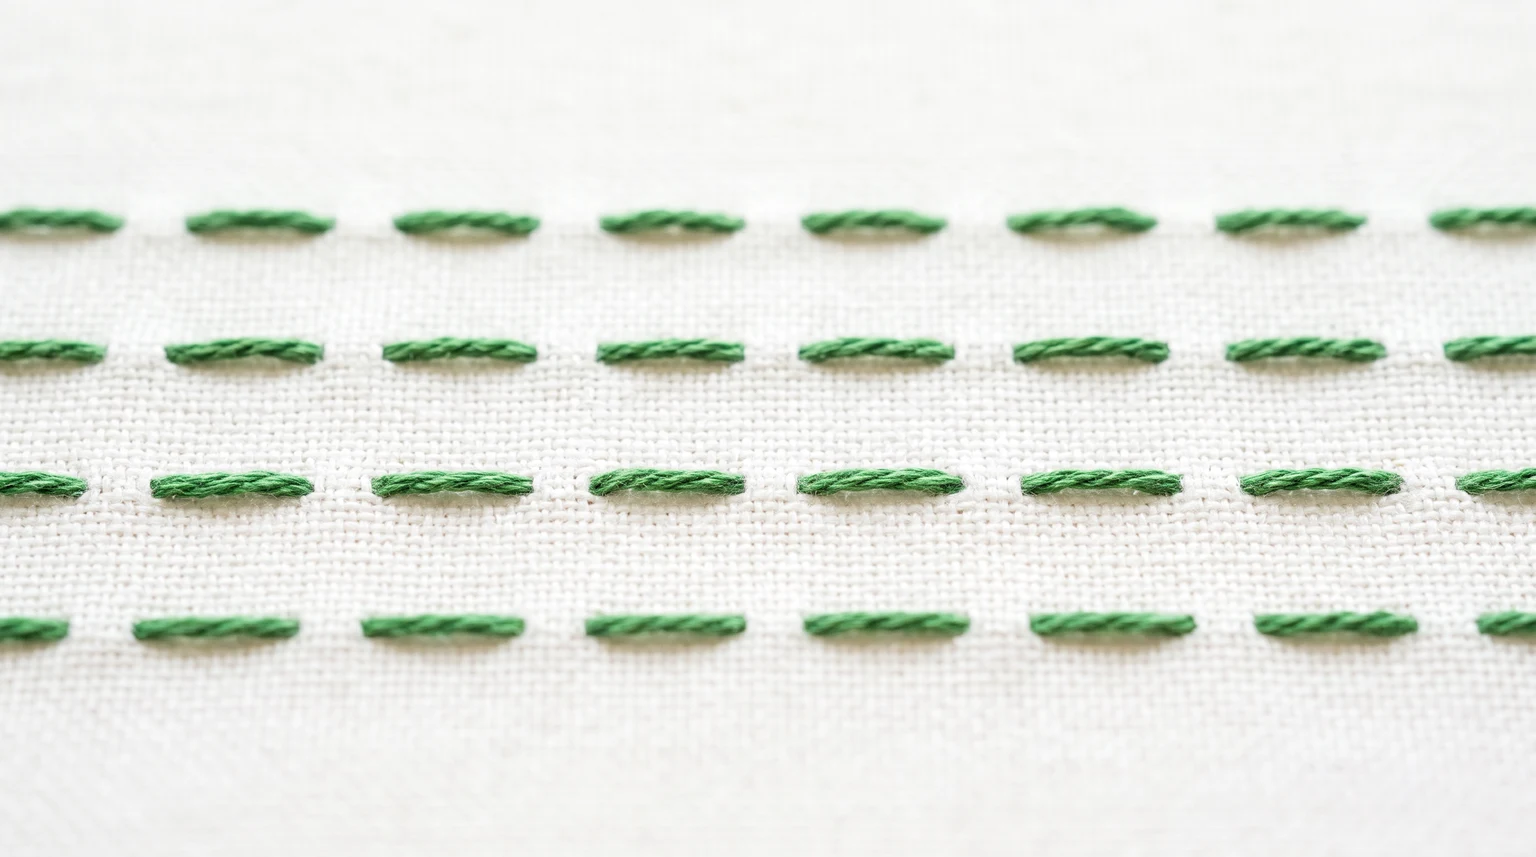
Learn running stitch for simple dashed lines and hoop-back gathering. Keep stitch spacing even and understand when to leave the cloth flat or pull gathers.
Read guide