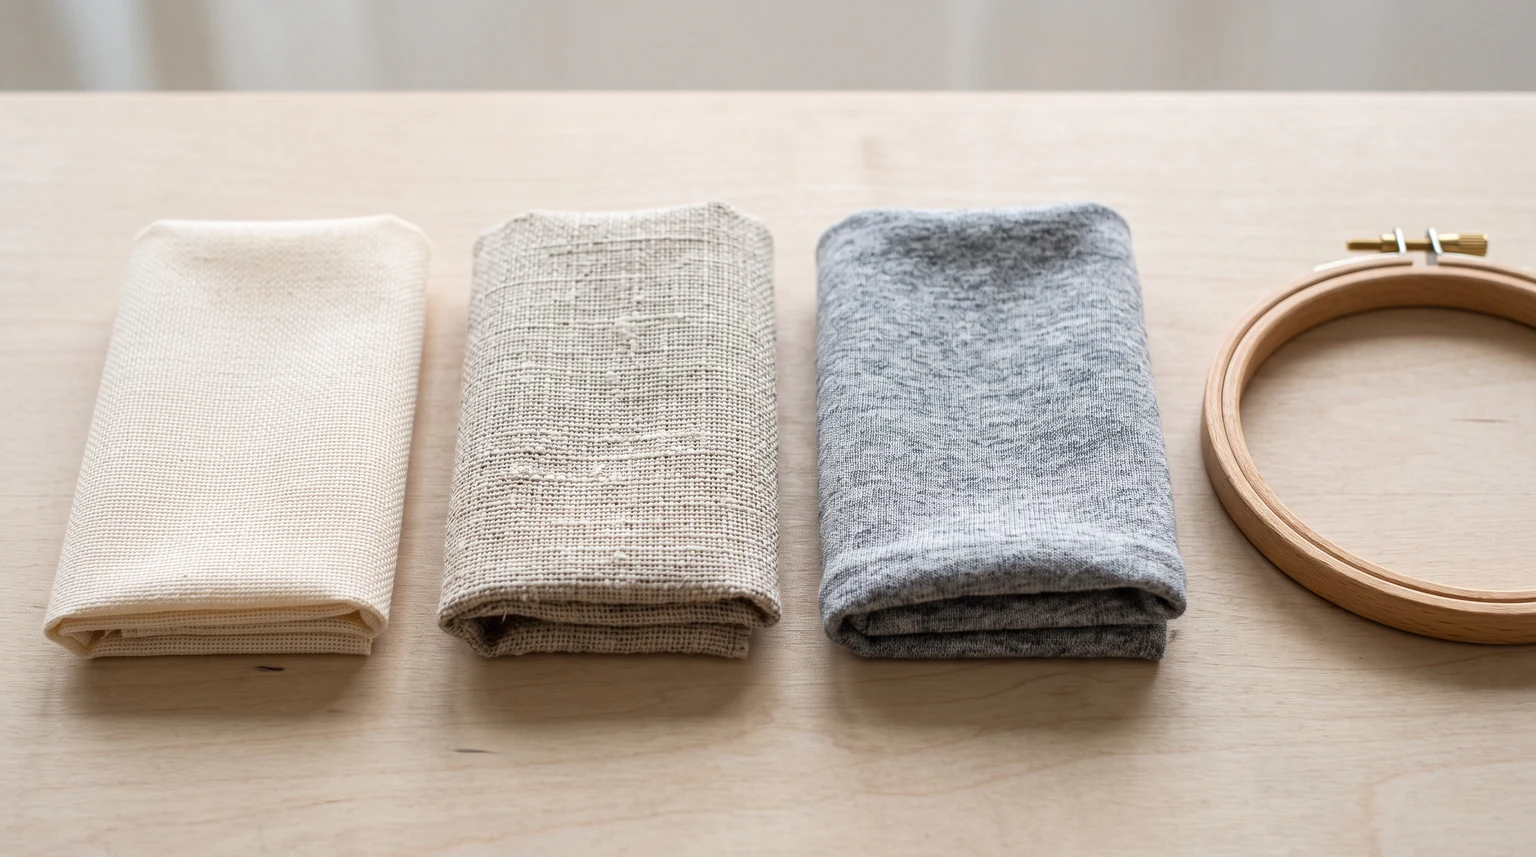
Fabric is the foundation of hand embroidery. It has to hold the stitches, accept a transferred design and stay stable while you work. A beautiful cloth can still be frustrating if it stretches with every pull of the needle or has a weave too open for tiny details. Begin by matching the fabric to the type of embroidery, then consider the intended finish.
For a first surface-embroidery project, choose a medium-weight, non-stretch woven cotton or linen with a reasonably even weave. Test your needle and thread on a scrap, prepare the cloth according to its care instructions and keep the weave straight in the hoop.
Compare cotton, linen and other fabrics
| Fabric | Why choose it? | What to check |
|---|---|---|
| Plain woven cotton | A stable, accessible base for simple outlines and flowers | Avoid very loose weave or fabric too thin for dense fills |
| Linen | Visible natural texture and a firm woven base | Uneven slubs can affect small detailed lines |
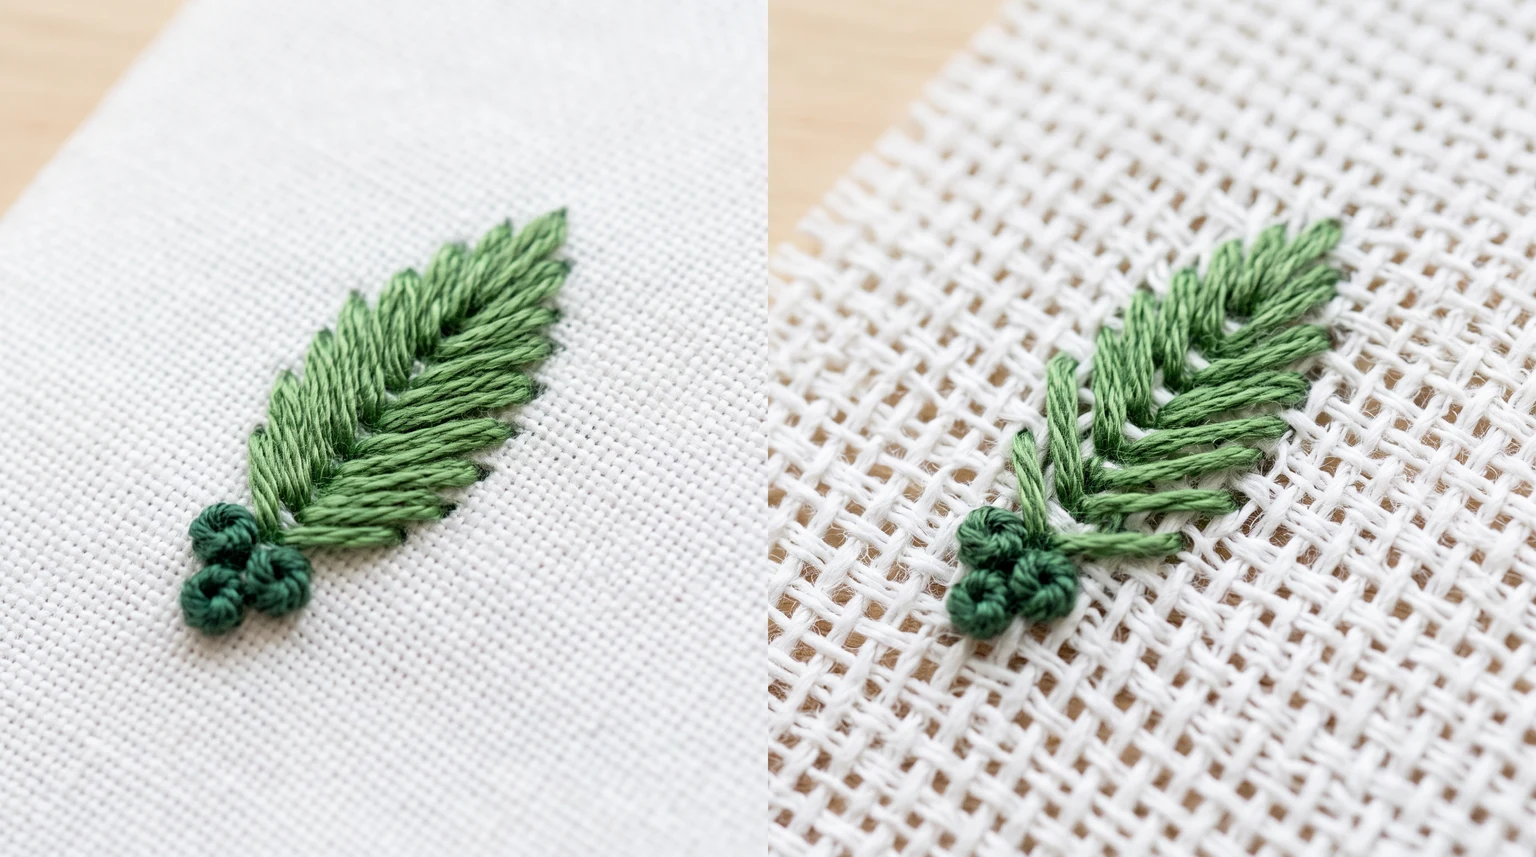
| Evenweave or Aida | Regular spacing for counted embroidery | Open holes may not suit tiny freehand details |
| Jersey or other knit | Embroidering a stretchy garment | Needs suitable support and careful handling to limit distortion |
Fiber names do not tell you everything: cotton can be woven or knitted, thin or heavy. Feel the actual cloth and gently test whether it stretches before choosing it.
Match weave and weight to your stitches
A compact weave supports closely placed stitches. A loose weave can allow a small French knot to slip through or make fine outlines look uneven. Very dense cloth can make pulling several strands through difficult.
Weight matters when a design contains large filled shapes. A light base may show travel threads or wrinkle under dense stitching. For satin stitch, test a small leaf with the intended thread count before committing to the cloth. If it pulls into a ridge, reduce the tension or choose a base that supports the stitches more comfortably.
Prepare fabric before transferring the pattern
- Check the care label and intended use. Prewash washable cloth when shrinkage could affect the finished item, using a method compatible with the fabric.
- Dry and press the blank cloth according to its care instructions before marking it.
- Cut enough material for the hoop plus a generous margin for handling and finishing.
- Secure fraying edges with a suitable seam finish or temporary hand stitching if needed.
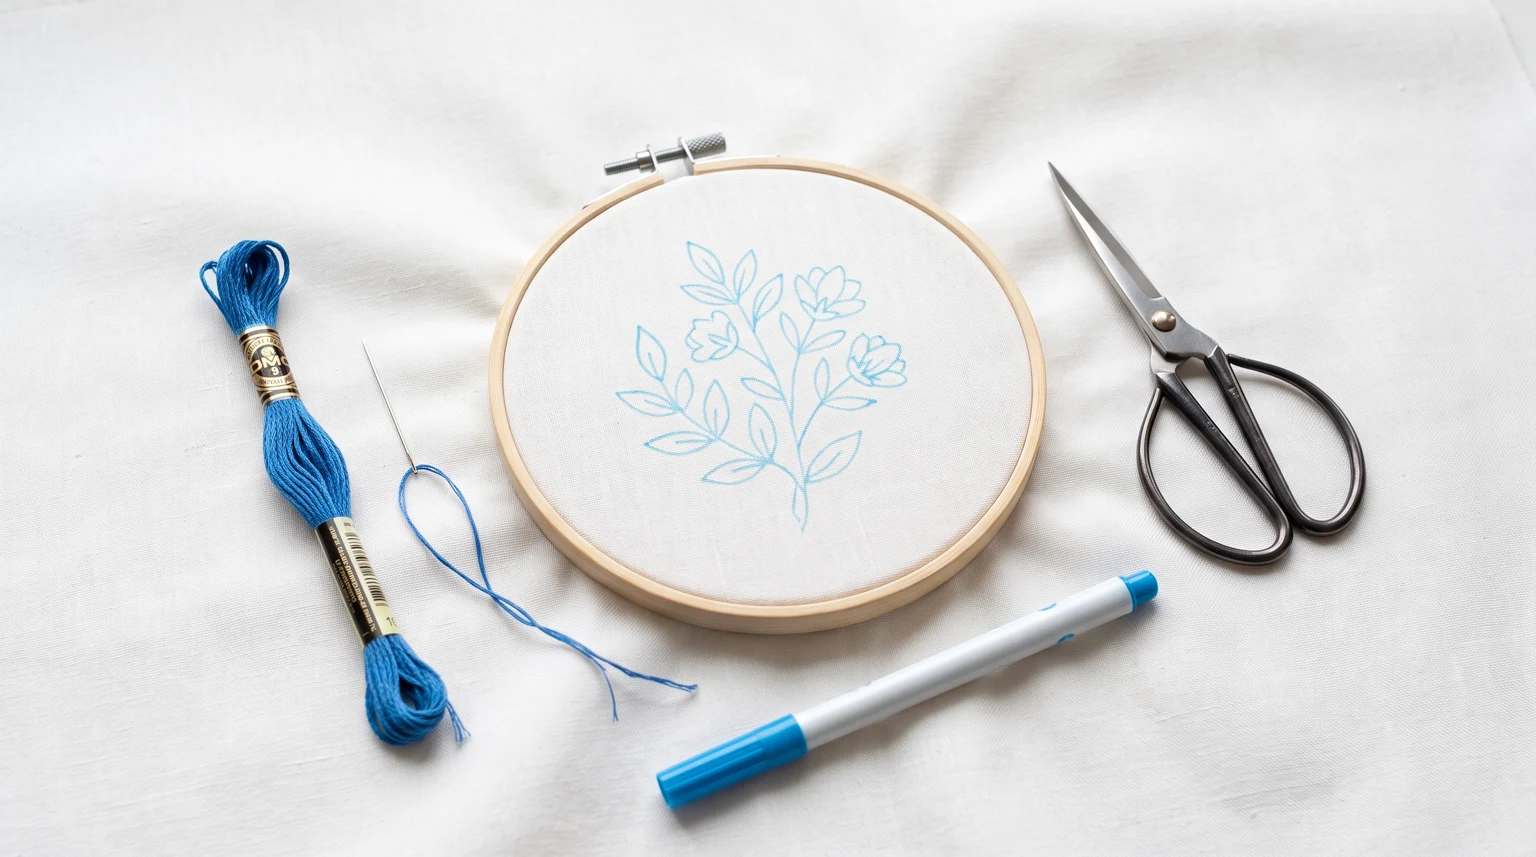
- Test the transfer method and stitch combination on a scrap from the same fabric.
Do not assume that heat will remove every marking pen safely. Some marks set with heat or return in different conditions. Follow the product instructions in the transfer pattern guide before pressing marked cloth.
Choose a color you can mark and stitch clearly
Light fabric is convenient for tracing a printed design through a window or light box. Dark fabric may need contrasting transfer paper, a suitable marking tool or a removable stabilizer. Whatever the method, check that the line remains visible under the colors you plan to stitch.
Thread also looks different against different backgrounds. Test a short line of pale floss on white cotton and the same line on blue cloth. You may need a slightly stronger shade or an additional strand for the design to remain readable.
Prevent stretched fabric and puckering
Set the embroidery hoop so the surface is flat and firm while the weave remains straight. Pull the thread only until a stitch lies against the surface. It should not gather the surrounding material.
On knit garments, support the area with a stabilizer suitable for the cloth and the way the garment will be washed. Keep the fabric relaxed rather than stretching it taut in the hoop; otherwise it can contract around the finished stitches. A simple test motif on a spare piece is more informative than judging the blank fabric alone.
For an easy first project, return to plain woven cotton and a small beginner sampler. That combination makes it easier to learn what normal stitch tension feels like.
Frequently asked questions
What fabric is easiest for beginner embroidery?
A stable, medium-weight woven cotton is a practical first choice. Choose a fairly even weave and test that your needle passes through comfortably.
Can I embroider on a T-shirt?
Yes, but its stretchy knit needs more preparation than plain woven cloth. Test suitable stabilizer and keep the garment fabric relaxed while stitching.
Is Aida the best fabric for every embroidery project?
No. Aida is useful for counted stitches such as cross stitch. Its visible grid and open holes are not always ideal for fine surface embroidery.