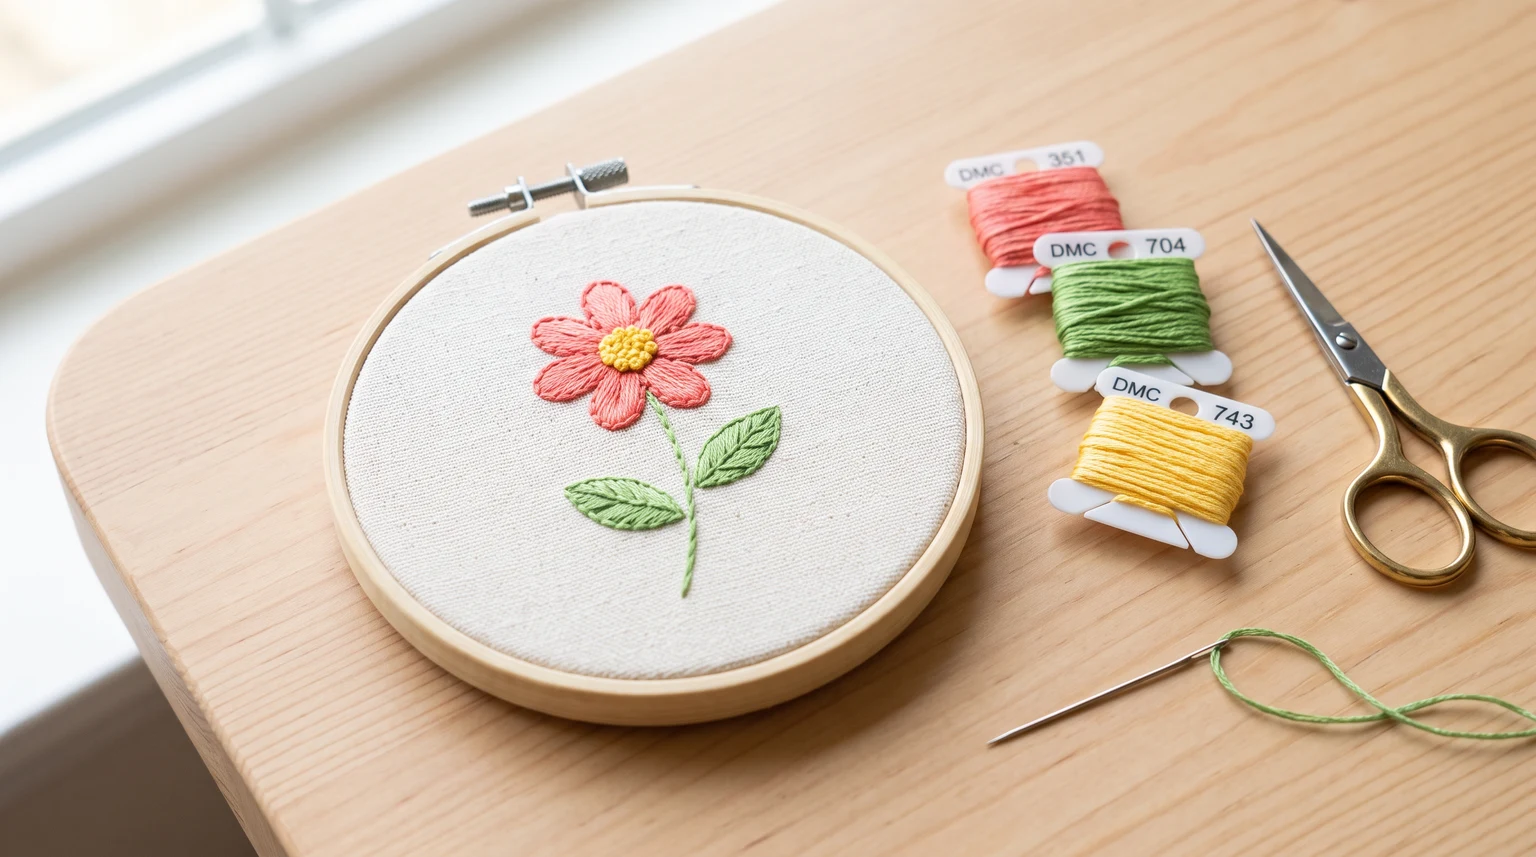
Beginner embroidery is easier when the first project has a clear finish: one small flower, a short stem and a few thread colors. You do not need to learn every stitch before making something. This guide walks through a compact daisy hoop, explains the minimum supplies and links to detailed instructions for each step when you need them.
Choose stable woven cotton, a small hoop, a sharp embroidery needle and three floss colors. Transfer a simple daisy, stitch its stem in backstitch, add detached-chain petals and finish with French knots. Practise each new stitch on a scrap before using it in the project.
Gather a small beginner embroidery kit
- A 5- or 6-inch embroidery hoop that holds the cloth securely.
- Non-stretch woven fabric, with enough margin for gripping and finishing.
- A sharp embroidery needle suited to your thread.
- Cotton embroidery floss in a petal color, center color and stem color.
- Small sharp scissors, a simple drawing and a tested fabric marking method.
Start with tools you can comfortably handle. A large collection of colors and specialty needles is optional. A kit can be convenient, but check that its pattern and instructions match the type of hand embroidery you want to learn.
Choose and transfer a simple flower
Draw a flower with a small circular center, six to eight petal tips, a short stem and two leaves. Keep the flower large enough to place each loop comfortably, around 20 mm across as a first trial. A clear drawing is more useful than a complicated motif with overlapping tiny details.
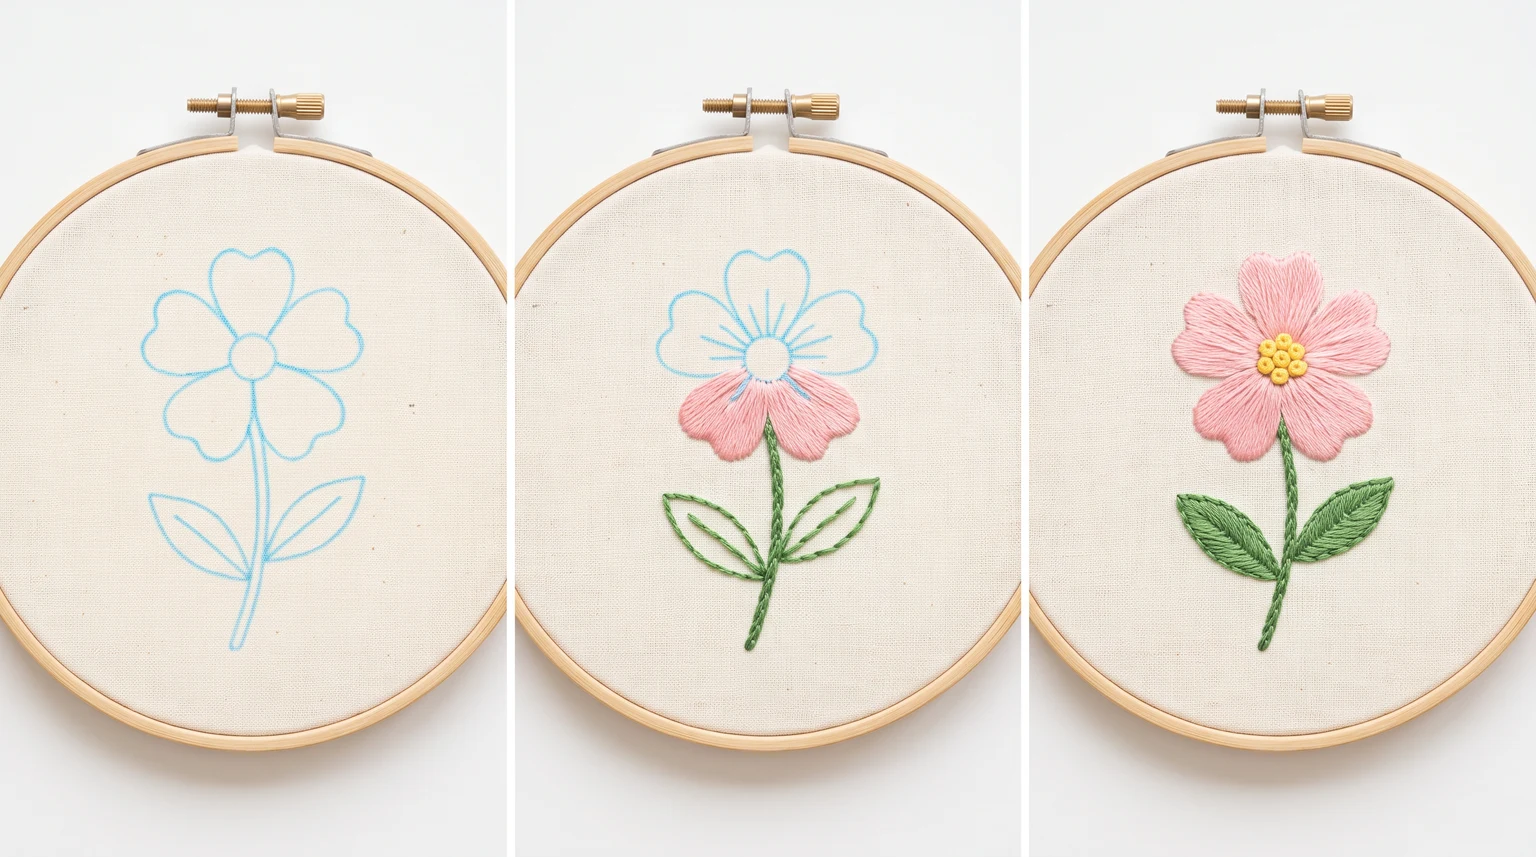
Prepare the cloth according to its care instructions, then use the transfer pattern guide to mark it. Fit the cloth in the hoop without stretching the weave. Check the drawing again before threading the needle.
Thread the needle and start securely
Cut a manageable length of floss and separate the number of strands you need. Two strands are a useful first test for the stem; a slightly thicker bundle can make clear looped petals. Leave a short tail through the needle eye rather than automatically doubling the thread.
For a first decorative practice hoop, a small knot at the back is an easy way to start. Keep it away from a densely filled area so it does not create a lump. Later you can try anchoring methods that hide the tail beneath nearby stitches. At the end of a thread, pass the needle under several existing stitches on the back and trim carefully.
Stitch the stem, petals and center
- Stem: use backstitch to make connected short segments along the line. Pull each segment only until it lies flat.
- Petals: follow the daisy embroidery guide to make detached-chain loops, securing each at its tip with a small stitch.
- Center: add a few French knots after the petals, maintaining gentle control of the wraps.
- Leaves: use two detached-chain loops, or try small satin stitch fills after practising on scrap.
Pause between stages to check the cloth. If it wrinkles around a stitch, loosen that stitch before continuing. If a loop is malformed, remove it while it is accessible rather than hiding it under another layer.
Clean and finish the hoop
Remove transfer marks using the product instructions, provided the fabric and thread can tolerate the required treatment. Let the work dry before finishing it. Do not apply heat to an unknown marking pen.
Check the cloth outside the hoop for lingering puckers, then replace it with the flower centered. Use the hoop finishing guide to gather or secure the excess fabric neatly. Leave trimming until you know how much cloth the chosen finish needs.
Choose a useful next project
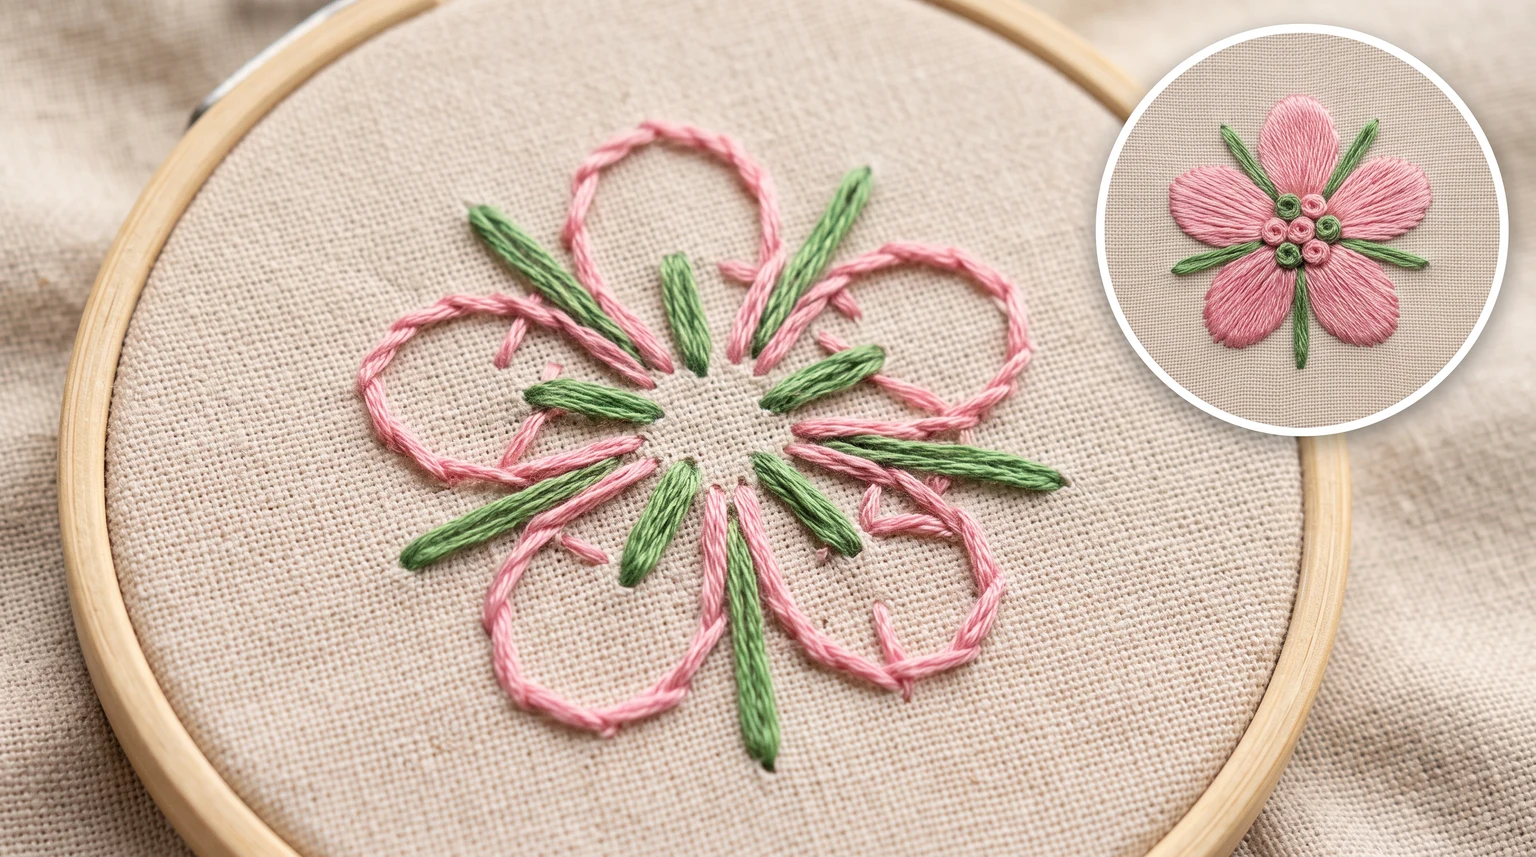
Repeat the flower once with more even petals, then change one thing: the thread thickness, petal shape or color. A small rose embroidery motif introduces weaving, while a second daisy with filled petals develops satin stitch control.
When choosing beginner embroidery patterns, look for readable outlines, a limited palette and a small number of named stitches. A pattern that looks simple at full size may become difficult when printed too small. Choose a project whose individual shapes remain comfortable to stitch.
Frequently asked questions
What is the easiest embroidery stitch to learn first?
Running stitch is a simple start, and backstitch is a useful next step for continuous outlines. Practise short rows before applying them to a drawing.
Do I need a sewing machine for beginner embroidery?
No. This project uses hand embroidery with a needle and thread. Machine embroidery is a different process with different equipment.
How long should a first embroidery project take?
The time varies with project size and practice. Choose a small motif and work in comfortable sessions; there is no required finishing speed.
Does the back need to look perfect?
No. Keep thread ends secure, avoid large tangles and prevent long threads from showing through the front. A tidy back becomes easier with practice.