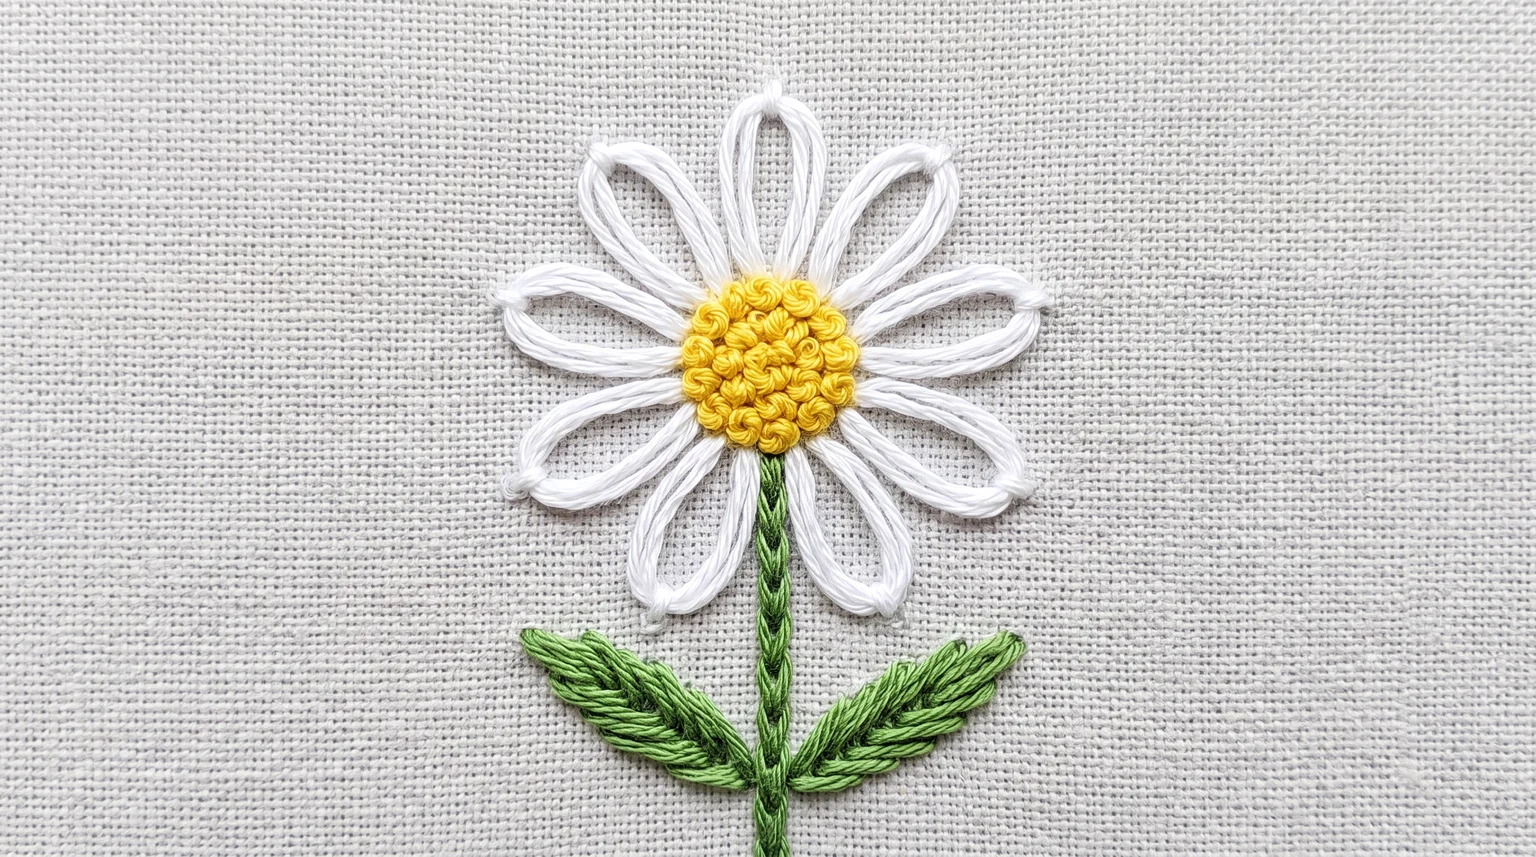
Daisy embroidery is a useful introduction to floral stitching because the flower can be broken into a few repeated petals, a center and a stem. Detached chain, often called lazy daisy when used for petals, creates an open loop. Satin stitch produces a solid petal instead. This guide uses looped petals first, then explains when you might choose a filled version.
Mark a center and evenly spaced petal tips. Make each detached-chain petal by bringing the needle up near the center, forming a loop and catching it at the tip with a tiny anchoring stitch. Add a few French knots in the center after the petals are complete.
Choose supplies and mark the daisy
Use a small hoop, stable woven fabric, a sharp needle and cotton floss in three colors. Two or three strands are a useful trial for looped petals, with a contrasting shade for the center. Pale petals are easier to judge against a slightly darker background than against equally white fabric.
Mark a small central circle and six to eight petal tips around it using a tested pattern transfer method. Start with a flower around 20 mm across so the loops are easy to control. The number and size of petals can change with the drawing.
How to stitch detached-chain daisy petals
- Bring the needle up at the inner end of a petal beside the center.
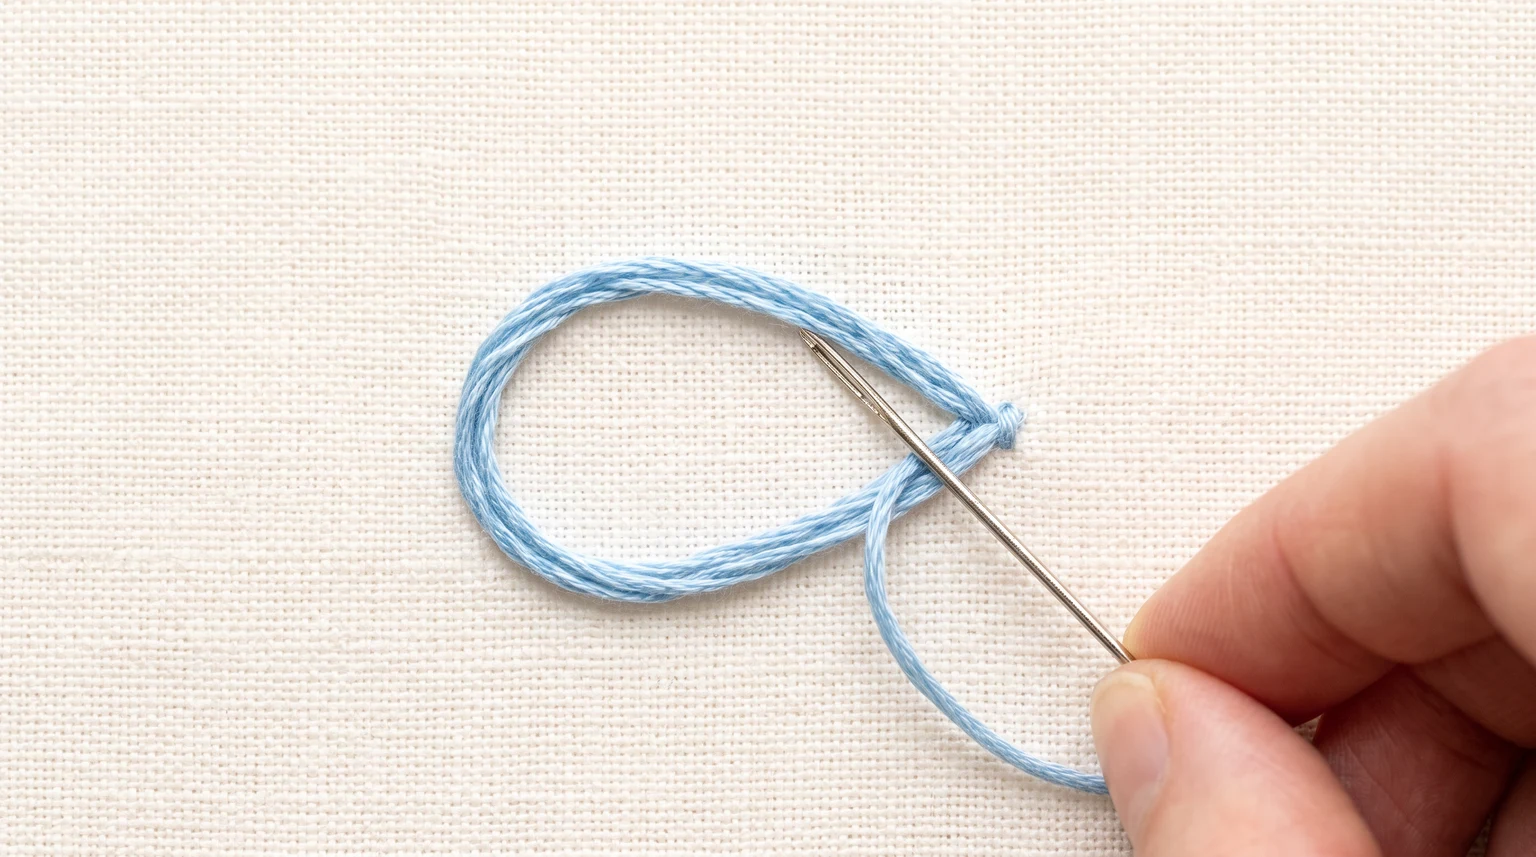
- Take the needle down very close to that starting point while leaving a loop of thread on the surface.
- Bring the needle up at the marked petal tip, inside the loop.
- Draw the thread through gently until the loop forms the petal shape.
- Take the needle down just beyond the tip to make a tiny stitch that catches and holds the loop.
- Repeat around the center, checking the spacing before stitching the next petal.
The anchoring stitch should hold the loop without turning into a long line extending from the flower. Pulling the loop too tightly makes a narrow straight stitch rather than an open petal.
Keep petals balanced around the center
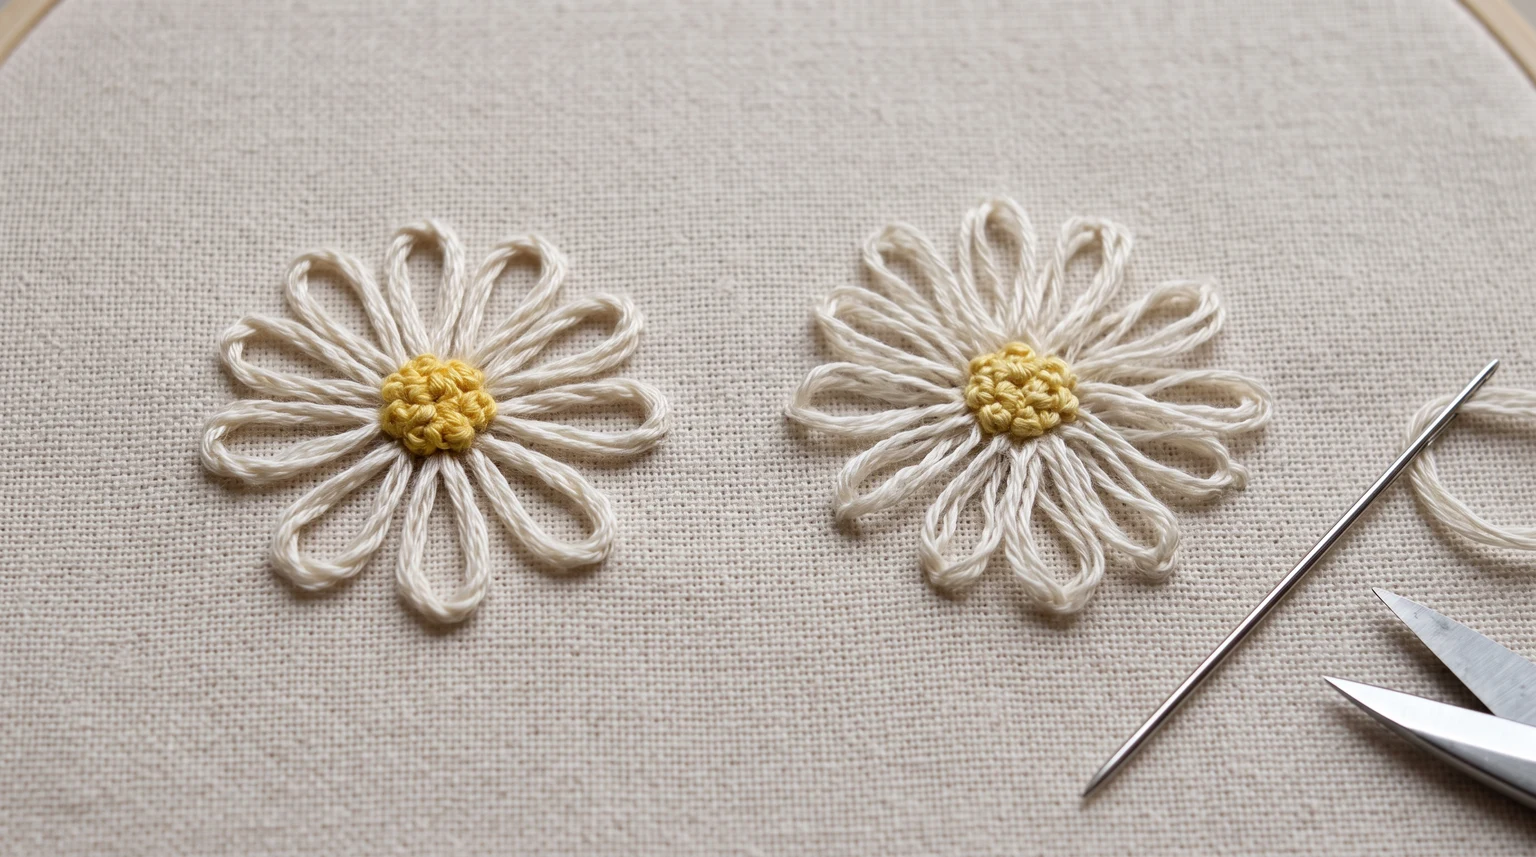
Mark opposite petal tips first, then fill the spaces between them. This helps you avoid using up most of the circle before reaching the final petal. Stitching opposite petals in pairs also makes differences in length easier to notice.
The petals do not need mathematical perfection, but they should look intentional. For a side-facing flower, shorter petals on one side can suggest perspective. For a simple front-facing daisy, keep the first practice flower regular so you can concentrate on the stitch movement.
Add a French knot center and stem
Fill the small central area with a few French knots, placing them after the petals so they do not obstruct the loop starts. Use consistent wraps and stop while the center remains clear rather than crowding it with extra dots.
Add a slender stem in backstitch or stem stitch and two simple leaves. You can make leaves with larger detached-chain loops or with small satin-stitched shapes. When a stem passes behind the flower, it can be easier to work that line before adding the petals.
Choose looped or satin stitch petals
Detached-chain petals leave a little fabric visible inside each loop. They are quick to repeat and give an airy outline. Satin stitch petals fill the whole shape and need a clear boundary plus careful placement.
Keep filled petals small enough for the threads to stay flat. Follow the petal's length with parallel stitches if that direction suits the drawing. Do not try to turn a long loose loop into a solid petal by pulling harder; choose a filling method instead.
Fix flattened loops and uneven petals
Petals look like lines: reduce the pull on the loop so it retains width.
The loop lifts away from the fabric: settle it gently and make the anchoring stitch close to the tip.
Petals overlap: make the center slightly wider or reduce the thread thickness on the next sample.
The final gap is too wide: mark the complete set of tips before stitching rather than estimating each one separately.
Make a row of three small daisies with the same thread and spacing. Then change one variable, such as strand count, to see the effect. Use the beginner embroidery project to combine the flower with a finished hoop.
Frequently asked questions
Is lazy daisy the same as detached chain stitch?
Lazy daisy commonly refers to detached-chain stitches arranged as flower petals. Each loop is secured individually at its tip.
How many petals should a stitched daisy have?
Use the number that suits the design. Six to eight petals are an approachable first exercise, but there is no fixed required count.
Can I make daisy embroidery without French knots?
Yes. Use a small flat filled center, a few straight stitches or another suitable detail if you prefer a lower-profile flower.