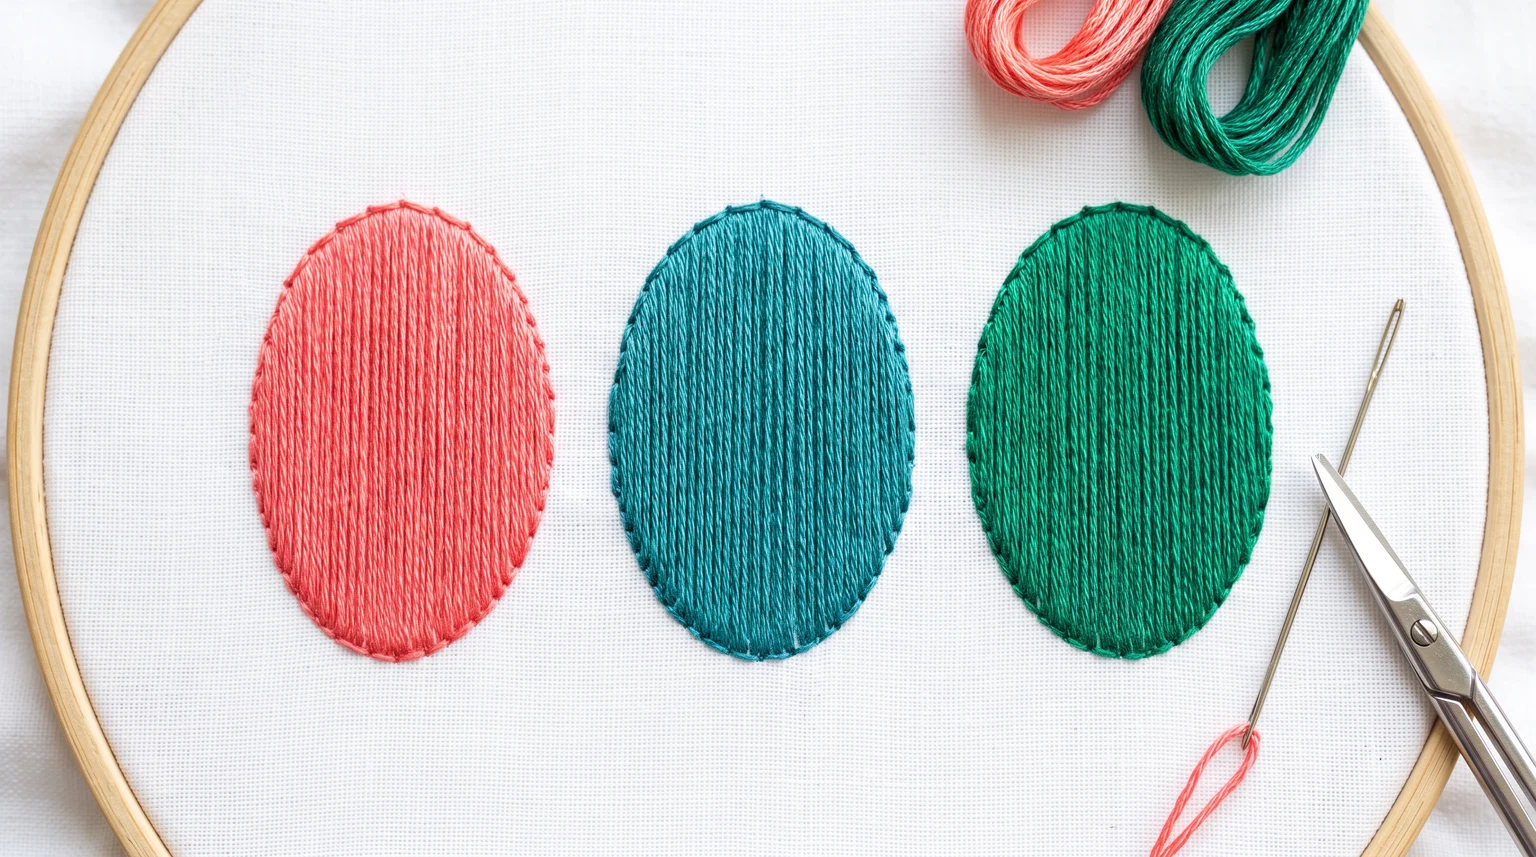
Satin stitch fills a shape with closely placed parallel stitches. It is useful for small petals, leaves and solid details where you want a smooth surface. A good fill depends on accurate edges and consistent placement more than speed. Begin with a narrow shape, because long unsupported stitches are harder to keep flat and can catch during handling.
Mark a small shape and choose one filling direction. Work straight stitches from one boundary to the opposite boundary, placing each beside the previous stitch without crossing it. Keep the thread relaxed enough to lie flat and close enough to cover the fabric.
Prepare a small satin stitch shape
Draw a small oval or leaf on stable woven fabric, then put it in a hoop with the weave straight. Choose a sharp needle and start with one or two separated strands of cotton floss. More strands cover ground faster but can make precise edges harder to control.
For a first sample, keep the distance each stitch crosses modest, for example around 5 mm at the widest point. This is a practice suggestion rather than a universal limit. For broad areas, consider another filling method or divide the shape into sections that suit the design.
Set stitch direction before filling
Decide how the thread should run across the shape. Draw two or three light direction marks if needed. Parallel placement creates a smooth fill; changing direction abruptly can introduce ridges and uneven reflections.
A small leaf can be filled on a gentle diagonal. A rounded petal may be easier when you start with a central guide stitch and work toward one edge, then return to the middle to fill the other side. If an outline helps you judge the boundary, keep it fine and cover it with the fill rather than leaving a bulky ridge around every shape.
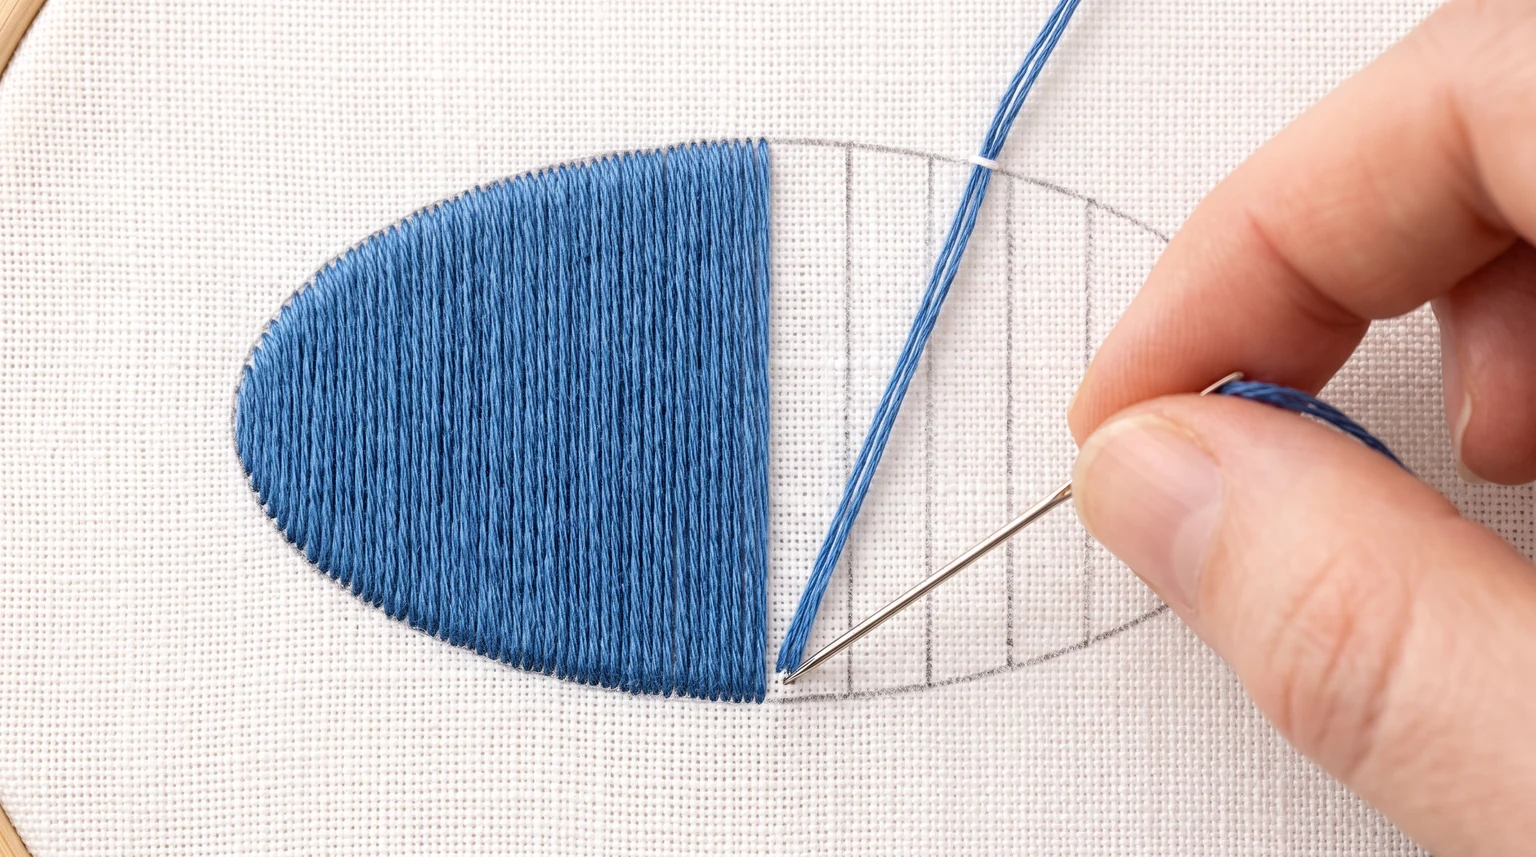
How to make satin stitch
- Bring the needle up at one edge of the shape and take it down at the opposite edge to make a guide stitch.
- Come up immediately beside the first starting point, avoiding the same hole.
- Cross the shape in the chosen direction and go down next to the first endpoint.
- Continue placing the strands alongside each other, with neither open gaps nor heavy overlap.
- Adjust the length of each stitch to the shape's boundary while maintaining the planned angle.
- Fill the remaining half if you began in the center, then secure the thread on the back.
Pause every few stitches and look at the fill under ordinary light. Use the needle to settle a twisted strand gently before tightening the stitch; pulling harder usually makes a twisted bundle more noticeable.
Fix common satin stitch problems
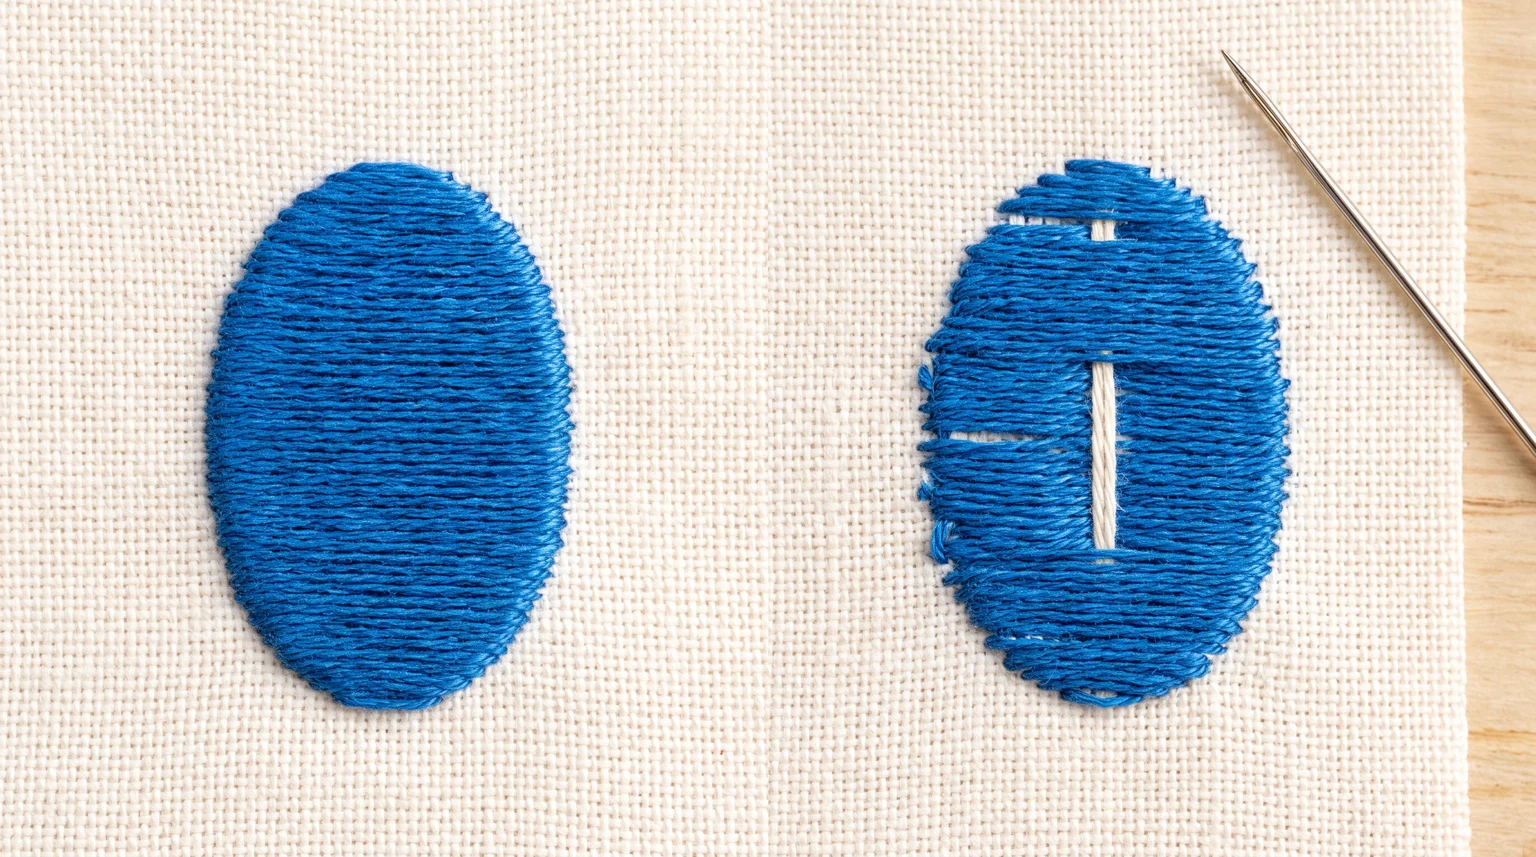
Visible fabric gaps: place the next stitch a little closer. If the fill is already complete, add a carefully positioned stitch only where needed.
Bulky, uneven surface: check for crossed strands and repeated overlap. Fewer strands can make a small shape easier to fill accurately.
Ragged edges: follow the transferred boundary consistently and use a finer needle or lighter marks if the holes and drawing are too prominent.
Loose stitches: reduce the span or choose a filling stitch better suited to a wide area. Tightening long stitches until they gather the cloth is not a useful fix.
Puckering: let the thread rest against the surface rather than pulling the edges of the shape together. Check hoop tension before adding more fill.
Use satin stitch in flower embroidery
Practise on three little leaves before filling an entire floral design. Keep one direction in each leaf and compare the result with a second set worked on a different angle. This makes the effect of stitch direction visible without adding extra colors.
In daisy embroidery, satin stitch creates solid petals rather than looped ones. It also works for the leaves beside a woven rose. Complete the surrounding flat stitches before adding raised details that could get in the needle's way.
Frequently asked questions
How many strands should I use for satin stitch?
Start with one or two on a small practice shape. Adjust to the pattern size and fabric; more strands can make a tiny edge harder to place accurately.
Do I need to outline every shape first?
No. A fine supporting outline can help create an edge, but some stitchers fill directly to the drawing. Avoid a bulky outline that prevents the fill from lying flat.
Why are my satin stitches loose?
The spans may be too long, the placement uneven or the fabric unstable. Practise on a smaller shape and check tension without pulling the cloth together.