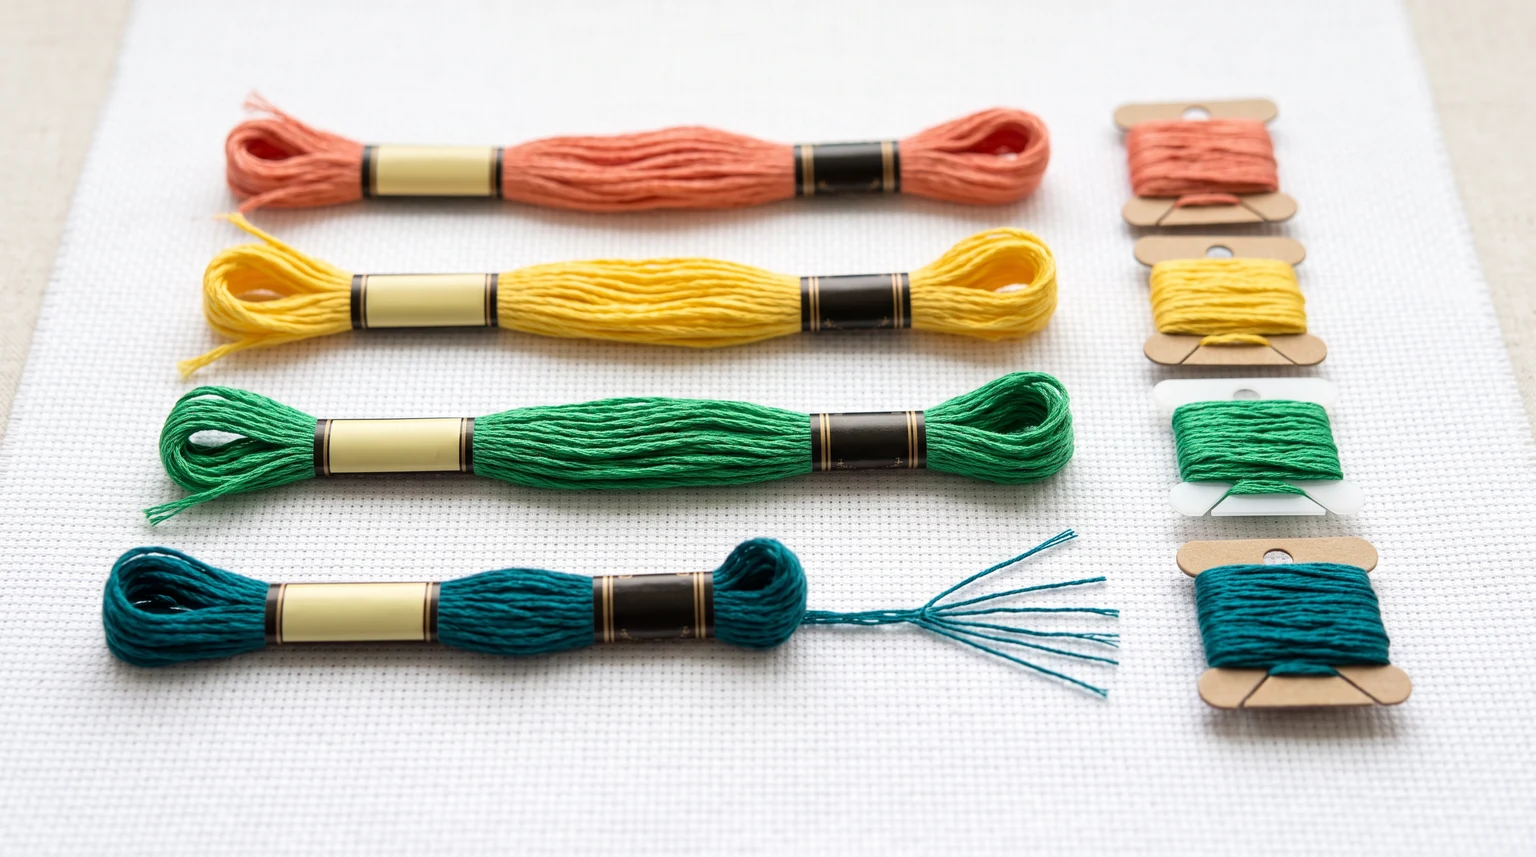
Embroidery floss is the thread used to build the lines, fills and texture of a hand-stitched design. Stranded cotton is a versatile starting choice because you can adjust the thickness by changing how many strands you use. A thin bundle makes delicate outlines; a thicker one produces bolder marks. Thread choice works together with the needle, fabric and scale of the pattern.
Start with stranded cotton embroidery floss and a small palette. Separate the strands one at a time, recombine the number you need and use a manageable length. Two strands are a useful test for fine outlines, but the pattern and desired finish decide the final count.
Stranded cotton, pearl cotton and specialty thread
Common stranded cotton floss contains six separable strands. You can use one or several together. Check the label because not every embroidery thread is stranded or intended to be separated.
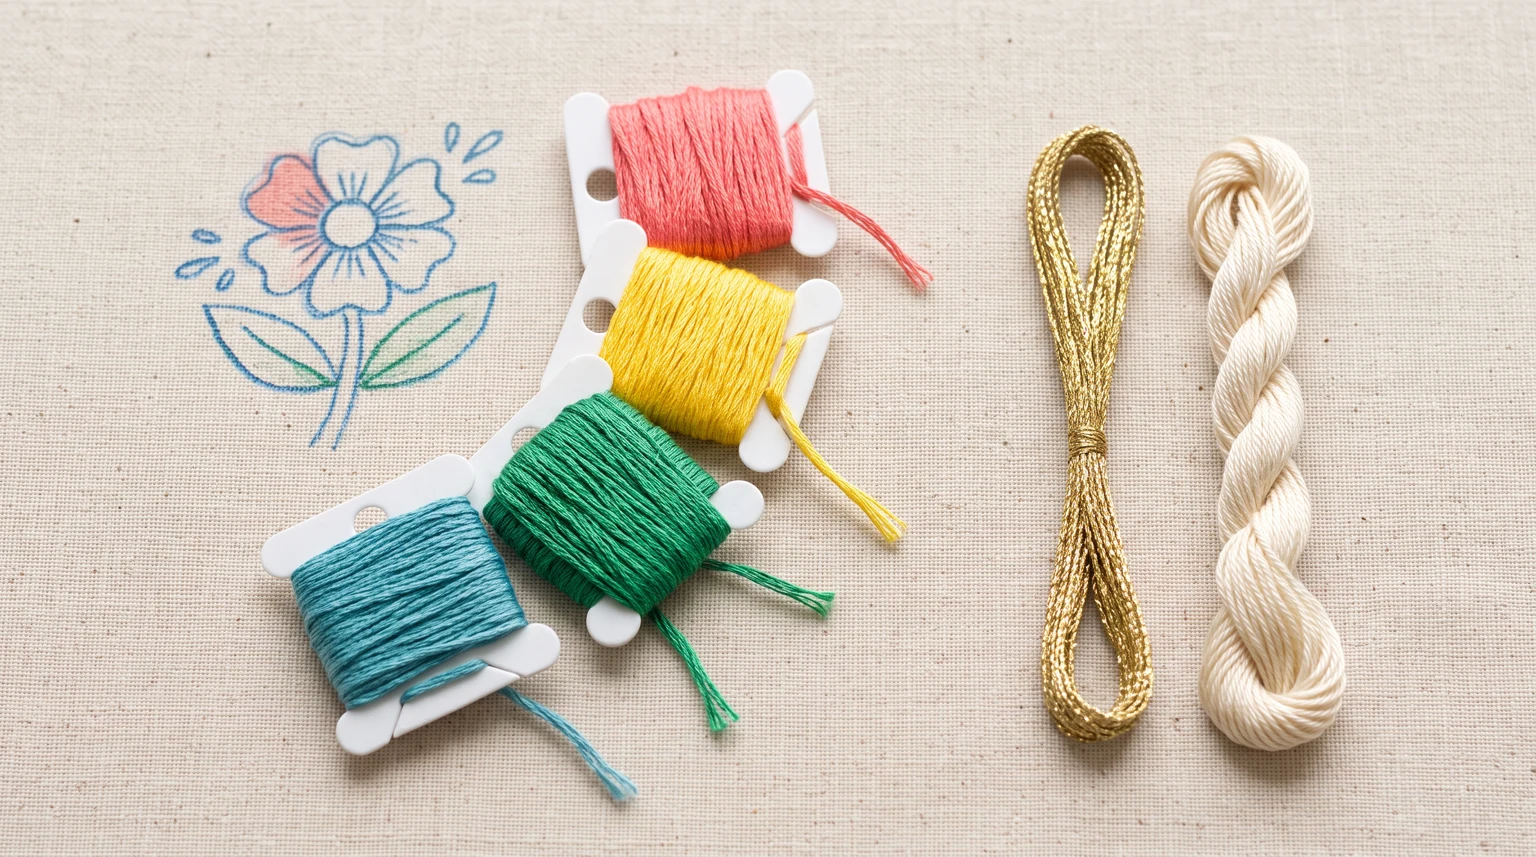
Pearl cotton is a twisted, non-divisible thread that creates a more defined textured line. Metallic, wool and silk threads each behave differently and may need different needles or handling. For a first project, one thread type removes an extra variable while you learn tension and stitch placement.
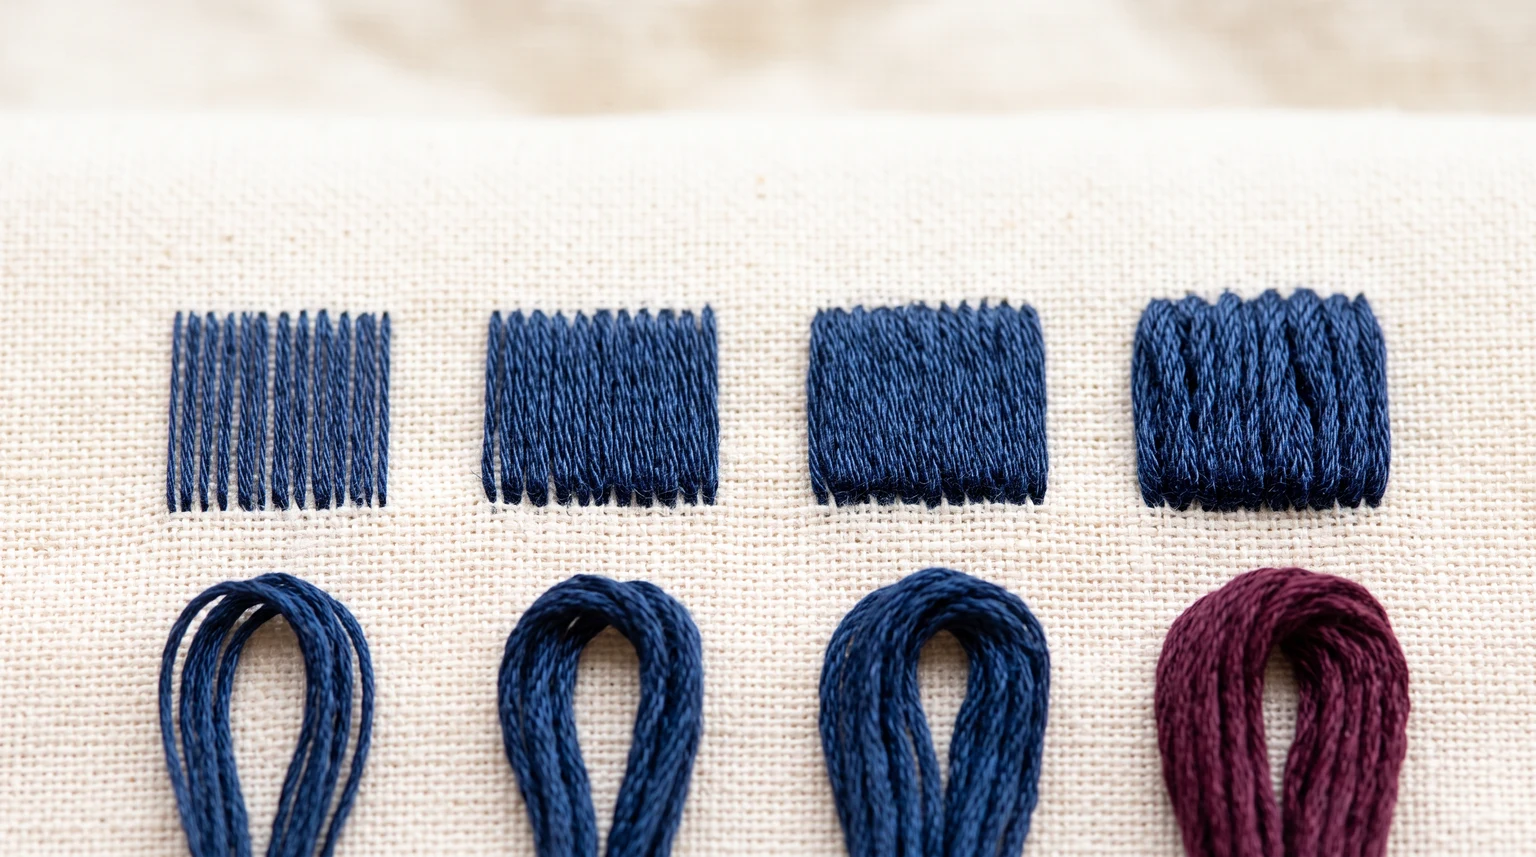
The sheen of a filled shape also changes with stitch direction. A single color in satin stitch can look lighter or darker as its parallel strands catch the light.
How to separate embroidery floss
- Cut a length of stranded floss that is comfortable to handle. Around 40 cm is a practical first trial.
- Tap or spread one end until the individual strands are visible.
- Pinch the bundle lightly and draw one strand upward while allowing the remaining floss to gather below your fingers.
- Smooth the remaining bundle, then repeat until you have the number of strands required.
- Lay the selected strands together, align their ends and thread the needle.
Pulling two or three strands away as one bundle can twist them around the others. Separating them individually first helps the working threads lie more evenly. If the floss starts to knot, stop and loosen it instead of pulling the knot tighter.
Choose a strand count for the stitch
| Strands | Possible use | Check before continuing |
|---|---|---|
| 1 | Tiny details and fine outlines | The line is visible enough for the design |
| 2 | Small backstitch lines and compact fills | Thread lies smoothly without gaps |
| 3 | Bolder petals and textured dots | The needle carries the bundle comfortably |
| 4-6 | Chunkier motifs and woven roses | Fabric supports the added thickness |
These are examples, not fixed instructions. A large design usually needs a more substantial mark than the same drawing stitched in a tiny hoop. Follow a pattern's thread count first, then adjust with a sample if you change its scale.
Plan colors without overcomplicating the project
Choose a main color, a supporting color and a contrasting accent. For a daisy, that might mean white petals, a yellow center and green stems. For rose embroidery, one pink thread can make a complete woven flower; a second shade is optional.
Keep the thread manufacturer and color number with each bobbin or skein. Similar shades from different ranges are not automatically exact matches. If a design needs several skeins of one shade, compare them in daylight before beginning a large solid area.
Prevent tangles, fraying and color mistakes
When the working thread begins to twist, let the needle hang briefly so the bundle can unwind. Shorten the length if you repeatedly snag loops with the back of the needle. A thread that looks fuzzy from repeated passes should be replaced before you fill a prominent area.
Store floss dry and away from strong sunlight. Avoid winding bobbins so tightly that they distort the thread. Before washing finished embroidery, follow the thread and fabric care instructions and test strongly colored thread on a scrap. Keep the color labels until the project is complete so replacements are easy to identify.
If thread frays at the eye rather than along its whole length, check your embroidery needle. A rough eye or an undersized opening can damage an otherwise suitable floss.
Frequently asked questions
Is embroidery floss the same as sewing thread?
No. Stranded embroidery floss lets you vary thickness by separating strands and is designed for decorative stitching. Ordinary sewing thread has a different construction and appearance.
Do I always use all six strands?
No. Use the number specified by the pattern or test the thickness you need. Fine outlines commonly use fewer strands than bold textured stitches.
How much embroidery floss does a pattern need?
There is no single amount for every design. Area covered, strand count, stitch type and travel on the back all matter. Follow the pattern's supply notes when available.