
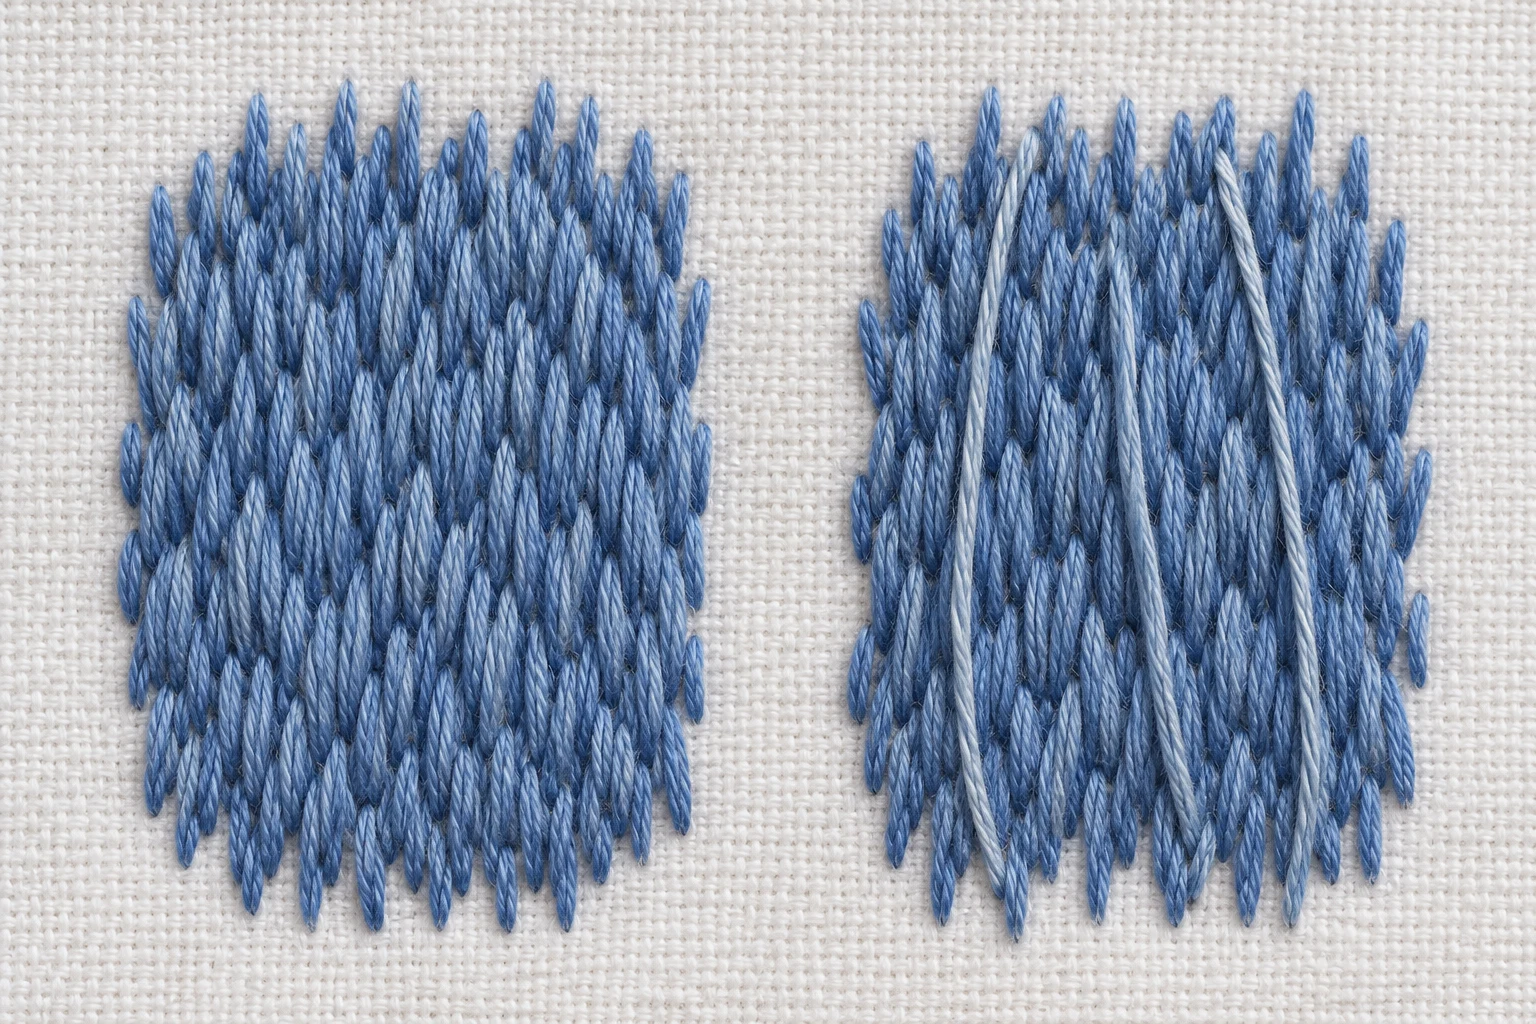
Layered straight stitches can suggest fur, soft plant texture or a decorative raised surface. The source guide demonstrates a fluffy variation using a thicker thread bundle and overlapping rows. Treat this as a display texture: loose or raised threads can catch when used on a frequently worn or washed item.
Plan a direction, stitch short overlapping rows and vary the lengths so the row boundaries are less obvious. Use nearby shades for depth. Keep the base stitches secure and avoid pulling apart the thread fibers to imitate fluff.
Choose where raised texture belongs
Test the effect on scrap fabric before adding it to the main design. A thicker bundle makes a fuller mark, but the cloth and needle must support it. Long loose stitches are harder to protect.
Think about how the finished piece will be used. A framed hoop can carry more delicate texture than a pocket, cuff or frequently handled bag. For a flatter shaded fill, use long and short stitch instead.
Build overlapping rows
- Mark the area's outline and the direction the texture should follow.
- Work the first row with varied short straight stitches.
- Start the next row so its stitches overlap the ends of the row below.
- Keep the direction consistent with the form rather than scattering marks randomly.
- Add a nearby thread shade where the shape needs more depth.
- Check the raised surface without dragging the needle across it.
Use just enough looseness to create the tested effect. A stitch that lifts into a large unsupported loop is more likely to snag than one that sits close to the base.

Finish and protect the texture
Secure each thread on the back and keep joins out of the most visible area. Do not scrape or fluff ordinary cotton floss with a needle; that can damage its fibers rather than create a dependable finish.
Handle the raised area gently and avoid pressing it flat from the front. Sample any cleaning method first. Store or frame the piece so the surface does not rub against rough materials.
Frequently asked questions
Should I leave all the stitches very loose?
No. Test a controlled raised effect while keeping stitches secure. Large loose loops can catch and change shape.
Can I use this texture on clothing?
Delicate raised stitches are easier to protect in display work. For clothing, choose a durable tested finish appropriate to wear and washing.
Further reading
Adapted from SimpleEnglishGuide.pdf, PDF pages 8. Wording and practical notes have been edited for this website.