
Water-soluble stabilizer is a removable layer that can carry a design while you stitch. Some versions are printable and self-adhesive; others must be traced or attached in a different way. It can help when a drawing is difficult to see through dark or thick cloth. Check the particular product rather than assuming all stabilizers work alike.
Choose stabilizer intended for your printing or tracing method. Test it with the actual fabric and thread, attach it without stretching the cloth, stitch through the layers and remove it using the manufacturer's instructions.
Check the product and test a small sample
Read whether the stabilizer is compatible with your printer, how it attaches and how it dissolves. Do not put an unsuitable material through a printer. The source guide describes a printable adhesive product, but its directions are not universal.
Stitch a small test with the same cloth and floss. Remove the stabilizer exactly as directed and let the sample dry. Check for remaining tackiness, shifted stitches and color bleeding before using it on the full design.

Attach the design and stitch through it
- Prepare the fabric and print or trace the design at the intended size.
- Cut the stabilizer with enough room around the drawing for secure placement.
- Attach it smoothly according to the product instructions, keeping the fabric relaxed and straight.
- Hoop the layers without distorting the drawing.
- Stitch the lines, checking that the needle passes comfortably through both layers.
If adhesive builds up on the needle, pause and follow the product's cleaning guidance. Do not change the drawing's proportions by stretching the cloth to remove a wrinkle.
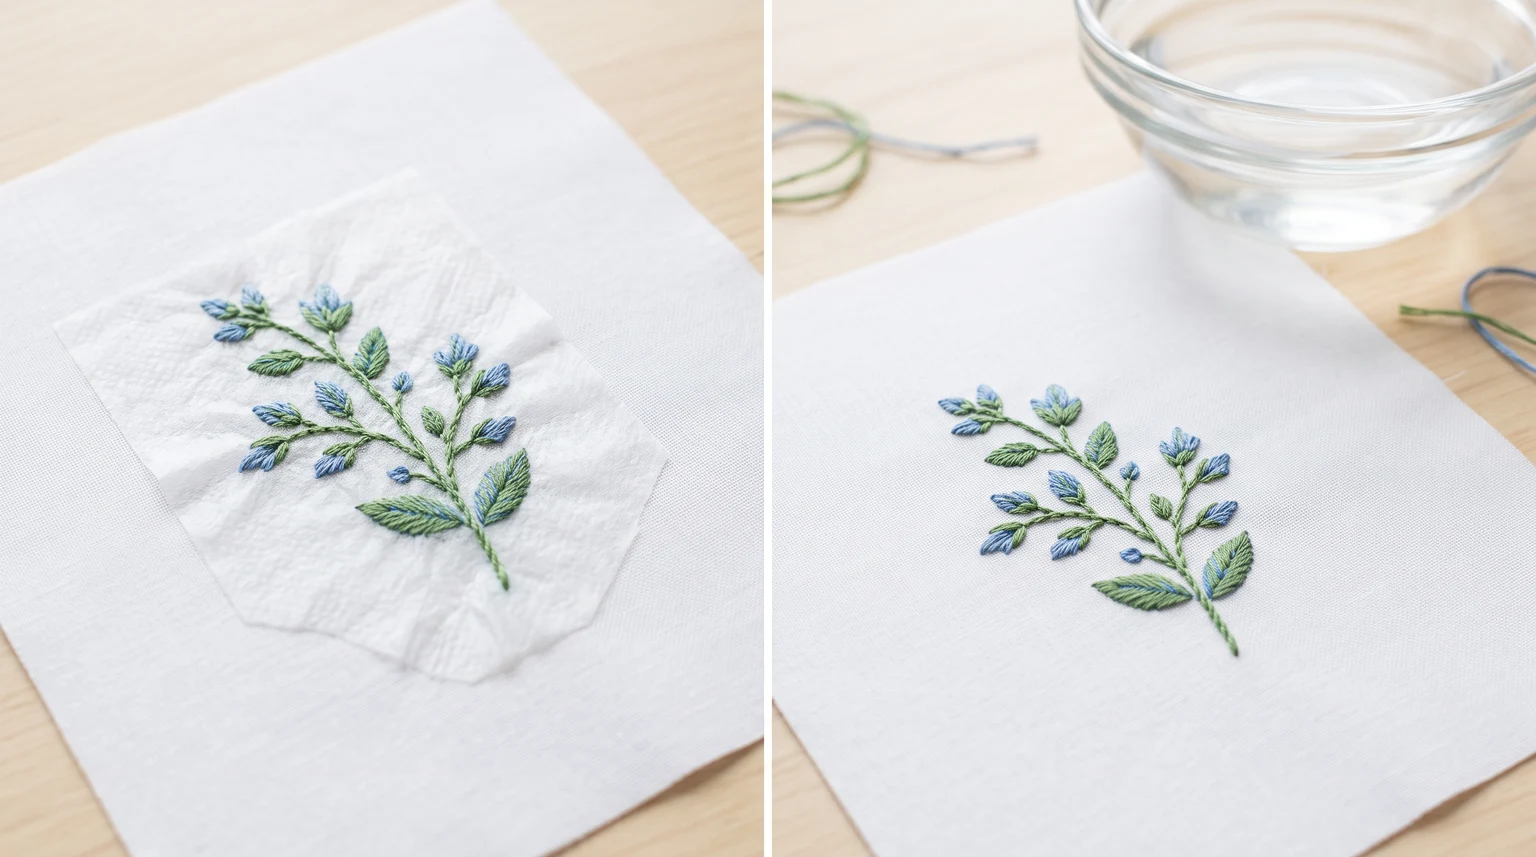
Remove the stabilizer and dry the embroidery
Follow the stated water temperature, soaking time and rinsing method. Confirm that the floss and fabric tolerate that treatment. Machine washing is not a required finishing step for every hand-embroidered piece.
Rinse until the layer is removed, then support the work while it dries without pulling it out of shape. Follow the materials' care instructions before pressing. If residue remains around dense stitches, return to the product directions rather than scrubbing the surface aggressively.
For an alternative that does not require a dissolving layer, see hand tracing.
Frequently asked questions
Can I use a soluble stabilizer on dark fabric?
Yes, a suitable surface-applied version can make the design visible without tracing through the cloth. Test the attachment and removal process first.
Should I wash every finished project in a machine?
No. Use a cleaning method compatible with the stabilizer, thread, fabric and finished item. A gentle rinse may be all the chosen product requires.
Further reading
Adapted from SimpleEnglishGuide.pdf, PDF pages 3, 4. Wording and practical notes have been edited for this website.