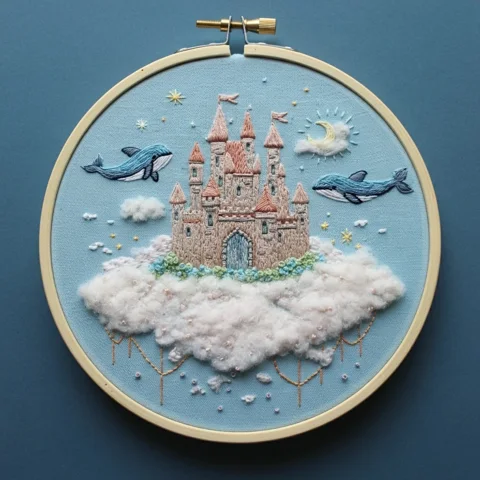
About this Oceanic Jellyfish embroidery pattern
Oceanic Jellyfish brings ocean details into a hand-embroidery composition. Study the colored design and outline together before choosing which shapes to shade, outline or simplify.
The colored image is a design reference. Thread, fabric and your stitch choices will affect the finished result. Preserve the open spaces around the smaller motifs and test difficult fills on a spare piece of fabric before stitching the main design.
Printable outline preview
This watermarked preview shows the transfer drawing. Clean outlines are included in the purchased pattern PDF.
Choose your hoop size
The outline pages are labeled for 3, 4, 5, 6, 7, 8 inch hoops. Measure the printed design before transfer, because printer margins and fit-to-page settings can affect its dimensions.
A larger version gives fine contours and clustered motifs more room. Select the size that preserves the details you want to stitch.
Color and stitch guidance
The supplied PDF contains the design's DMC color suggestions and stitching guidance. Compare important shades with real floss under your working light.
The supplied guide labels this design intermediate. Allow time for controlled spacing and detailed areas.
Stitching sequence
- Step Execution Instructions & Technical Angles 1. The Bell Outline The Anchor: Lightly outline the domed top of the jellyfish. Begin stitching the dark blue at the very top using vertical Long and Short stitches. 2. The Gradient Blend The Dome: Thread-paint downward, blending the dark blue into light blue/white in the middle, and finally into the purple band along the scalloped bottom edge. 3. The Oral Arms The Center: Stitch the thick, ruffled arms hanging from the center. Use swirling Satin stitches in white and light blue to create a folded, fabric-like texture. 4. The Wispy Tentacles The Edges: Drop to a single strand of dark purple/black. Stitch the very thin, wild tentacles trailing down from the bell using curving Stem stitch. 5. The Floating Bubbles The Environment: Finish by stitching the small white bubbles on the right side. Use padded Satin stitch (stitch a base layer first) so they pop outward. Master Stitching & Tension Guidelines Dome Radiation Angle The bell (Step 2) is a 3D dome, not a flat rectangle. When thread-painting the vertical gradient, your stitches must not go straight up and down. They must radiate outward from the top center curve, fanning slightly to the left on the left side, and to the right on the right side. This directional stitching creates the optical illusion of a rounded sphere. Ruffled Arm Volume The thick inner arms (Step 3) must look like folded silk. Do not stitch them as flat blocks. Stitch the "highlight" folds in pure white, and the "shadow" folds tucked behind them in light blue. Curve your stitches to match the twisting, flowing motion of the appendages. Tentacle Delicacy The outer tentacles (Step 4) are crucial for contrast. They must look dangerously thin compared to the thick bell. You MUST drop down to a single strand of thread. If you use 2 or 3 strands, they will look like heavy ropes instead of venomous stingers. Let the lines cross over each other chaotically. Bubble Perfection The bubbles (Step 5) need volume. Do not stitch a flat Satin circle. Stitch a small horizontal block of stitches first (the padding), then stitch your final vertical Satin stitches directly over the top of the padding. This physically raises the thread, making the bubbles look spherical
Review the full guide in your download for motif-specific thread placement. General techniques are covered in pattern transfer methods and finishing an embroidery hoop.
What your download contains
Your purchase opens a private Google Drive folder containing the three listed PDFs. The clean outline is inside the main pattern PDF. The gridded image reference is separate from the surface-embroidery drawing and is not a machine embroidery file or a symbol-by-symbol DMC cross-stitch key.
Download access appears after payment is confirmed, with recovery available through the purchase email. See the delivery policy for access and support details.
Pattern questions
Is this for hand embroidery?
Yes. The outline and stitching guide are for hand embroidery. No machine-ready PES or DST file is included.
Will I receive a physical kit?
No. This is a digital pattern package. Hoops, needles, thread, fabric and a finished piece are not included.
Can I sell a finished embroidery piece?
You may sell small quantities of physical pieces stitched by you under the pattern license. You may not resell or share the digital pattern files.
What if I cannot open or download the files?
Use order recovery or contact support with your order reference. Damaged files, duplicate purchases and delivery problems are covered in the refund policy.
More ocean patterns