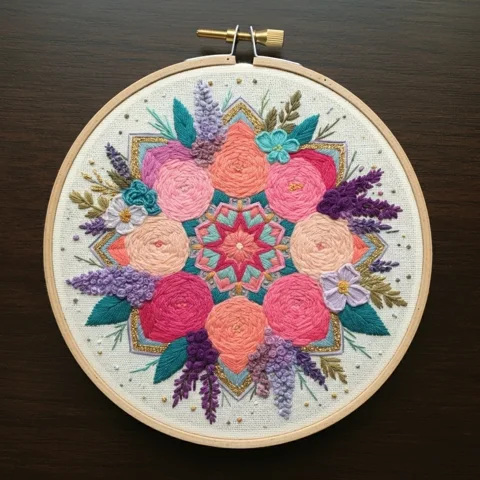
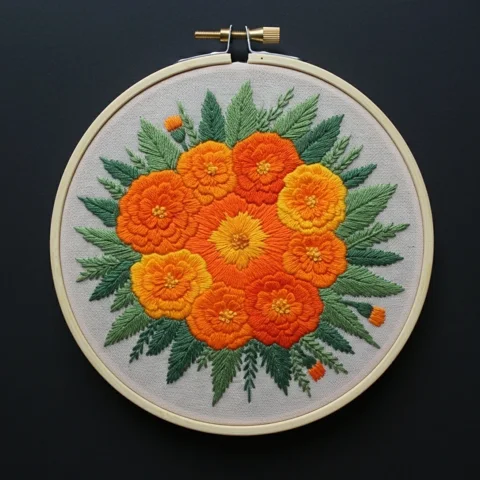
About this Thread Painted Peony embroidery pattern
Thread Painted Peony brings floral details into a hand-embroidery composition. Study the colored design and outline together before choosing which shapes to shade, outline or simplify.
The colored image is a design reference. Thread, fabric and your stitch choices will affect the finished result. Preserve the open spaces around the smaller motifs and test difficult fills on a spare piece of fabric before stitching the main design.
Printable outline preview
This watermarked preview shows the transfer drawing. Clean outlines are included in the purchased pattern PDF.
Choose your hoop size
The outline pages are labeled for 3, 4, 5, 6, 7, 8 inch hoops. Measure the printed design before transfer, because printer margins and fit-to-page settings can affect its dimensions.
A larger version gives fine contours and clustered motifs more room. Select the size that preserves the details you want to stitch.
Color and stitch guidance
The supplied PDF contains the design's DMC color suggestions and stitching guidance. Compare important shades with real floss under your working light.
The supplied guide labels this design advanced. Allow time for controlled spacing and detailed areas.
Stitching sequence
- Step Execution Instructions & Technical Angles 1. Foliage Base Setting the Stage: Stitch all the dark (895) and medium (3346) green leaves using Fishbone stitch. Doing this first provides a solid, dark background for the pale pink and white edges of the peony to pop against, hiding any fabric gaps. 2. Peony Stamens The Golden Core: Stitch the fluffy yellow (742, 3852) stamens peeking out from the center folds of the peony. Use a mix of loose French knots and tiny straight stitches to make them look fuzzy and organic. 3. Thread- Painting the Peony The Marathon: Switch to 1 strand of floss. Start with the deepest Cranberry (600) directly under the curving petals to create shadow. Blend outward using Medium Cranberry (602), into Baby Pink (818), and finally stitch the curling outer edges in pure White (B5200). 4. Accent Flowers Framing the Masterpiece: Stitch the white (B5200) daisies using Satin stitch, filling their centers with dense Yellow (742) knots. Stitch the purple (333, 155) pansy on the bottom right, carefully blending the dark outer edges into the lighter center. 5. Golden Sprigs Delicate Flourishes: Finish by stitching the delicate golden-tan (422) fern sprigs pointing outward from the edges of the bouquet, scattering a few tiny 1-wrap French knot 'seeds' at their tips. Master Stitching & Tension Guidelines The 1-Strand Blending Rule To achieve the hyper-realistic, velvety look of the peony petals, you *must* use only 1 strand of floss. If you use 2 strands, the thread will twist, and the color transitions will look chunky and pixelated. Plunge your needle directly into the fibers of the previous color to blend seamlessly. Petal Curling & Direction The peony looks 3D because the thread direction mimics the veins of the petals. Your stitches must curve along with the shape of the petal, sweeping inward toward the base of the flower. For the top "curling" petals, the stitch direction should flip to follow the fold of the leaf. Shadow Contrast The peony will look flat if you are afraid of the dark thread. The Very Dark Cranberry (600) must be packed densely directly underneath the overlapping petals to create the illusion of deep shadows. The contrast between this dark magenta and the pure white edges is what creates the 3D volume. Pansy Anatomy The purple pansy has a specific petal overlap: the two side petals sit on top of the large bottom petal, and the two top petals sit behind the side petals. Stitch the bottom petal first, then the top petals, and stitch the two side petals last so they overlap realistically
Review the full guide in your download for motif-specific thread placement. General techniques are covered in pattern transfer methods and finishing an embroidery hoop.
What your download contains
Your purchase opens a private Google Drive folder containing the three listed PDFs. The clean outline is inside the main pattern PDF. The gridded image reference is separate from the surface-embroidery drawing and is not a machine embroidery file or a symbol-by-symbol DMC cross-stitch key.
Download access appears after payment is confirmed, with recovery available through the purchase email. See the delivery policy for access and support details.
Pattern questions
Is this for hand embroidery?
Yes. The outline and stitching guide are for hand embroidery. No machine-ready PES or DST file is included.
Will I receive a physical kit?
No. This is a digital pattern package. Hoops, needles, thread, fabric and a finished piece are not included.
Can I sell a finished embroidery piece?
You may sell small quantities of physical pieces stitched by you under the pattern license. You may not resell or share the digital pattern files.
What if I cannot open or download the files?
Use order recovery or contact support with your order reference. Damaged files, duplicate purchases and delivery problems are covered in the refund policy.
More floral patterns